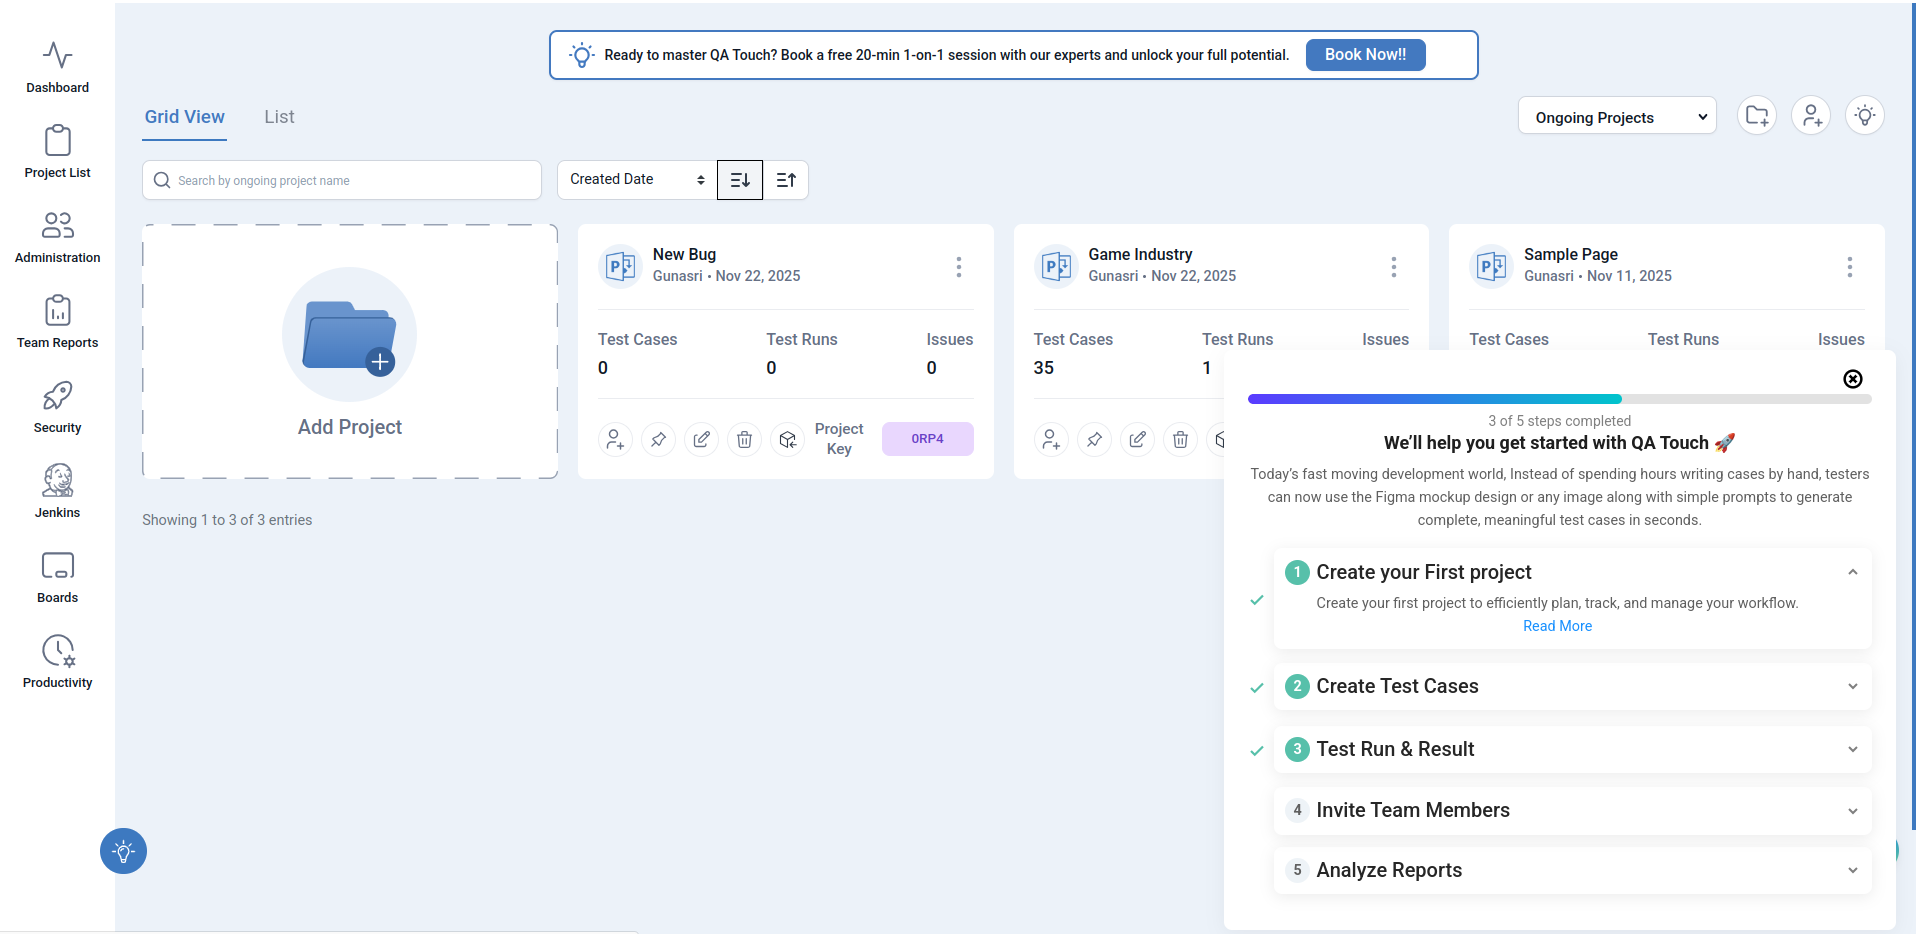
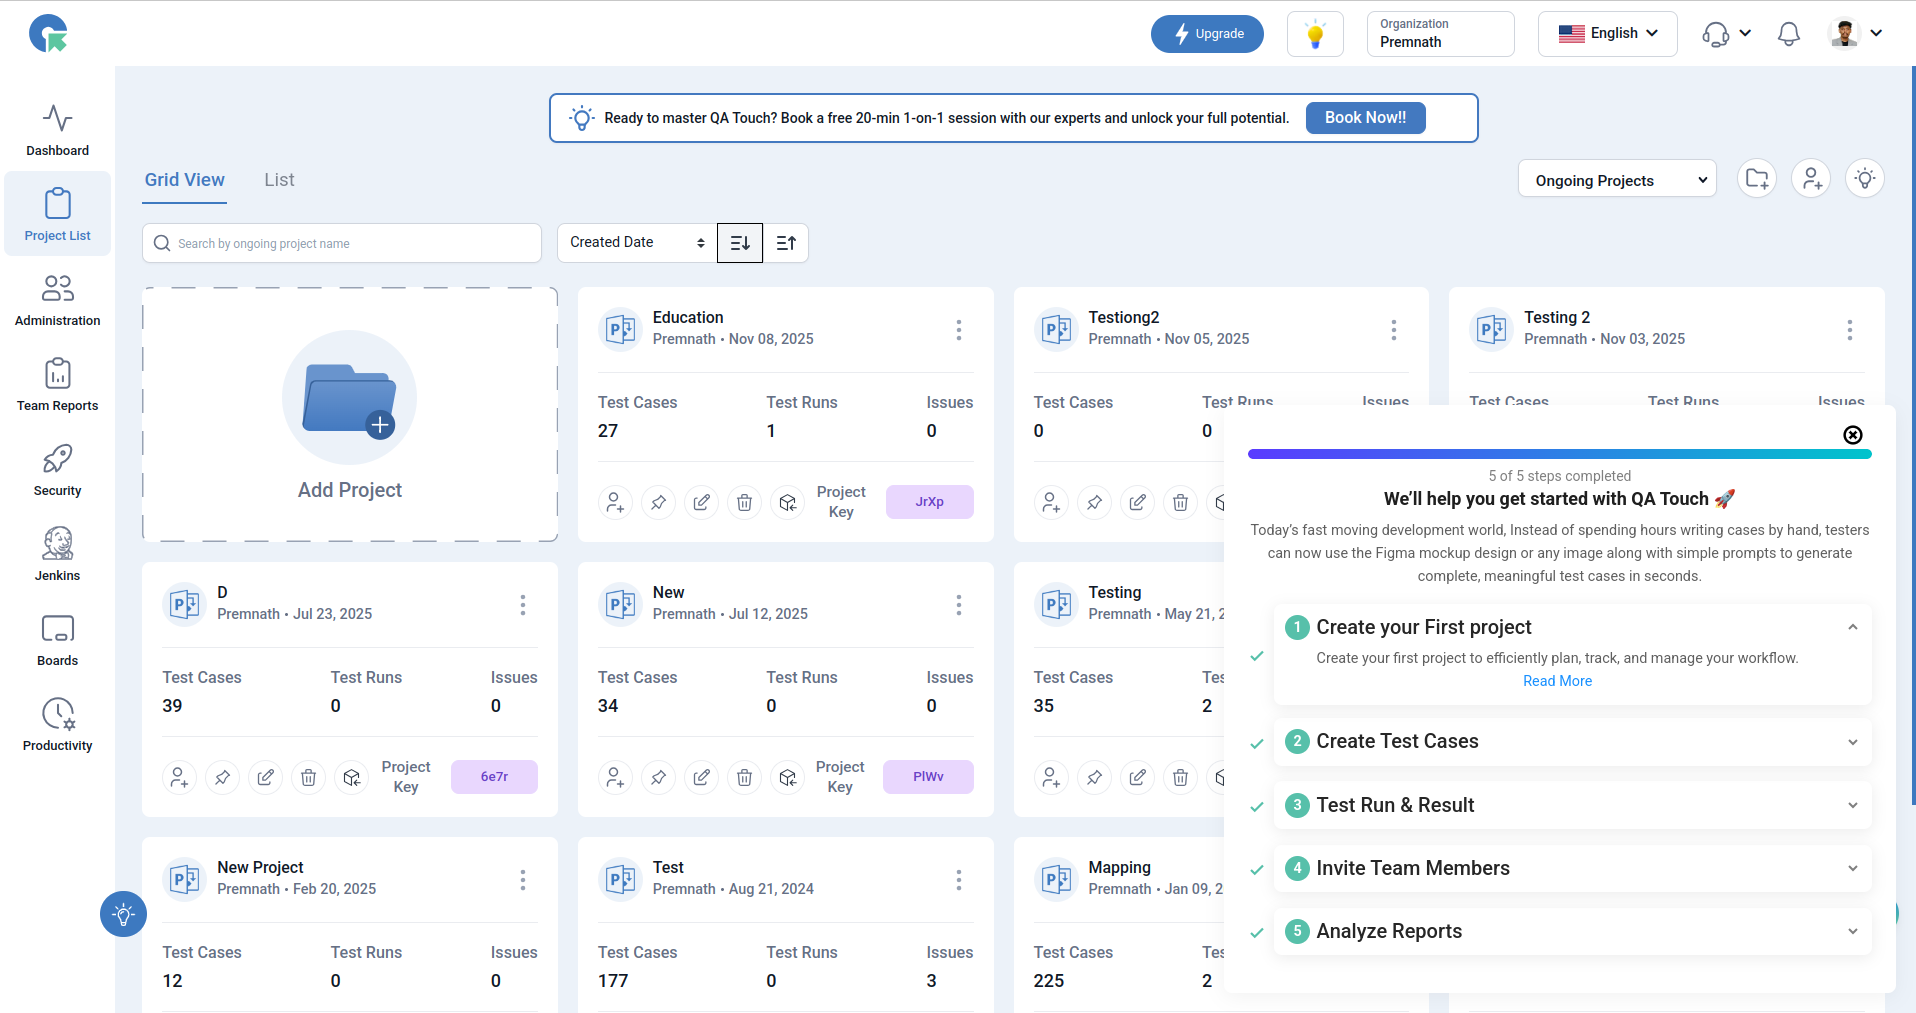
Getting Started with QA Touch
Welcome to QA Touch! Follow these quick steps to set up your workspace, create your first project, and begin managing your testing activities effectively.
1. Create Your First Project
Start by creating your first project to plan, track, and manage all your testing activities in one place.
Steps:
-
Click Add Project from the Projects page.
-
Enter your project details such as:
- Project Name
- Project Code
- Project URL
- Description
-
Save and begin adding team members and test assets.
2. Create Test Cases
Build the foundation of your testing process by adding test cases.
Steps:
-
Navigate to the Test Cases module inside your project.
-
Click Create Test Case.
-
Add:
- Preconditions
- Test Steps
- Expected Results
- Priority
-
Organize test cases into modules for better structure.
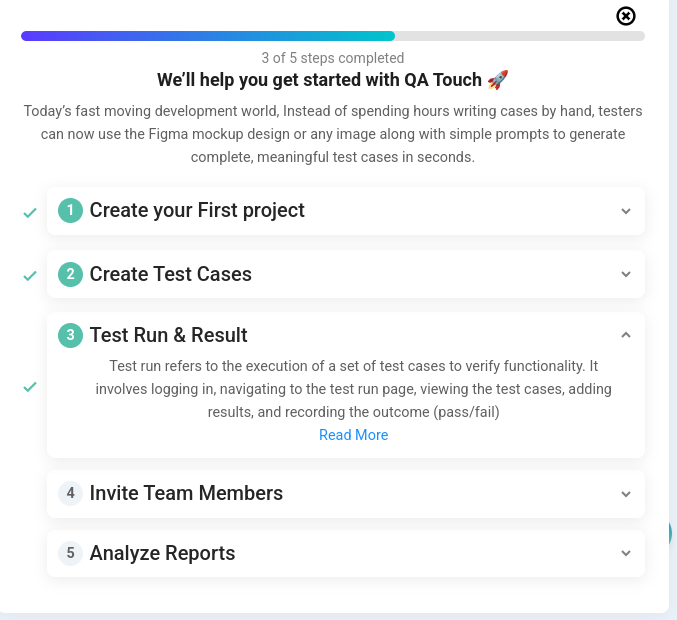
3. Execute Test Runs & Review Results
Once your test cases are ready, you can execute them and track real-time progress.
Steps:
-
Go to the Test Run section.
-
Create a new run by selecting Test cases
-
Start execution and mark each test case as:
- Passed
- Failed
- Blocked
- Hold
-
Attach screenshots overview/or log defects directly during execution.
4. Invite Team Members
Collaborate with your QA and development team by adding members to your project.
Steps:
-
Go to Settings → Users.
-
Add your team members.
-
Assign roles such as:
- Admin
- Manager
- Tester
- Viewer
This ensures controlled access and efficient workflow management.
5. Analyze Reports
Track your team’s productivity, testing progress, and release readiness with detailed reports.
Use reports to:
- View requirement coverage
- Track test execution status
- Analyze defect trends
- Monitor team productivity
- Export data to PDF, Excel, or CSV