Test Runs

Add Test Run(All Test Cases)
- To goto Test run page, Click on Project->Test Runs
- Click on ”+ Add Test Run”
- Select All Test Cases option
- Enter the Test run name, Select the user and Release
- Click on save
/add-all-testrun.gif)
Add Test Run - Queue
QA Touch has the option to Queue the process of adding Test cases to Testrun. Enabling Queue for creating a test run with more than 500 Test cases will run in the background without affecting your regular work and takes lesser time and bandwidth.
Follow the steps to Enable Queue for import
-
Go to Administration->Site Settings
-
Enable the option “Queue Enable/Disable For Test Run”
Add Test Run(Specific Test Cases)
- To goto Test run page, Click on Project->Test Runs
- Click on ”+ Add Test Run”
- Select Specific Test Cases option
- Enter the Test run name, Select the user and Release
- Select the Test cases to add
- Use the Filter option to filter test cases and choose them.
- Click on save
/add-specific-testrun.gif)
Specific Test Cases - Filter
Filtering by choosing the All/Filtered Test Cases option will return filtered results from test cases of all modules
/filtertestrun.png)
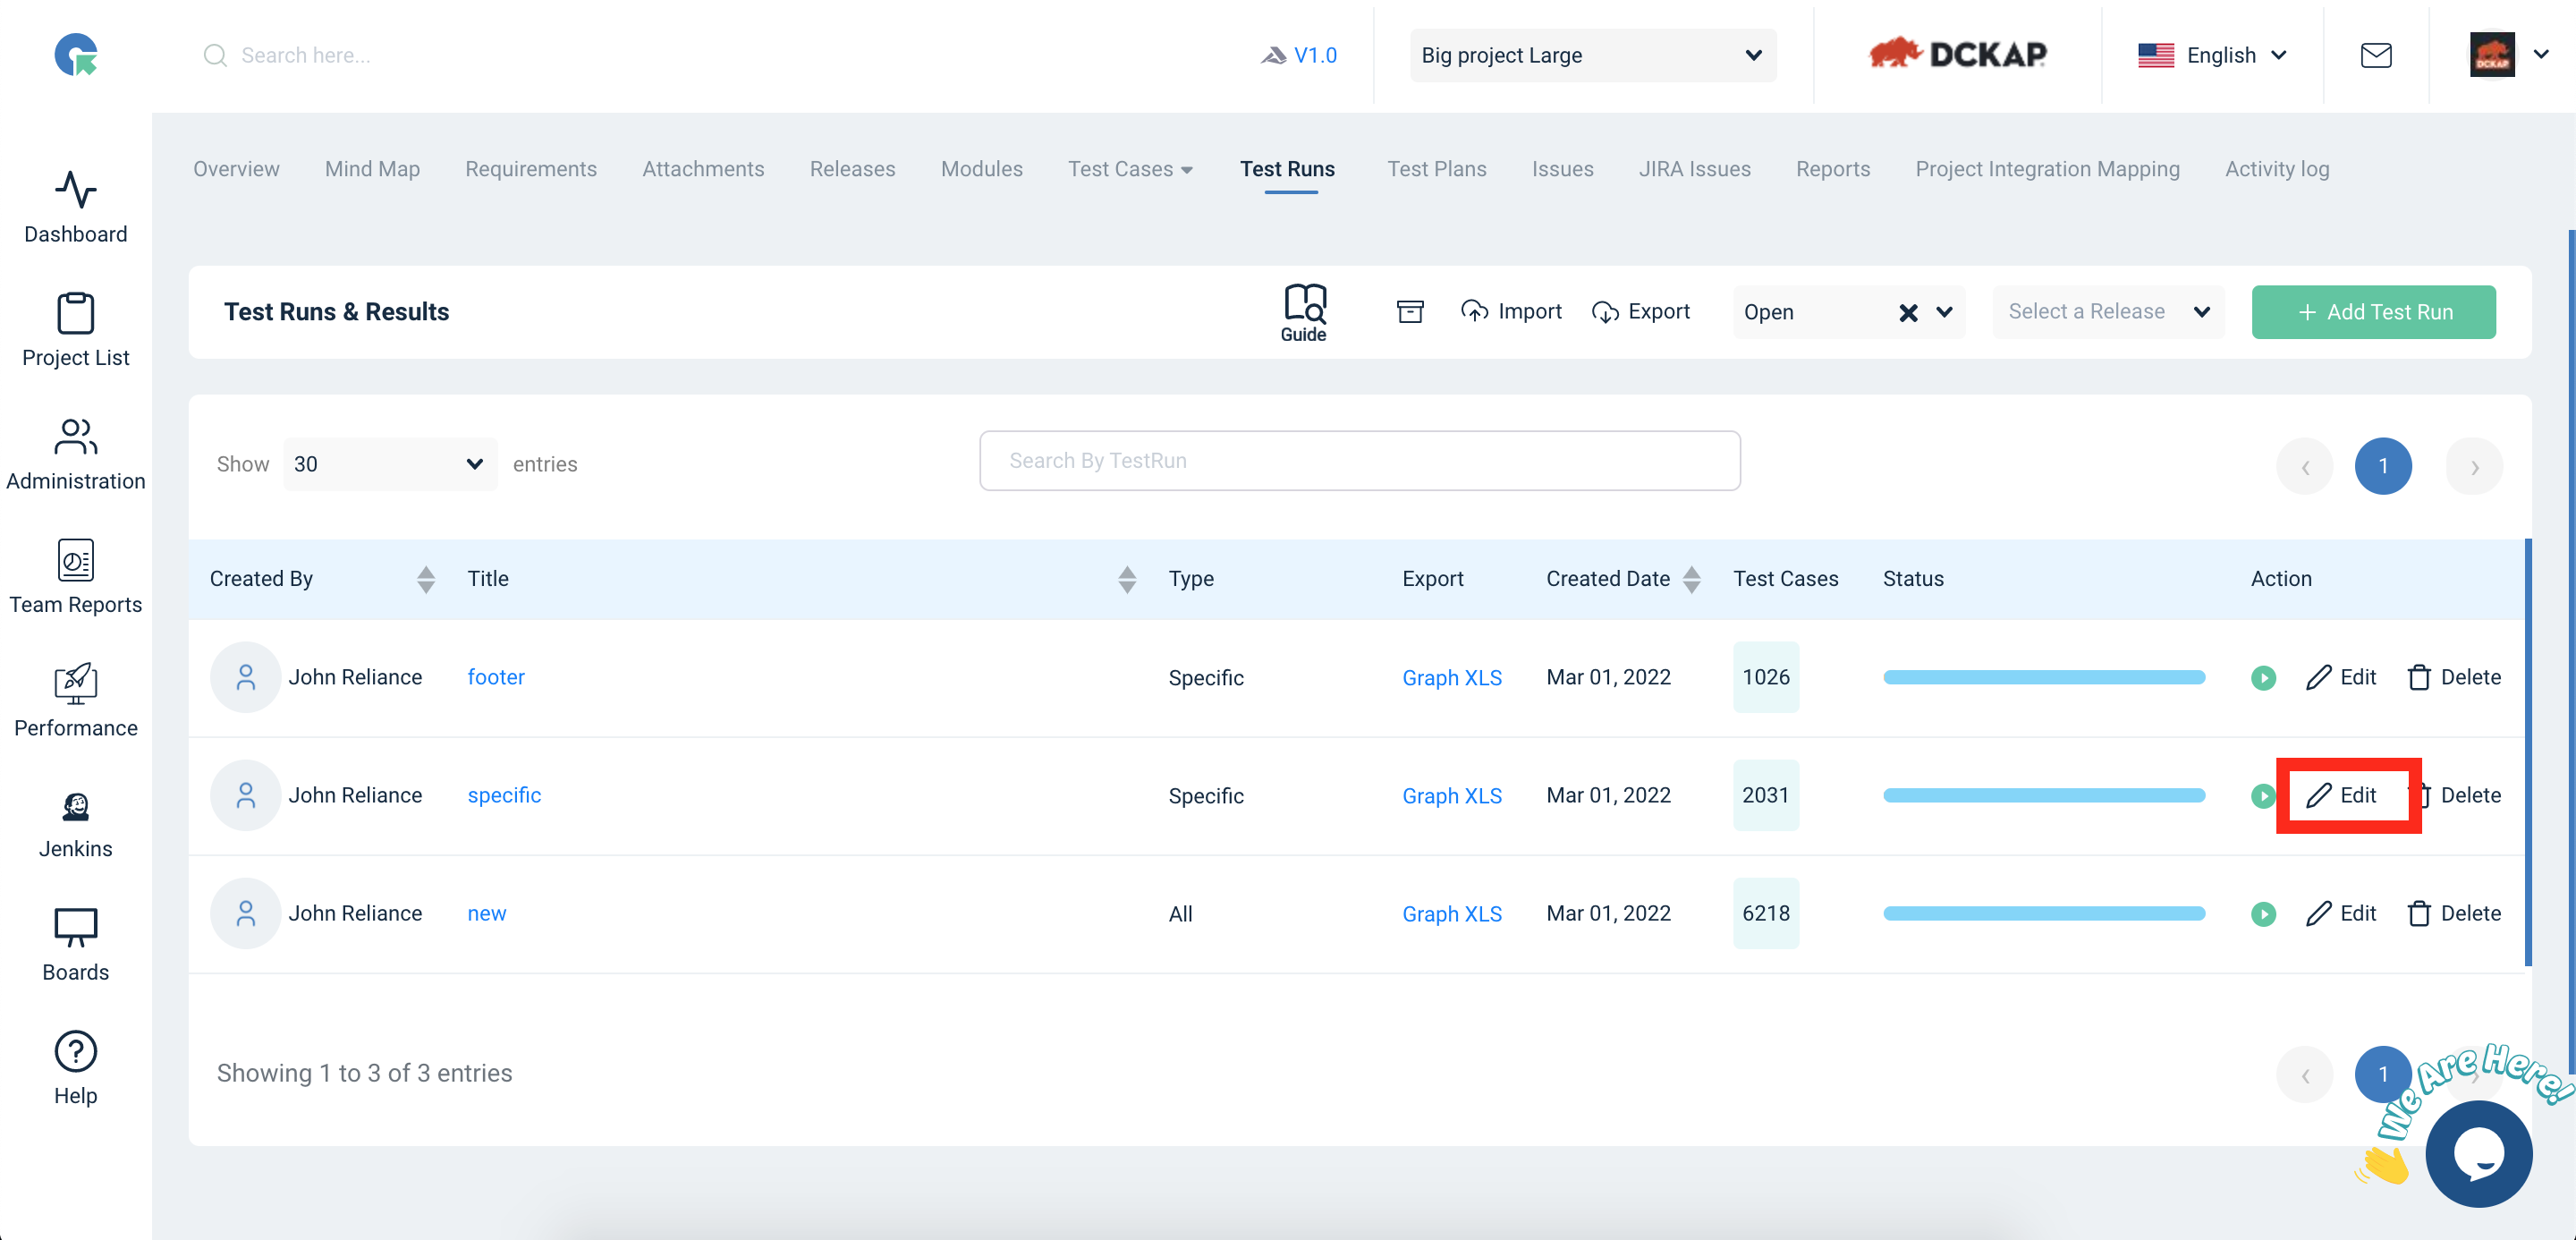
Edit Testrun
- To goto Test run page, Click on Project->Test Runs
- Click on “edit” button
- Whatever changes need we can change it here.
- Click on save
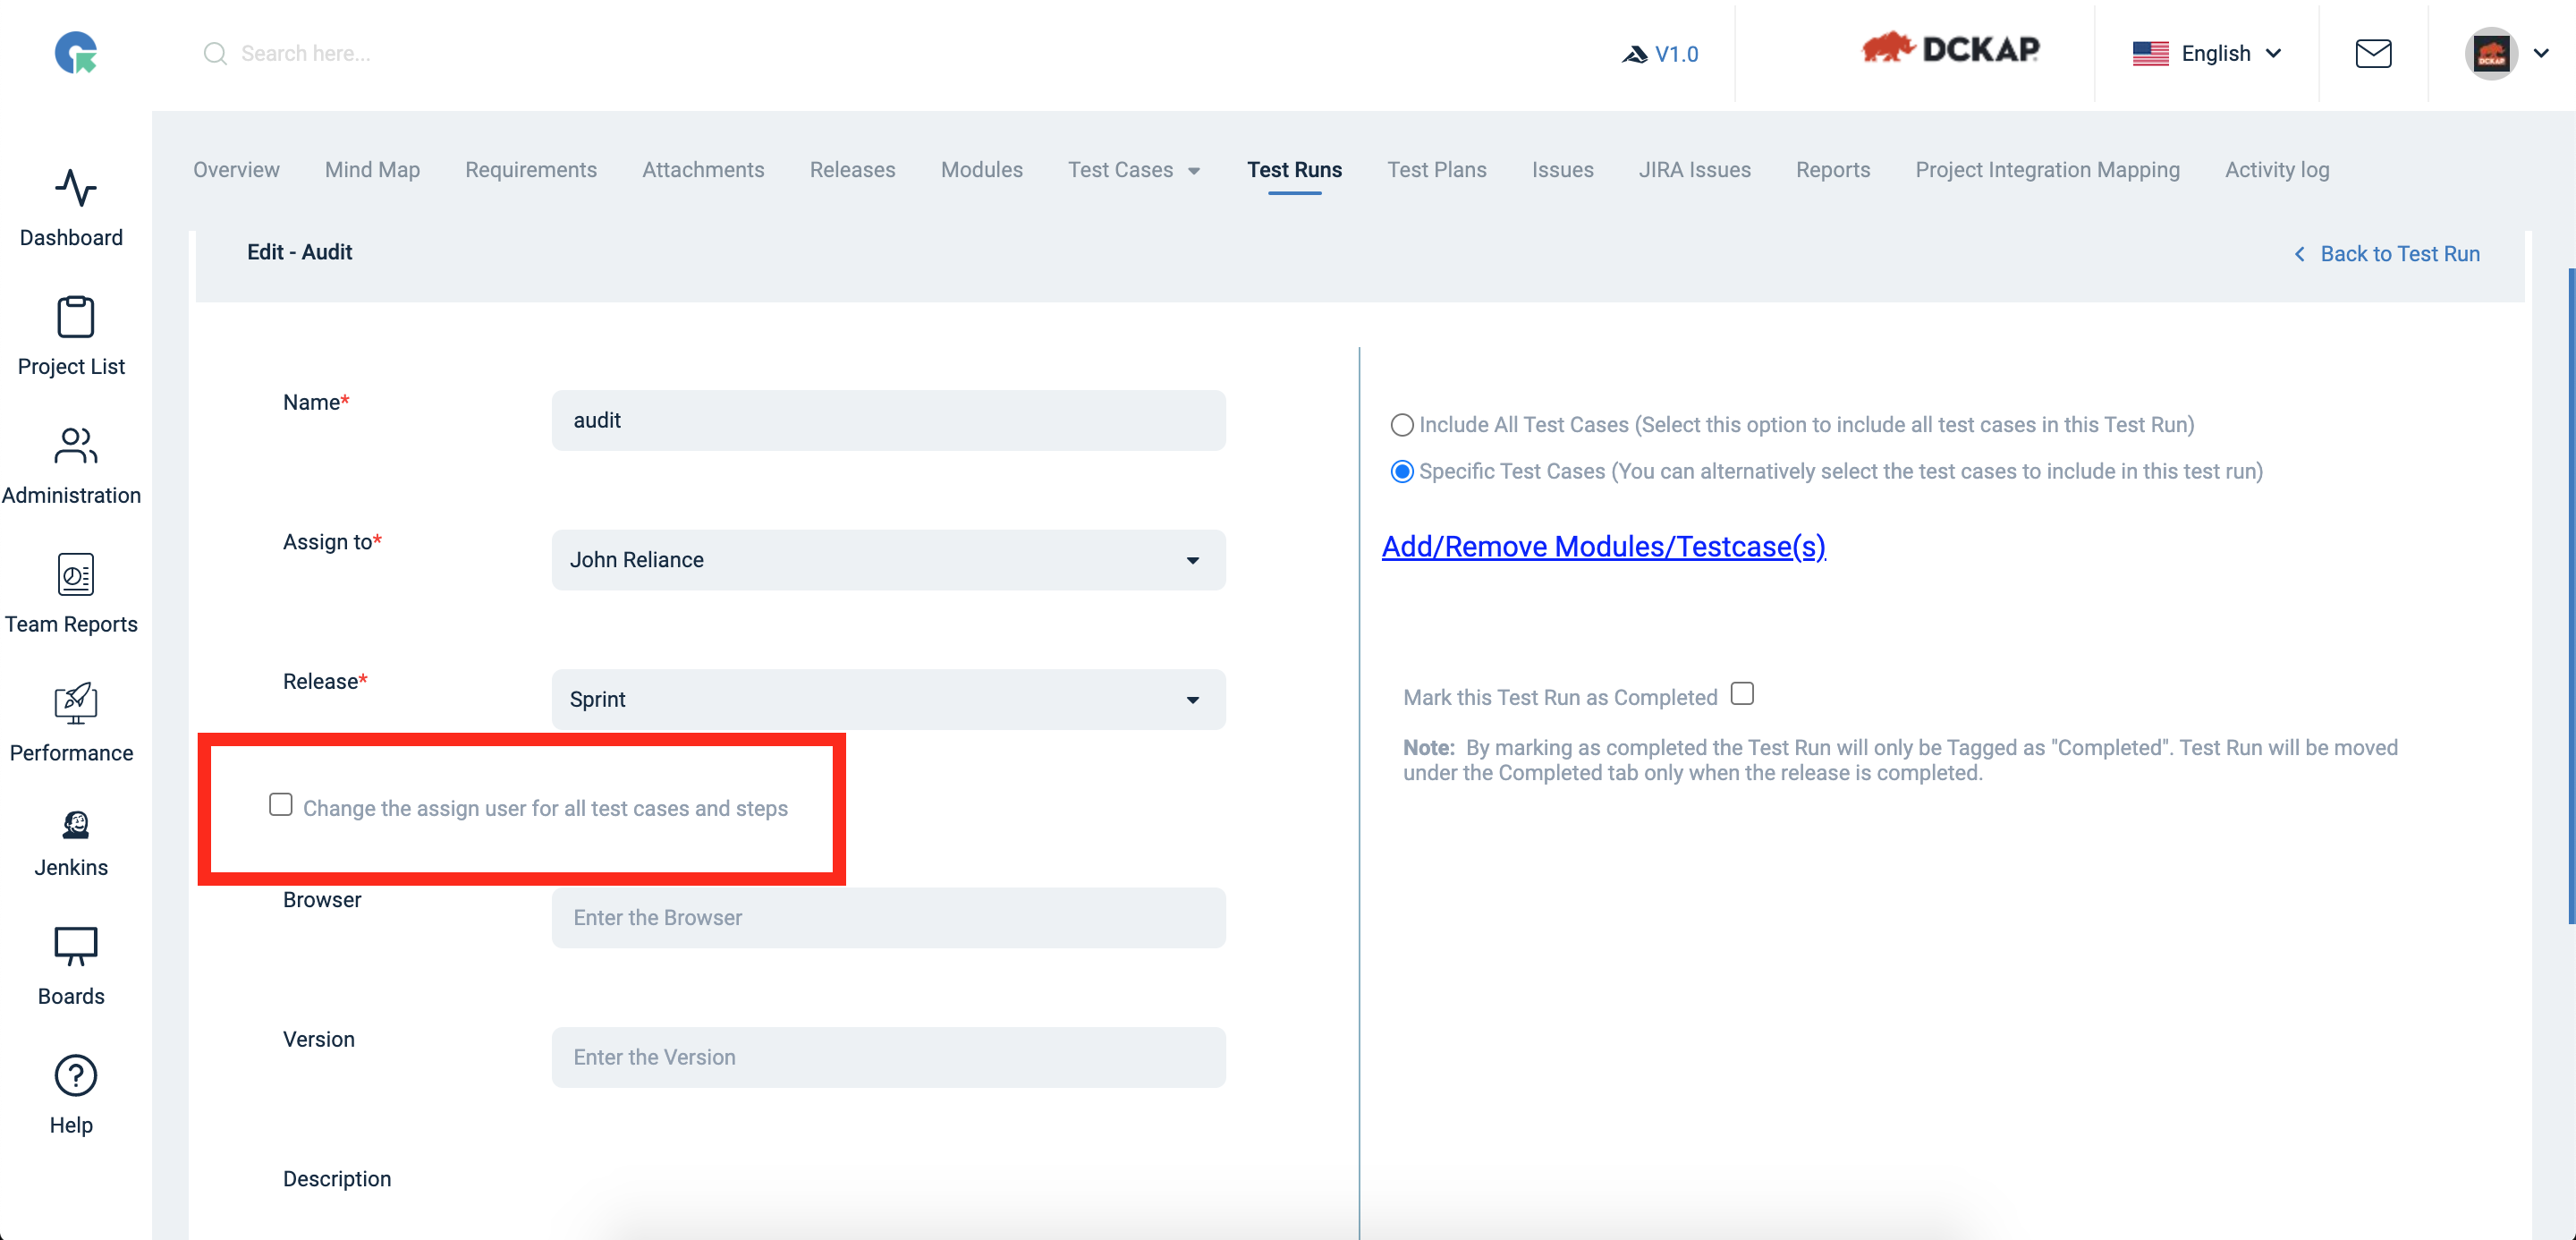
Change assign user for all Cases and Steps
- We can change the assign user for all test cases in that testrun
- Click on edit in the testrun page or testrun and results page
- Select the check box to change assign user- this will change to all test cases
- We can change the user by selecting from the assign to dropdown list
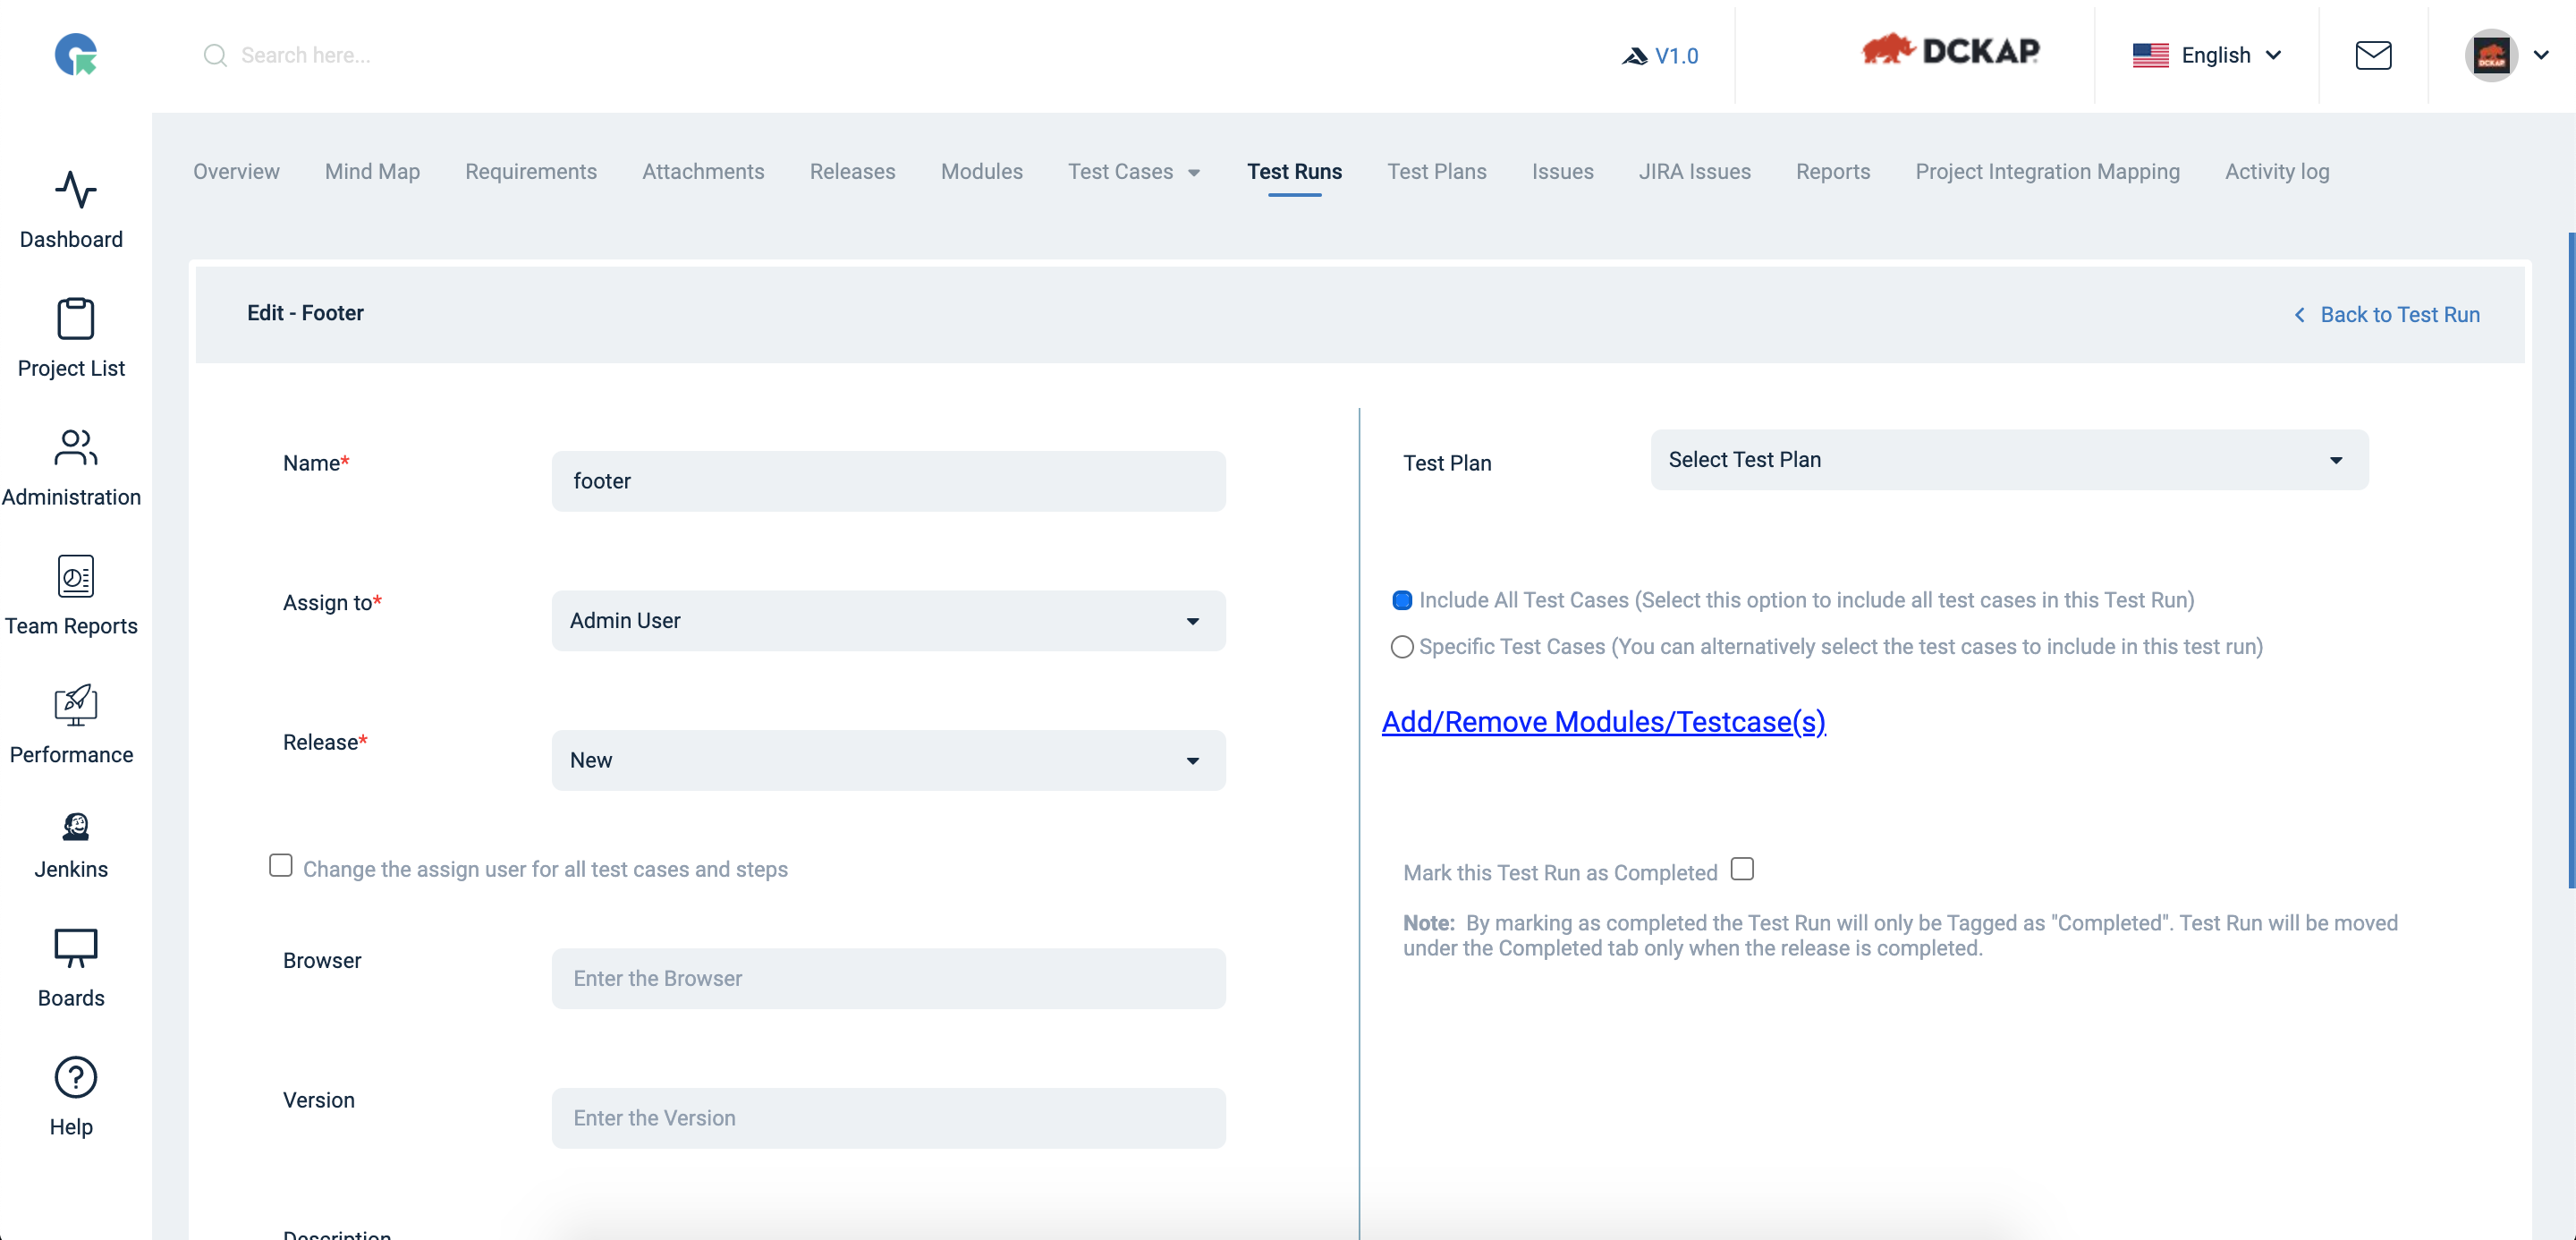
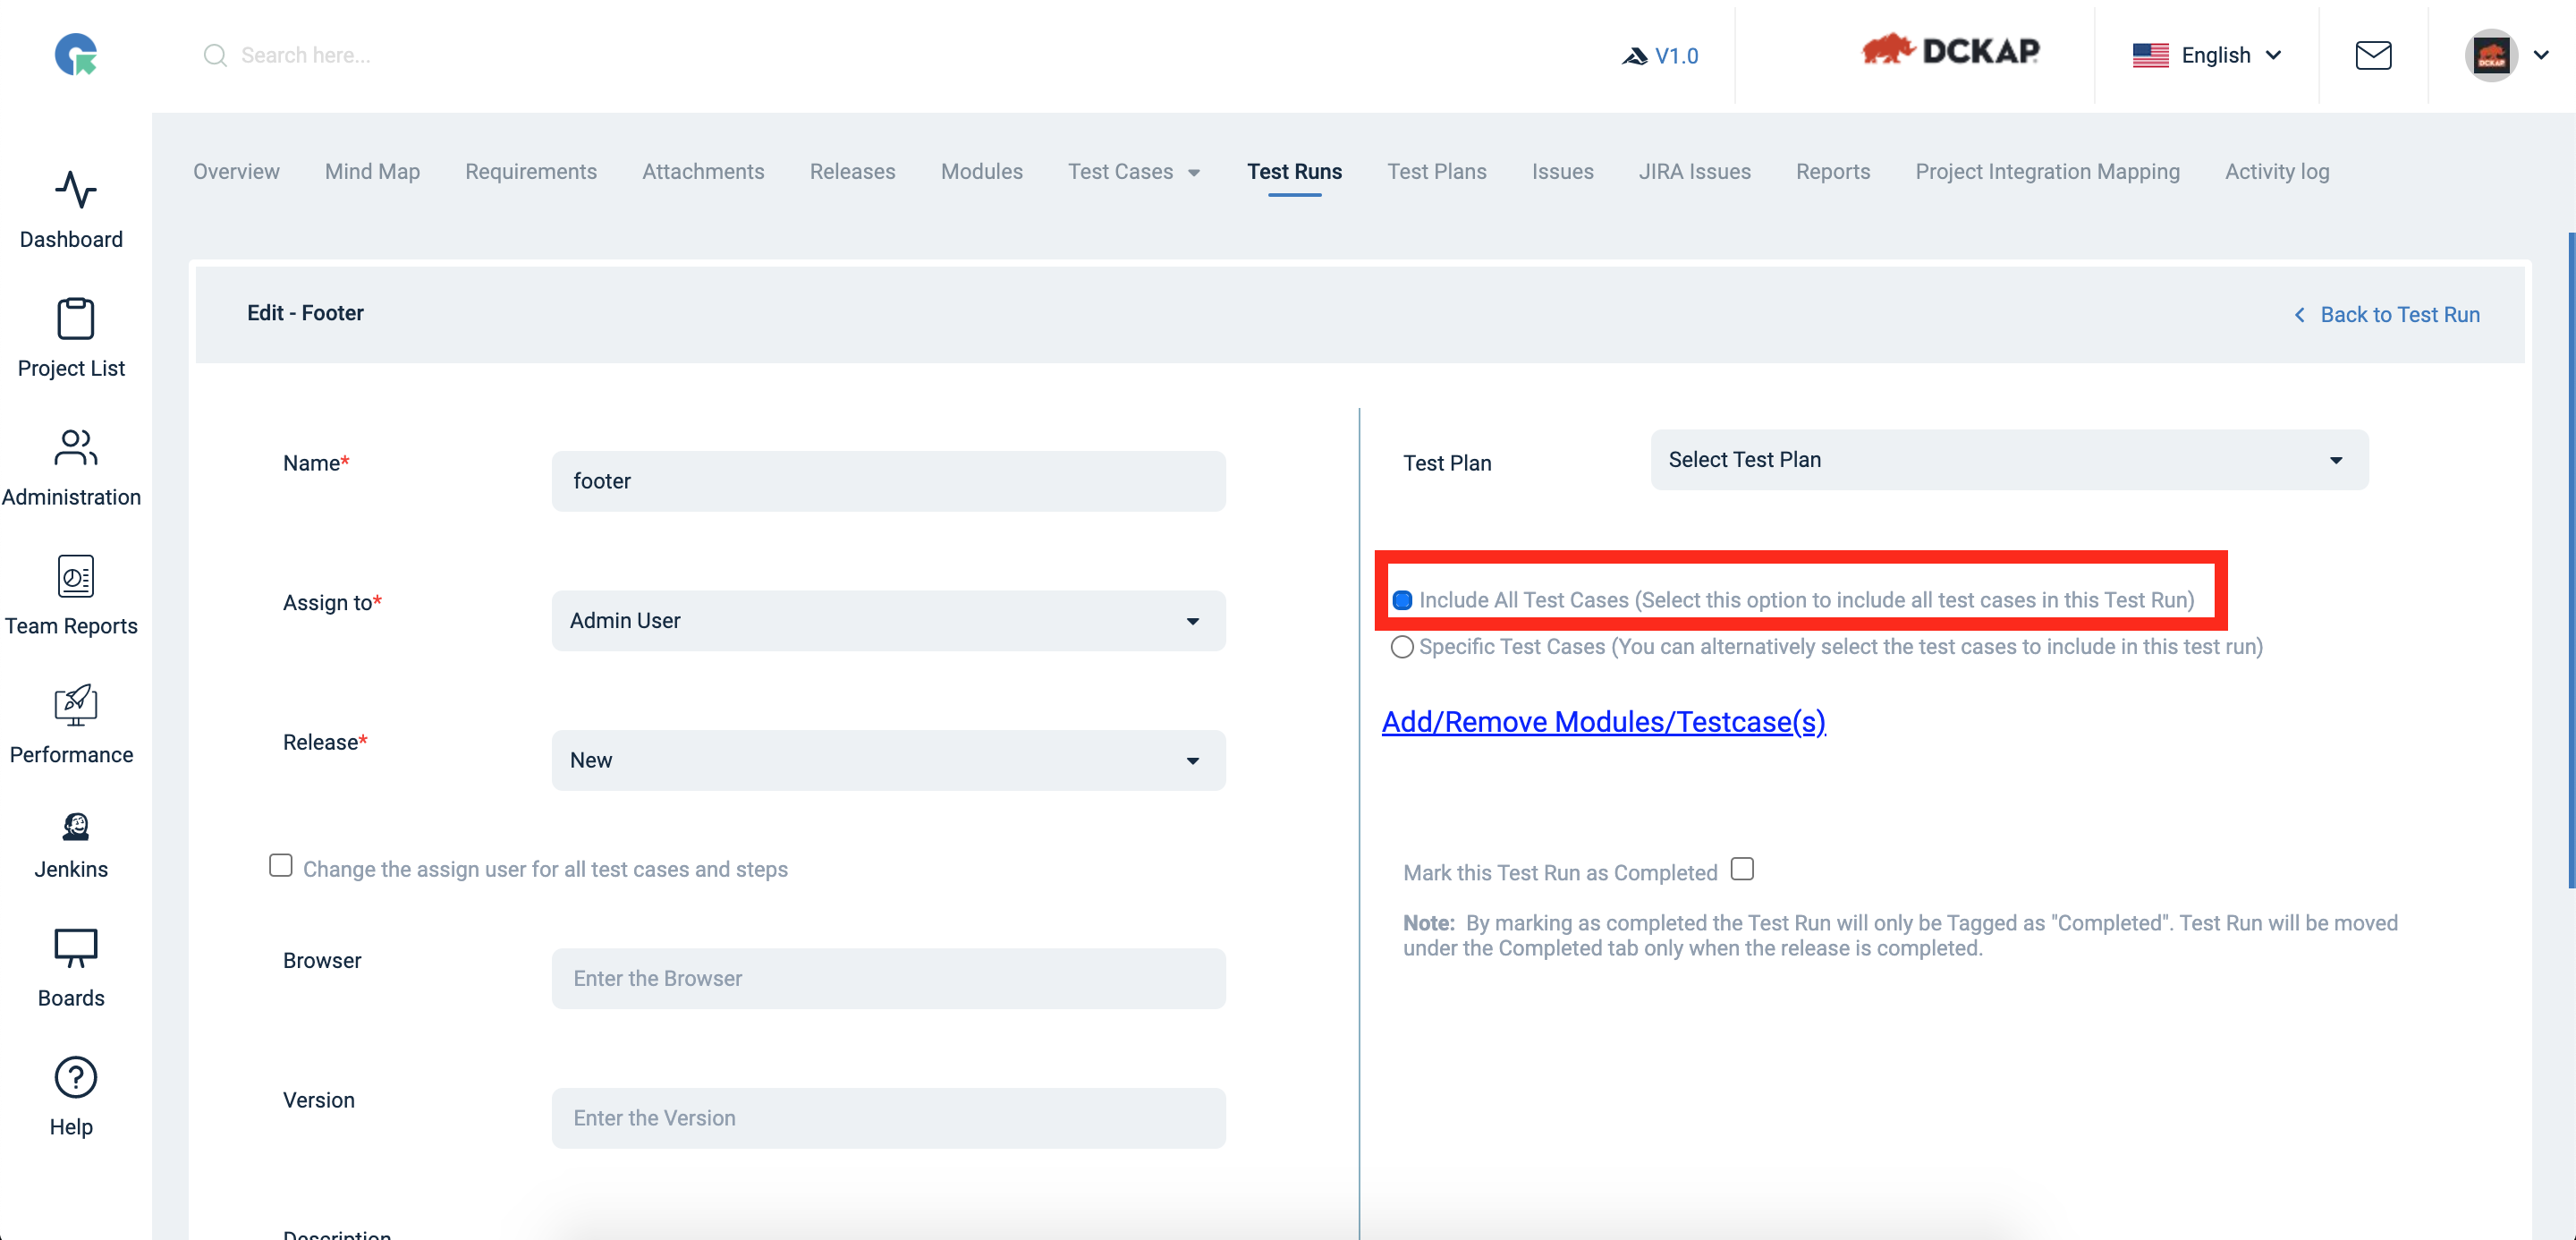
Include All Testcase in Testrun
- To goto Test run page, Click on Project->Test Runs
- Click on “edit” button
- Here we can select “Include All Test cases” option
- Click on save
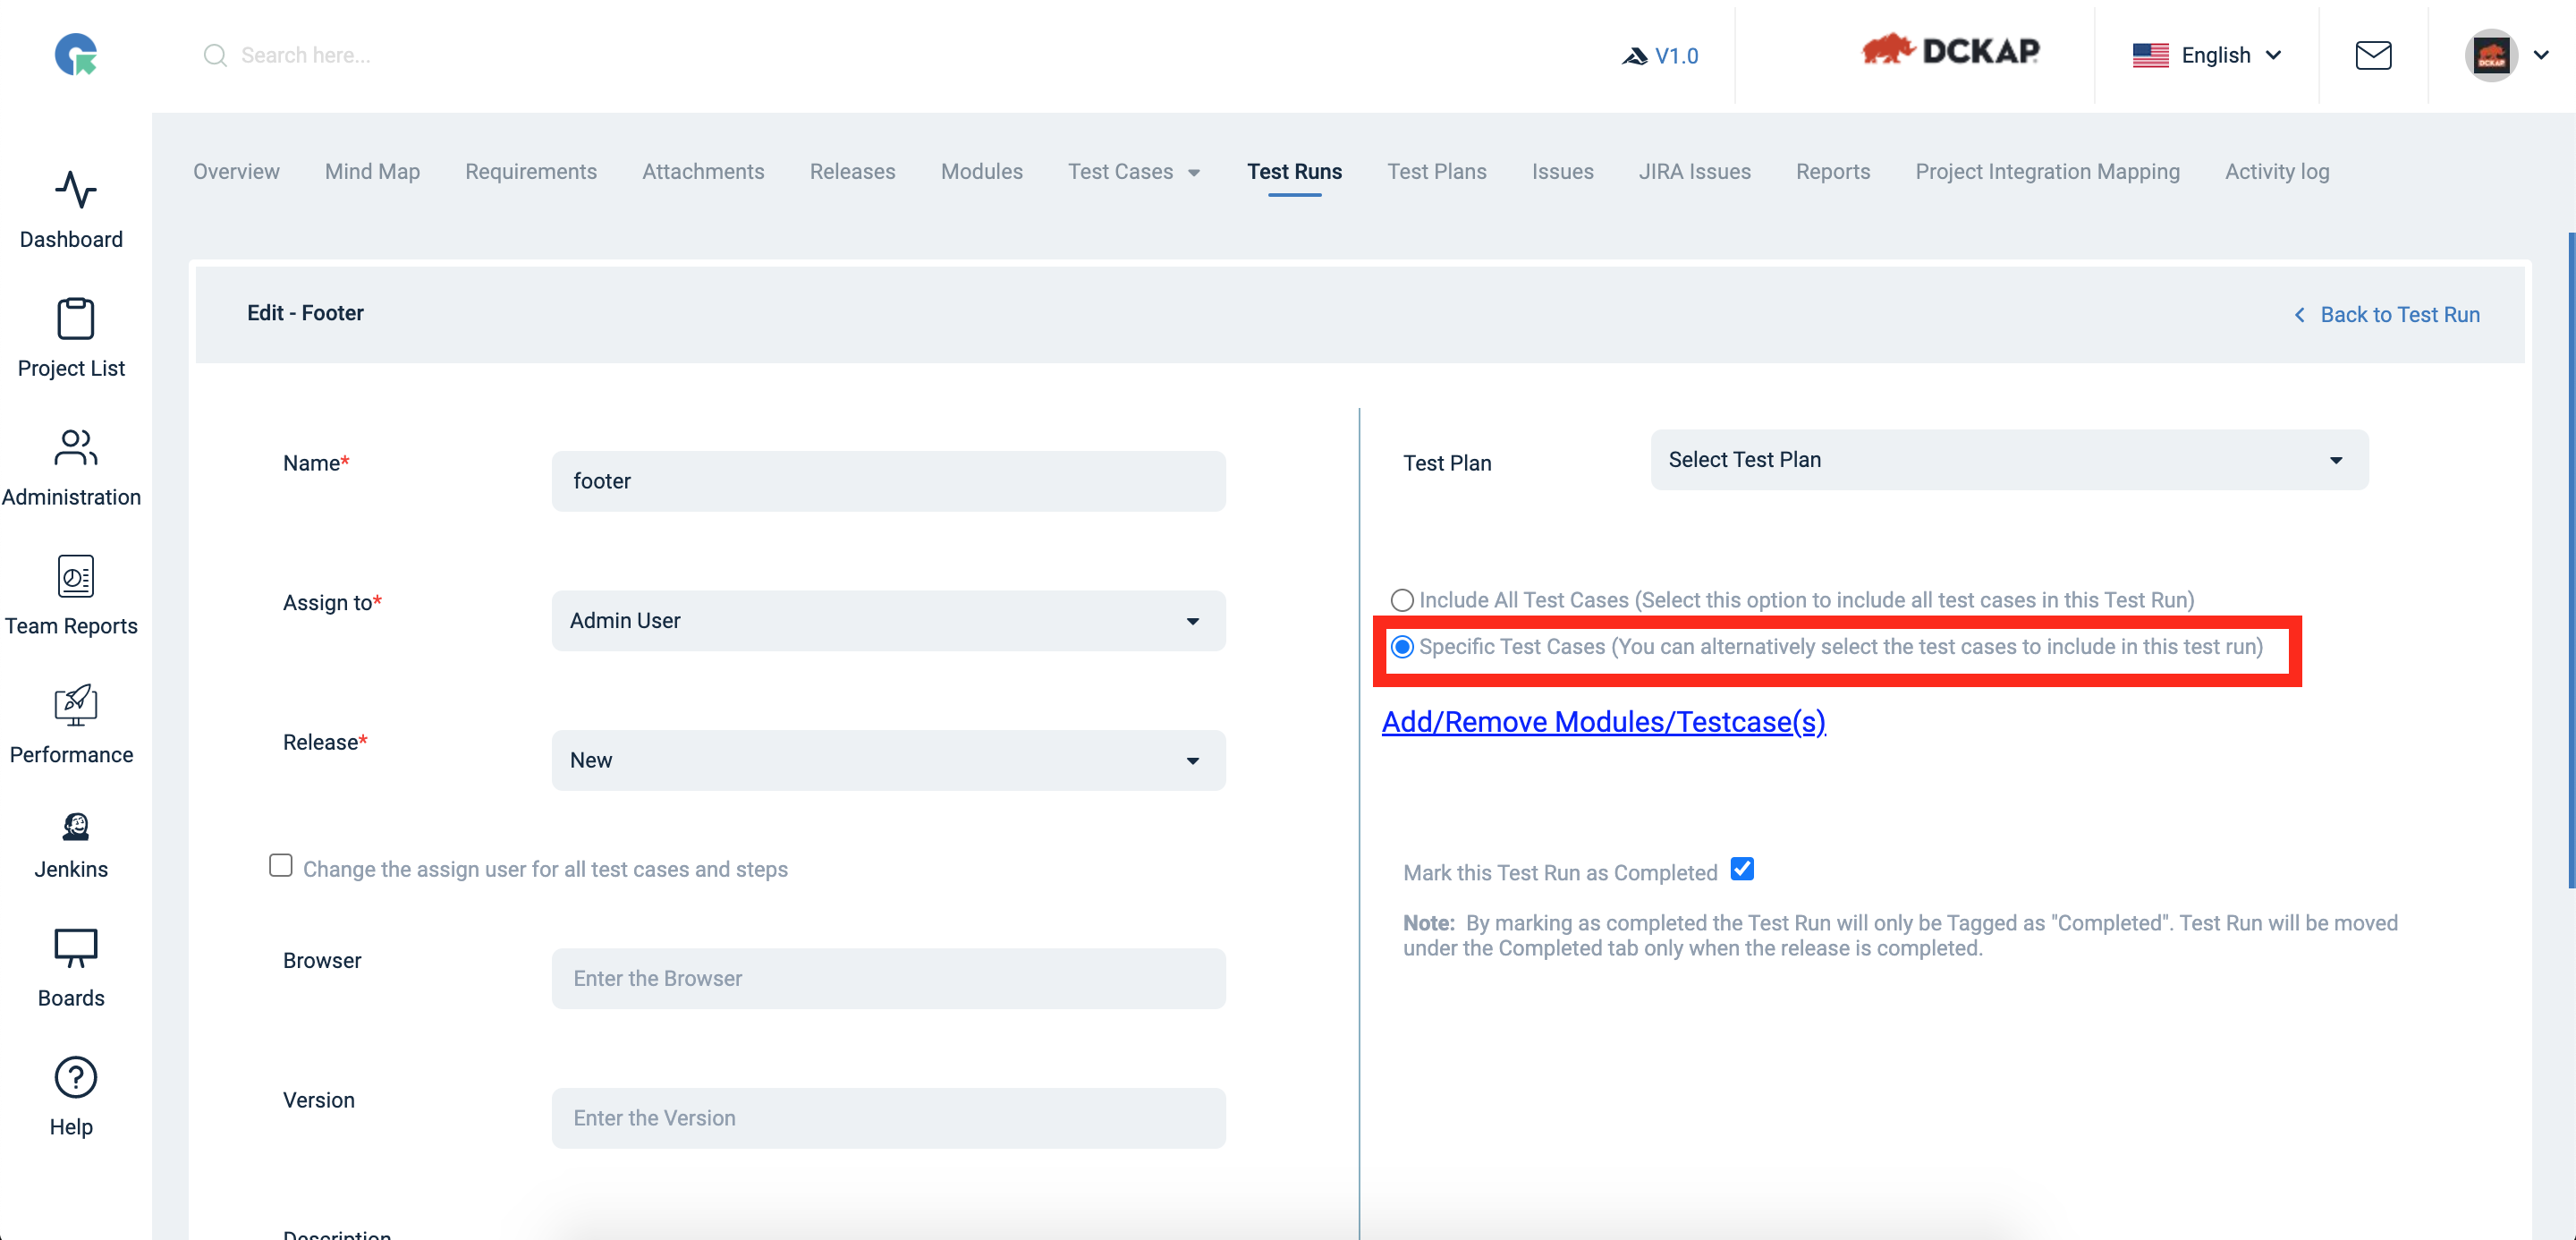
Include Specific Testcases in Testrun
- To goto Test run page, Click on Project->Test Runs
- Click on “edit” button
- Here we can select “Include specific Test cases” option
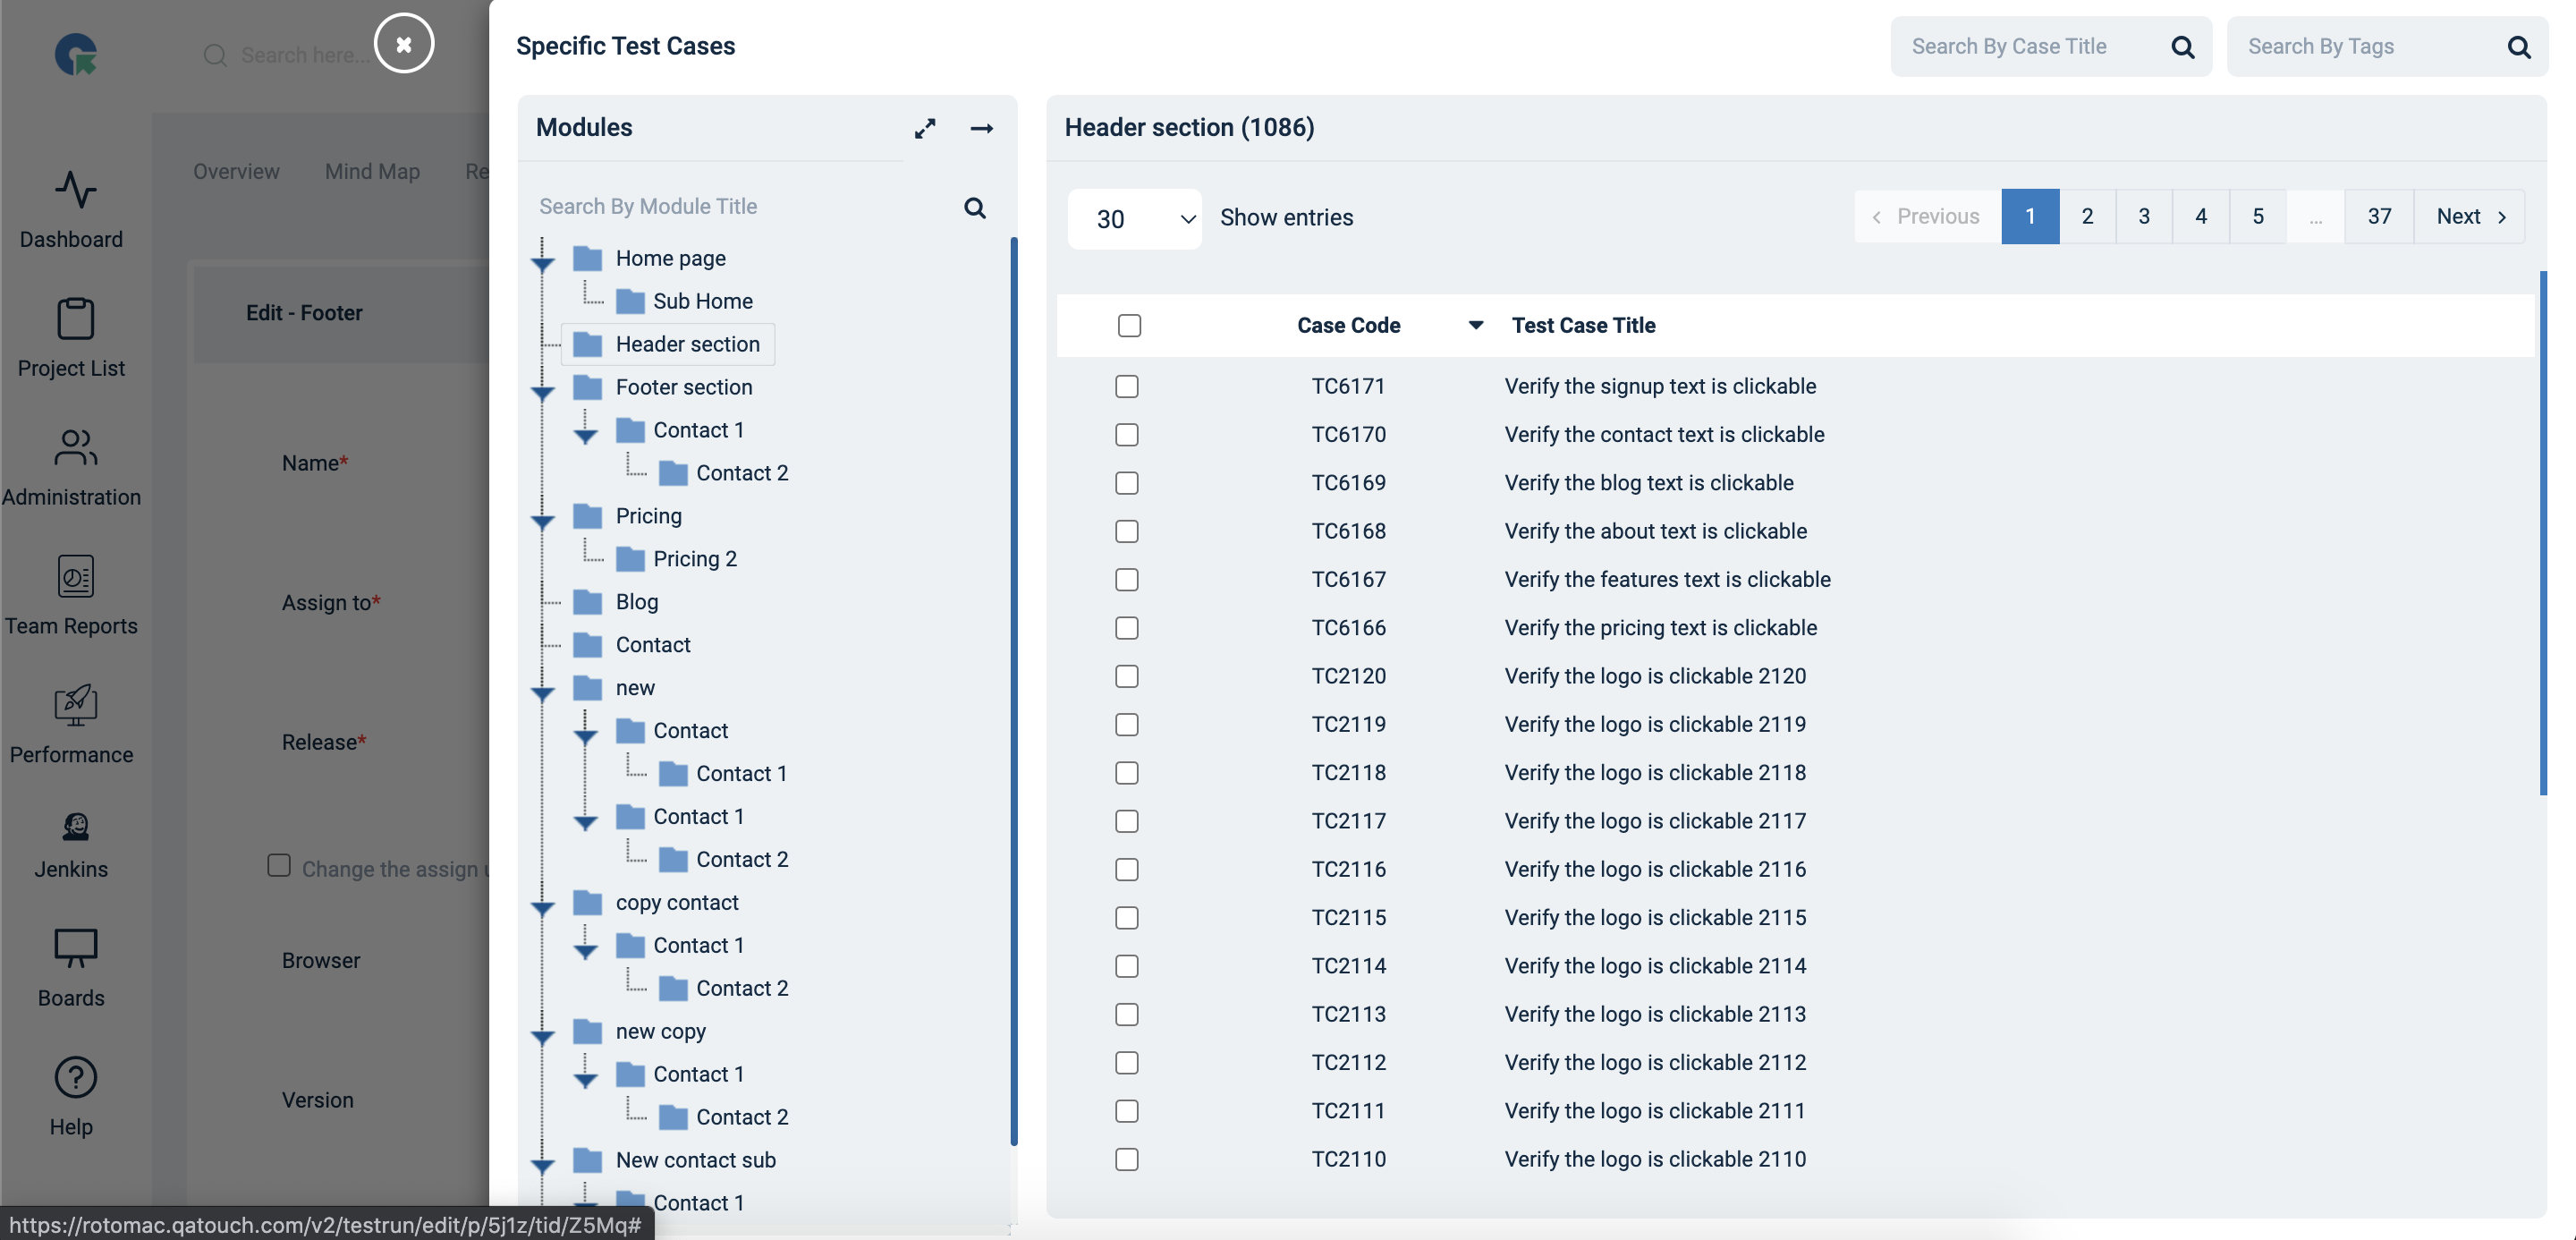
- Now will open Case list overlay with module section
- Here we can select the Test cases.
- After selection of cases, we can close the overlay
- Then save the Testrun.
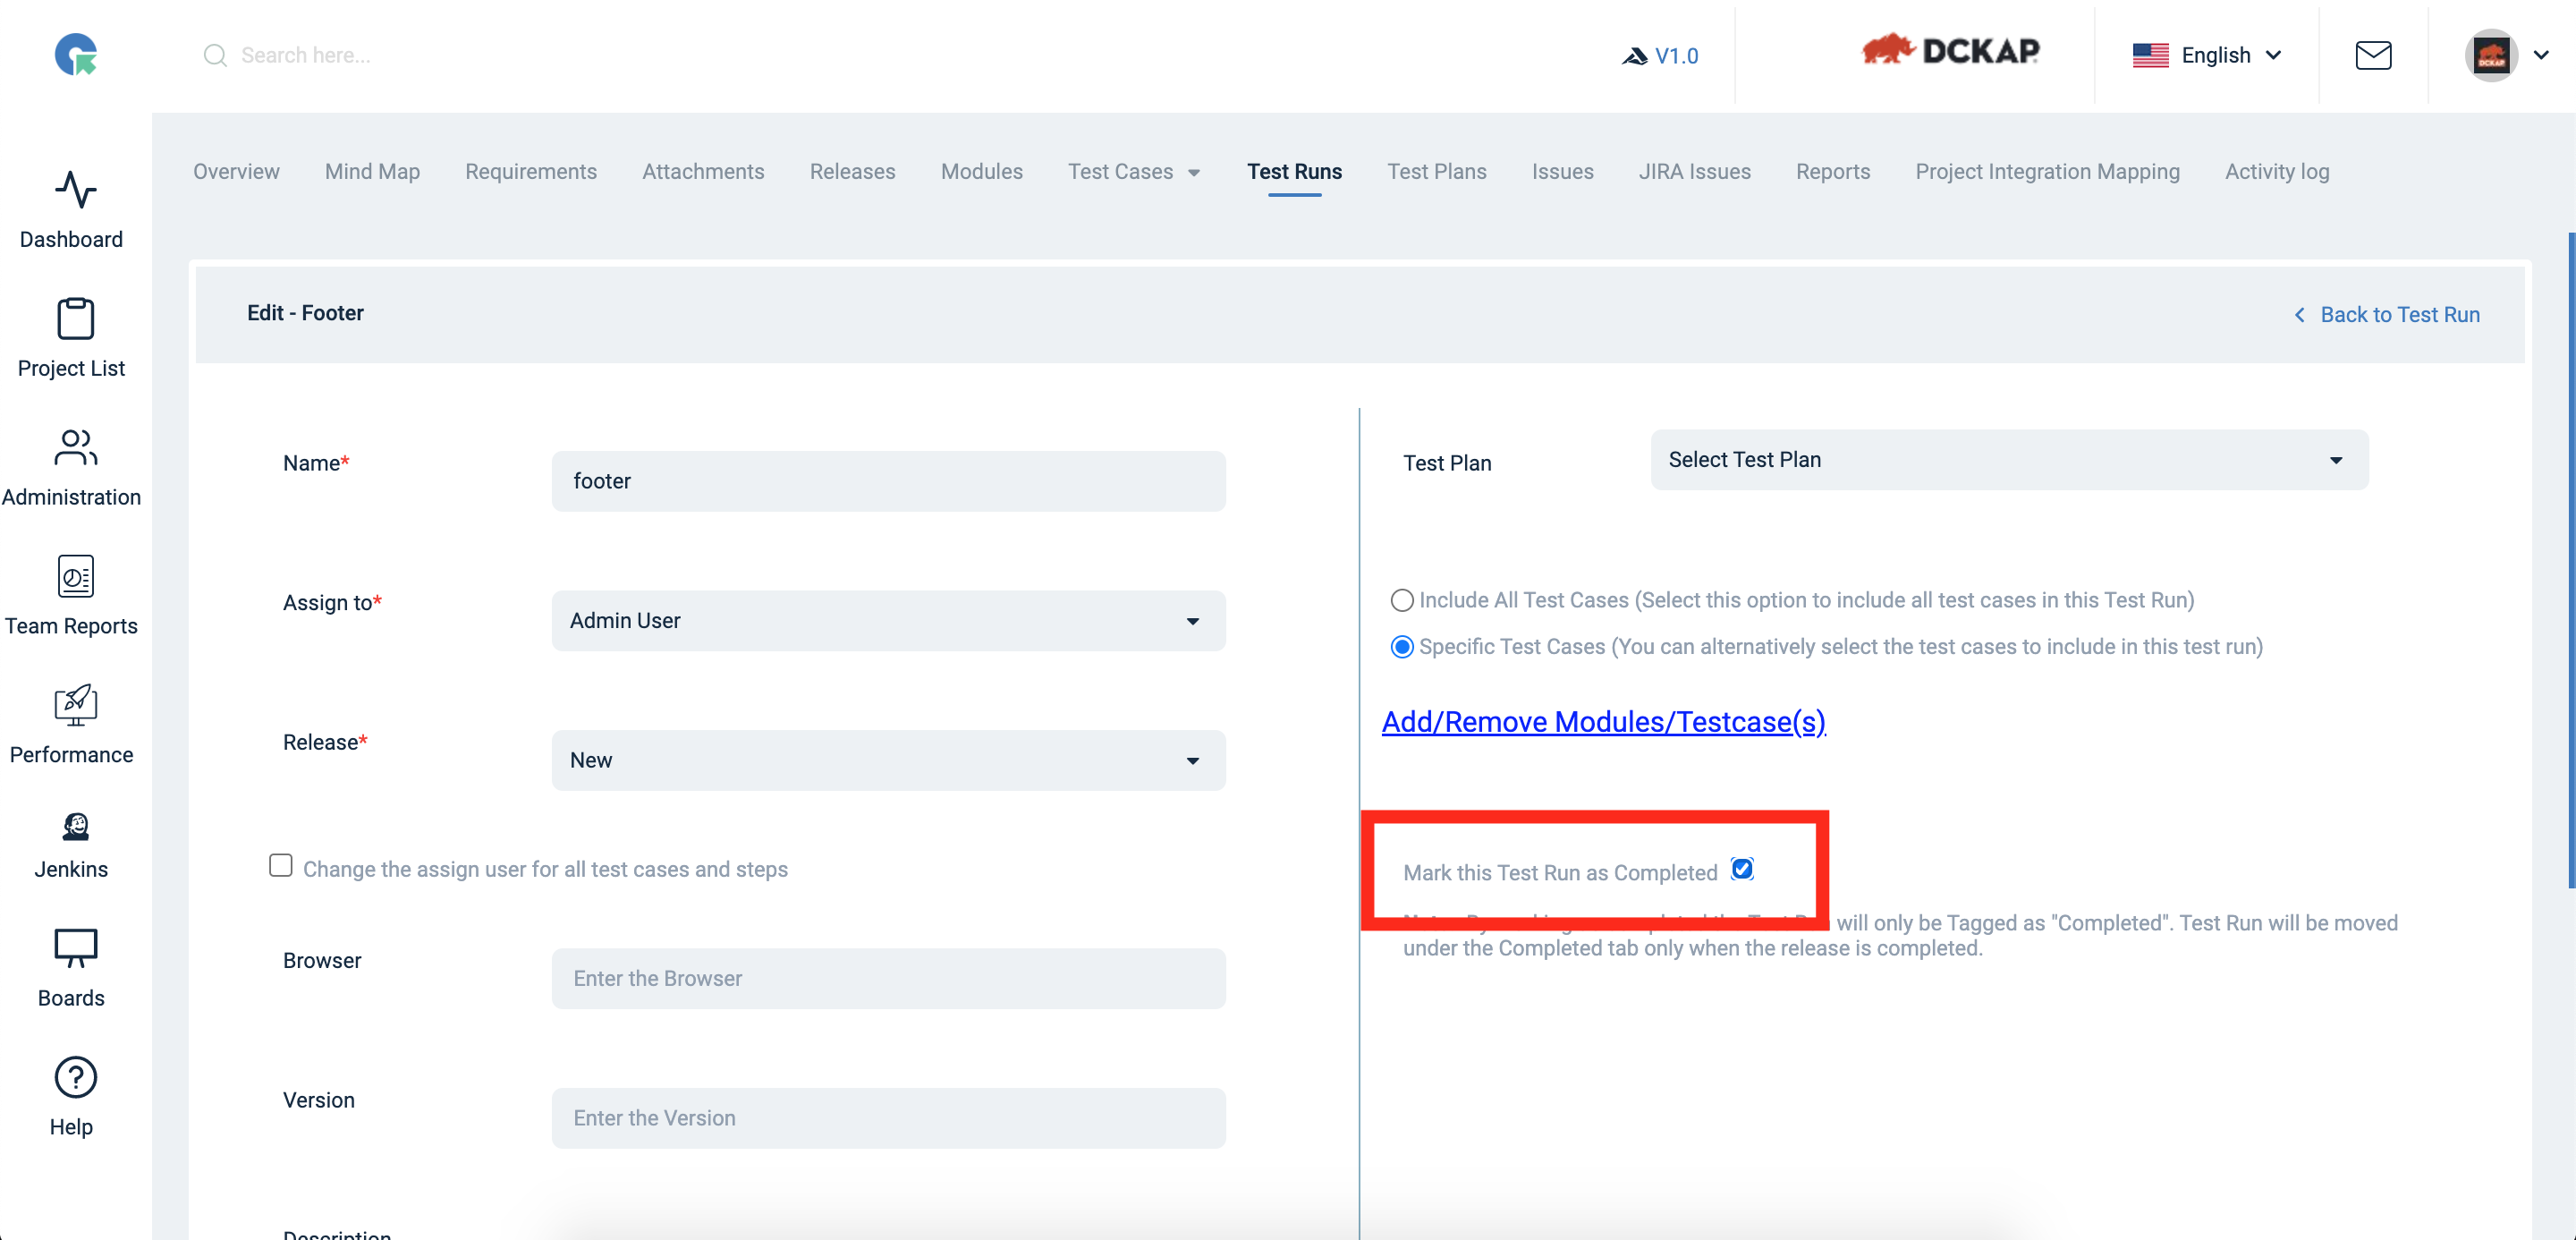
Mark as Completed
- To goto Test run page, Click on Project->Test Runs
- Click on “edit” button
- Here we can click the “Mark this Test Run as Completed” option.
- Then save the Testrun.
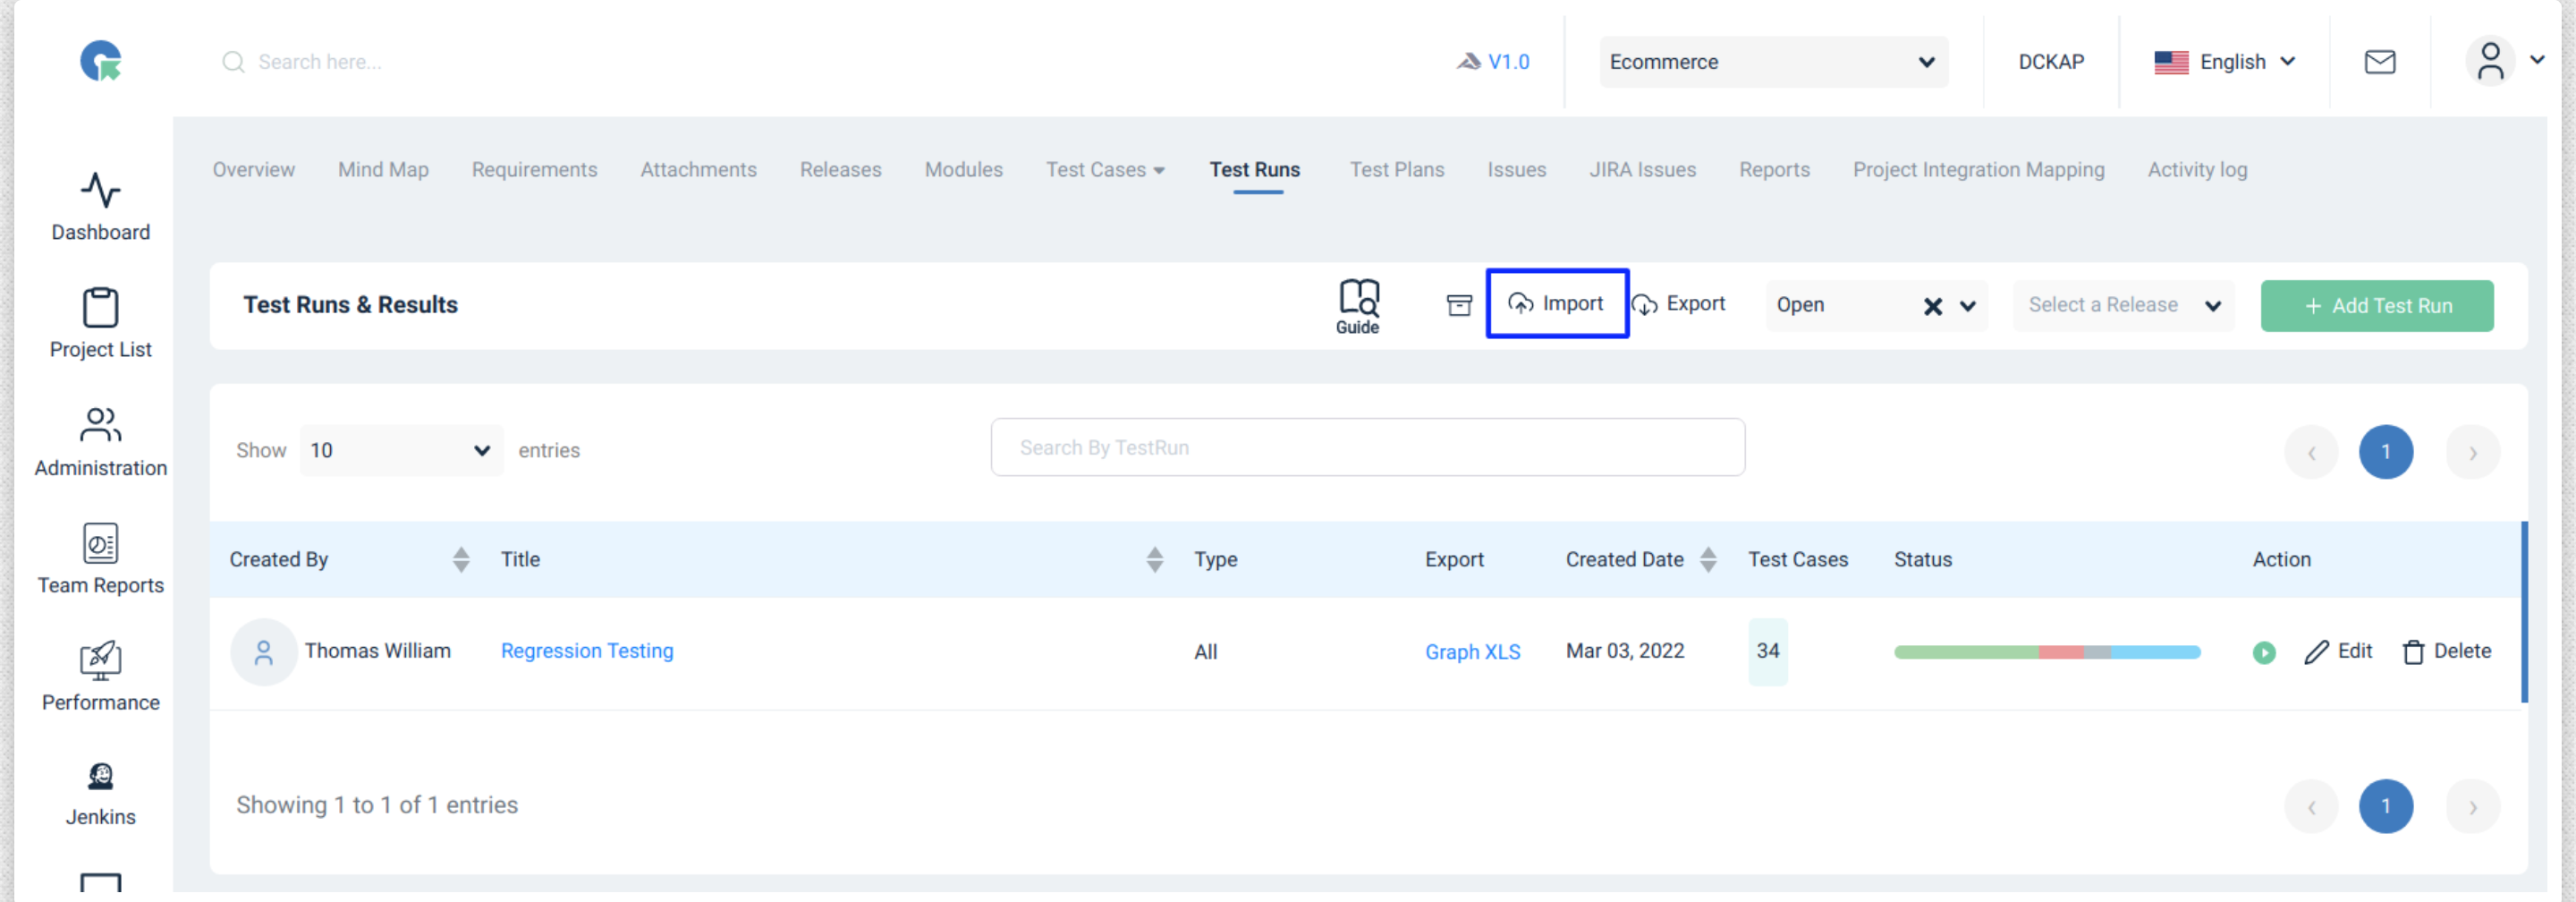
Import Testrun
- Import Test run
- Go to Test run List Page
- Click on the Import menu
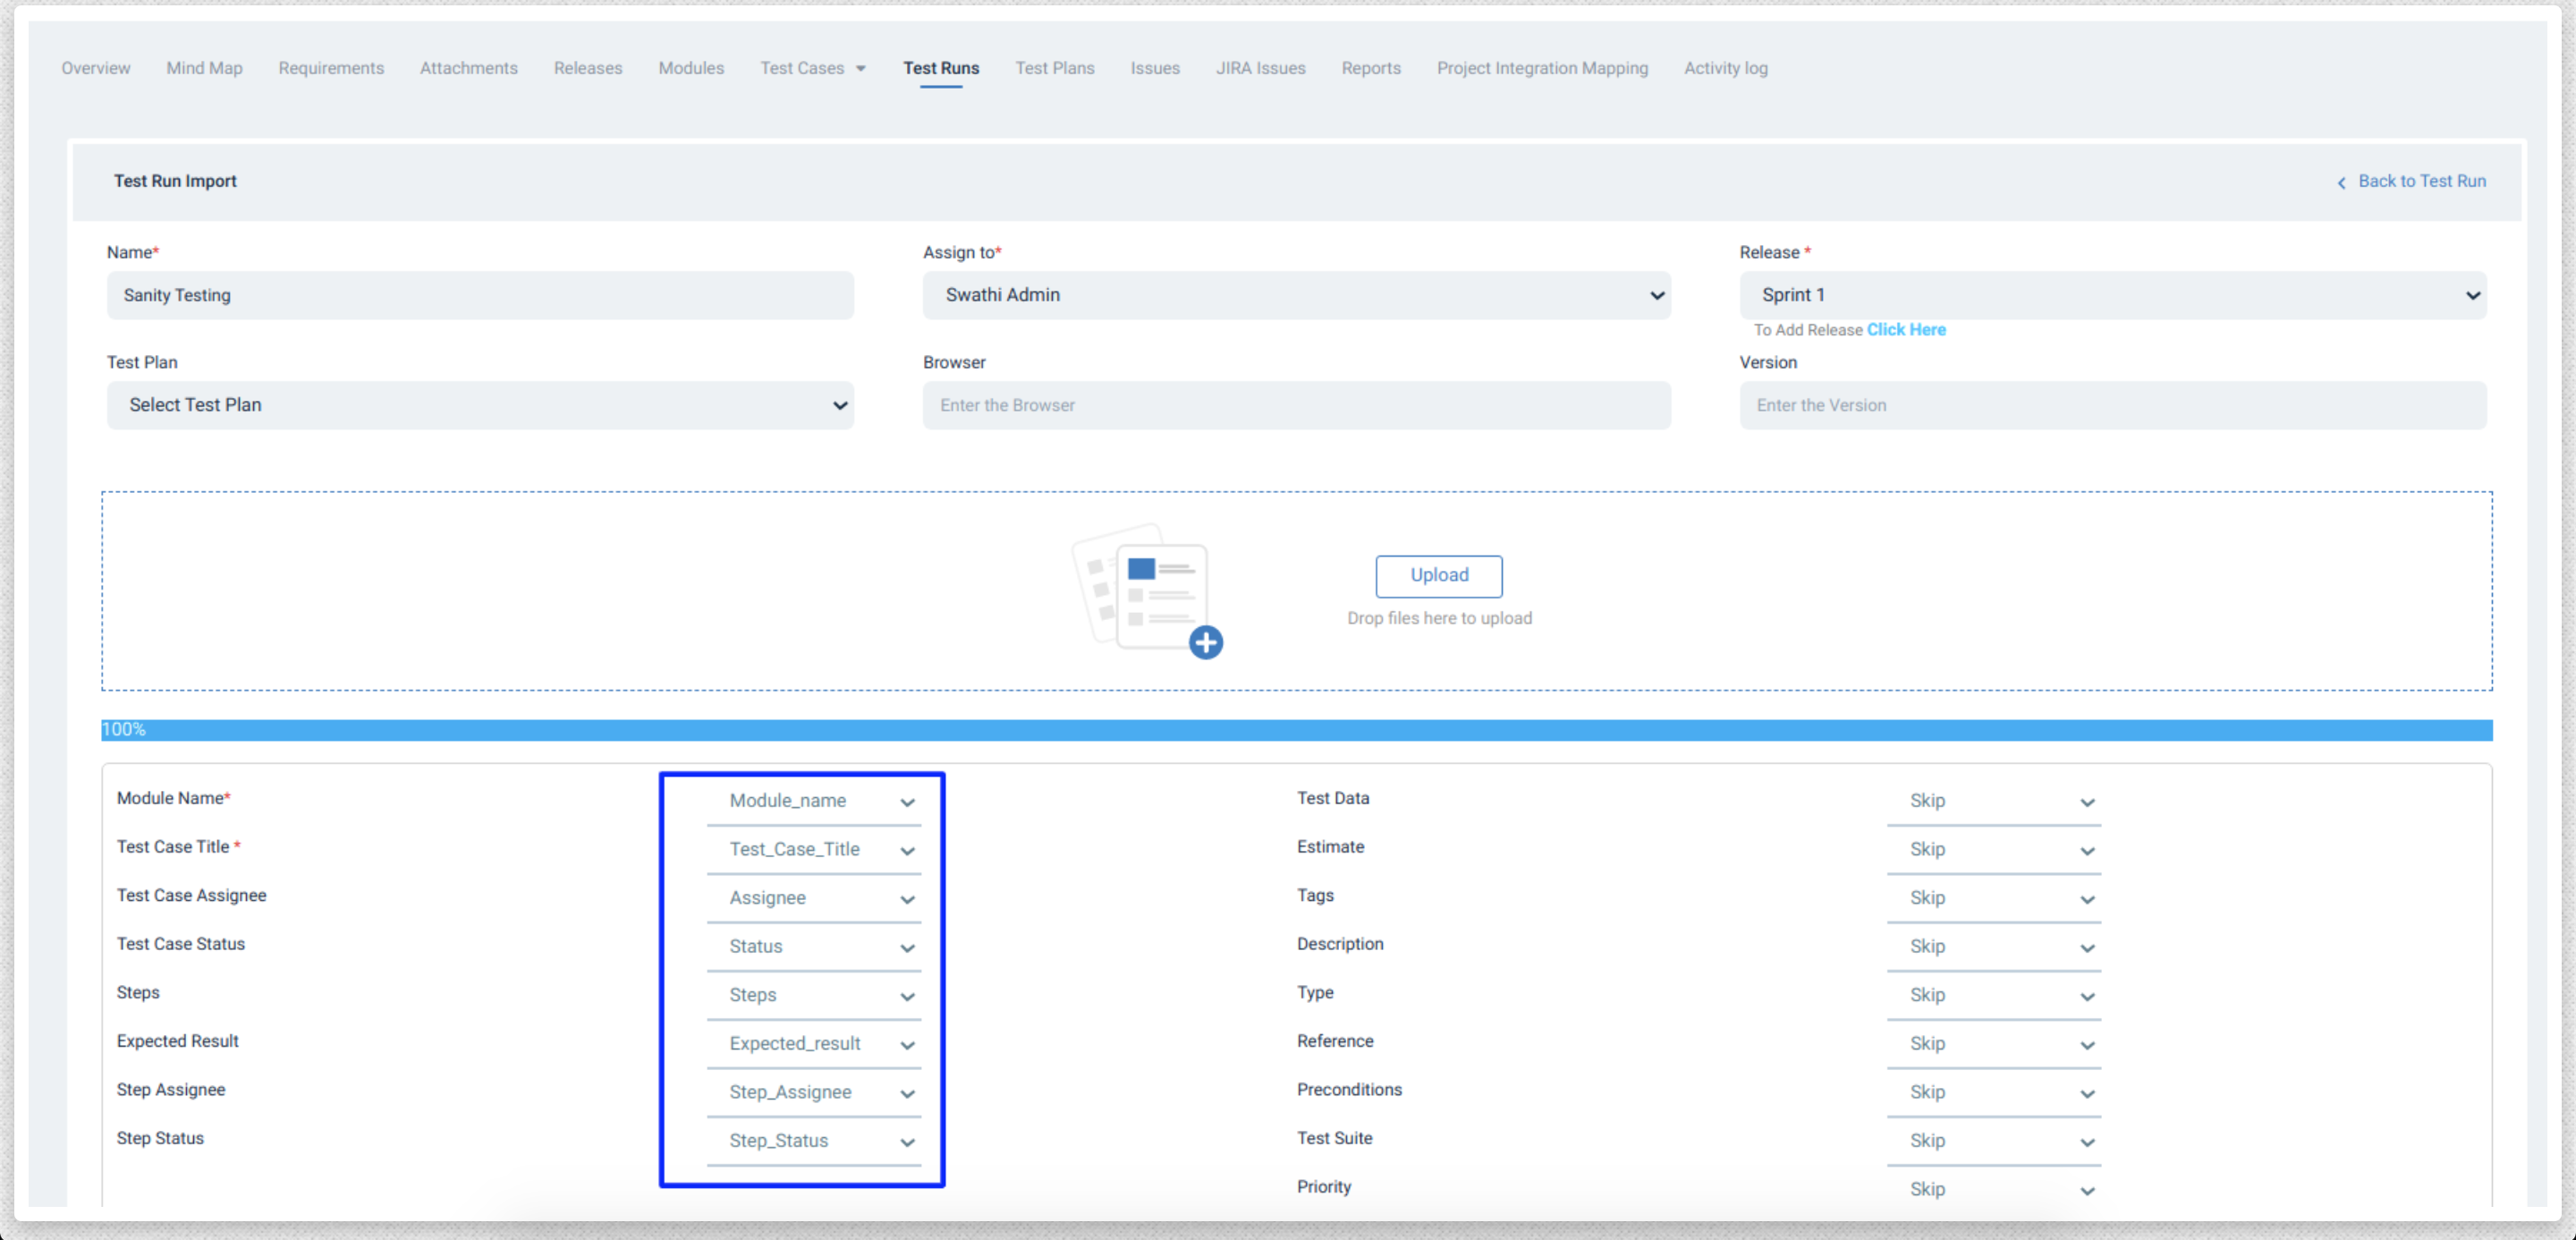
- Provide values for Required fields(Name, Assign to, Release )
- Upload the file(CSV, XLS, XLSX) to import
- Map the fields in your file with QA Touch Test run fields
- Click on the Import button
Note:
-
Required columns(Module Name, Test Case Title ), Test run Assignee will be taken as default Assignee for all Test results if Test Case Assignee field is left unmapped.
-
Records in column mapped with Test Case Assignee must be a valid user email with project access
-
Supported values of Test Case Status column (Untested, Blocked, Failed, In Progress, Not Applicable, Passed, Retest). Default status will be Untested if the Test Case Status field is left unmapped.
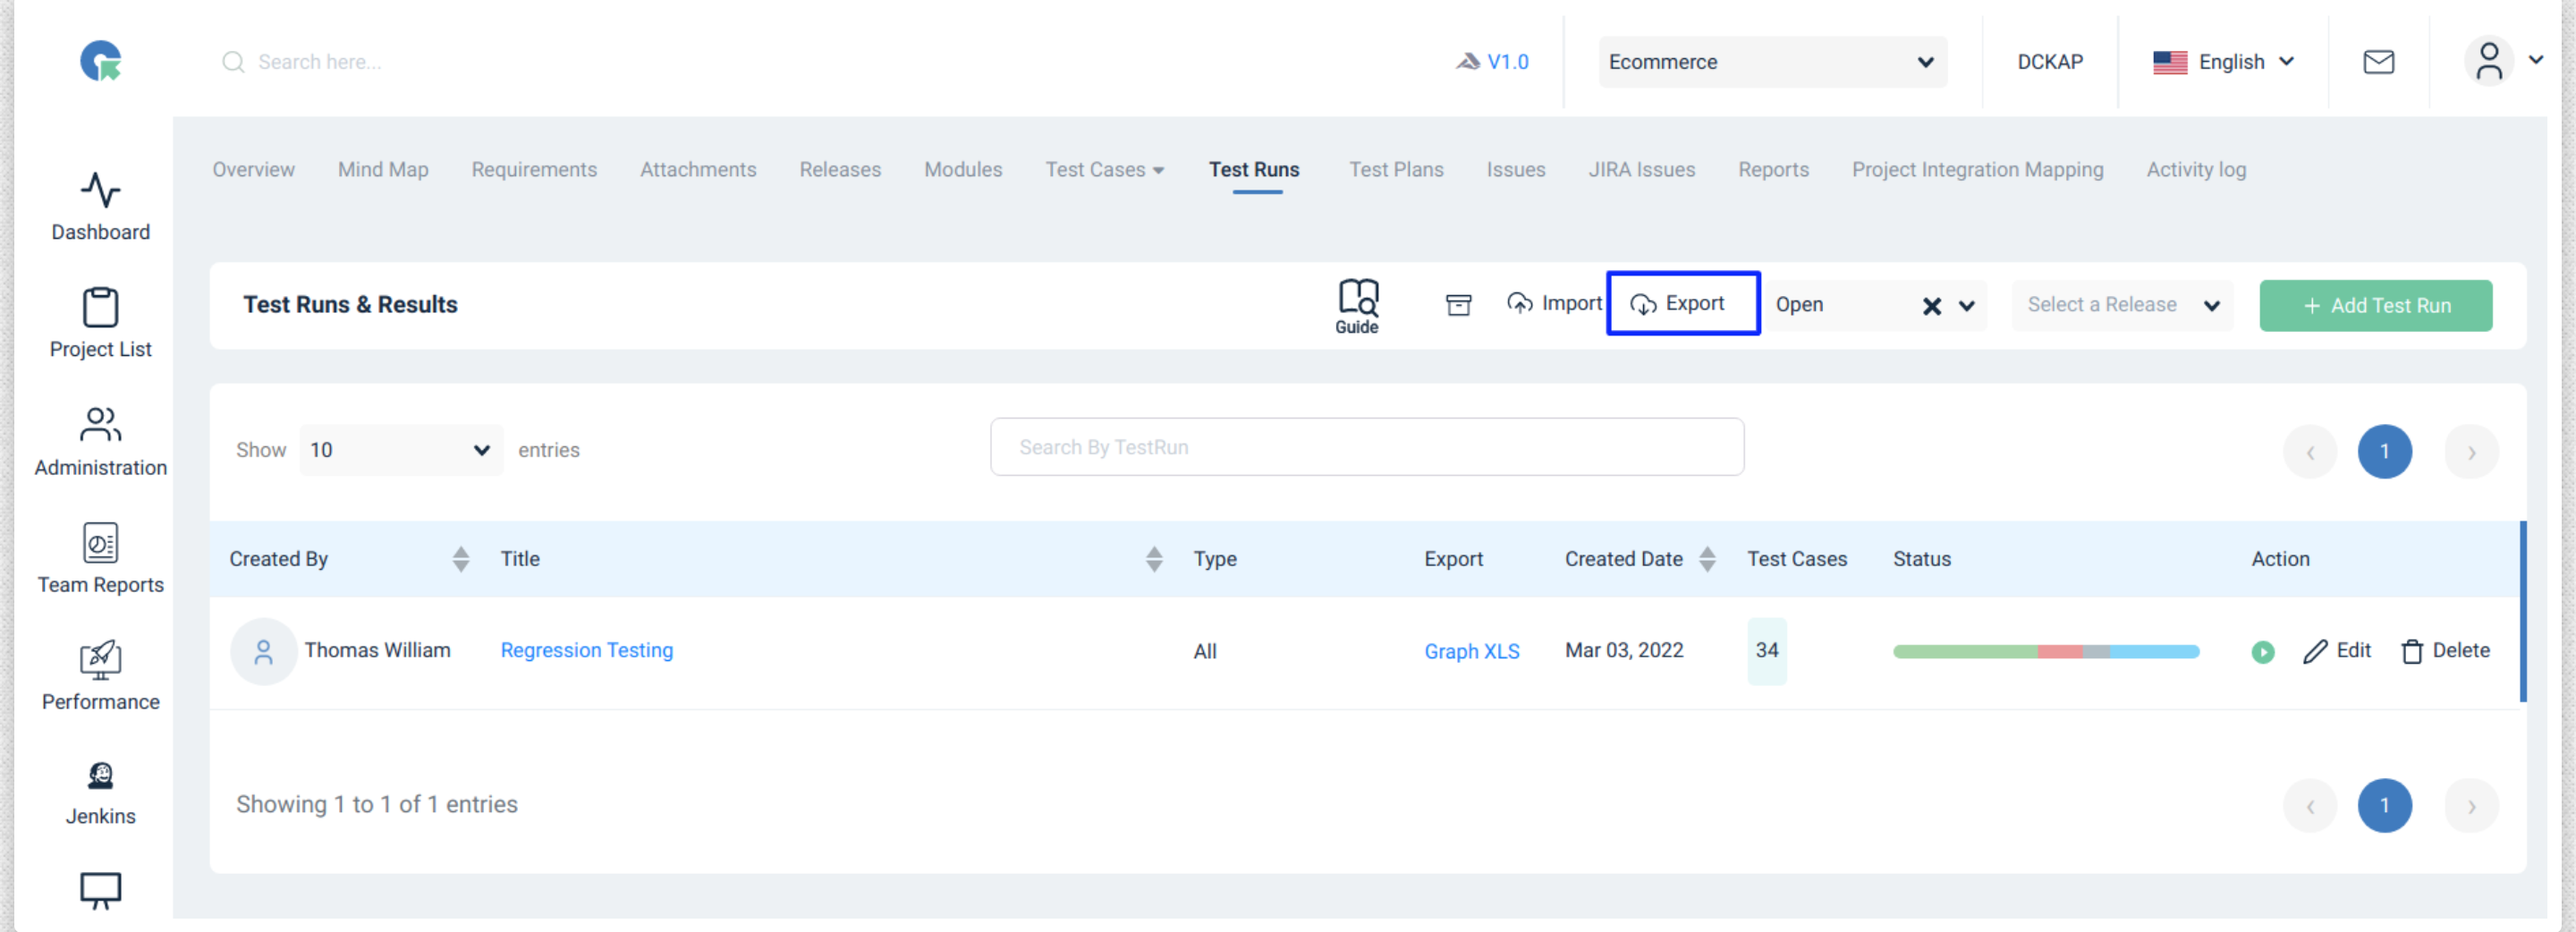
Export Testrun
- To Test runs in a project
- Go To Test run list page
- Click on the Export menu
- Click on any format in the Export dropdown.
Note:
- The Export provides details about Test run data (Testrun Name, Release Name, Assigned To, Assigned On, Browser, Version, Total Case Count, and No of Cases in Each status(Passed, Untested, Blocked, Retest, Failed, Not Applicable, In Progress) )