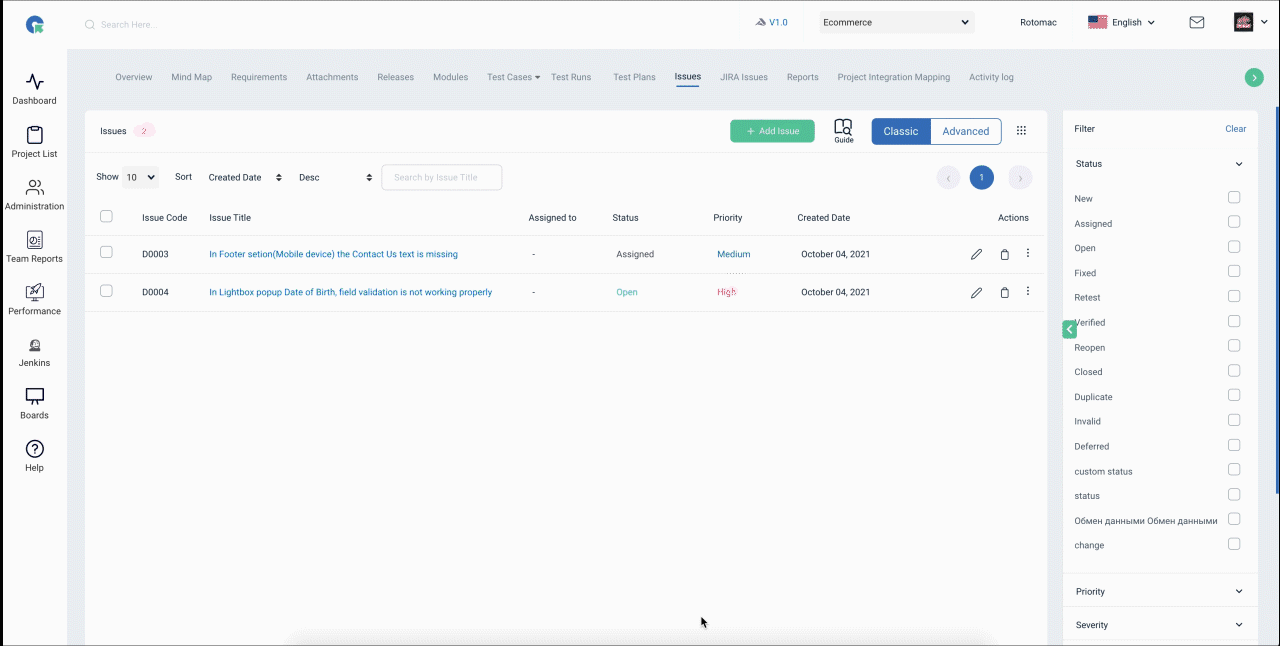
Issues

Overview
The issue is an error or failure of a test case that produces an unexpected result or to behave in an unusual way.
- QA Touch has In-built Issue Tracker which facilitates
- Add Independent Issue / Add Issues on the fly from the Test run
- Two-way linking of Issues with a Test case result
- Tracked Linked Issues with our suite of reports
Custom fields for Issues:
Custom fields allow you to organize any information that’s useful for your project and associate it with issues .When you create a custom field and add it to a project, it becomes available for all issues that’s created in the project.
How to add custom fields in Issues?
- Login in QA Touch.
- Go to Administration > Custom Fields
- Click on add field button
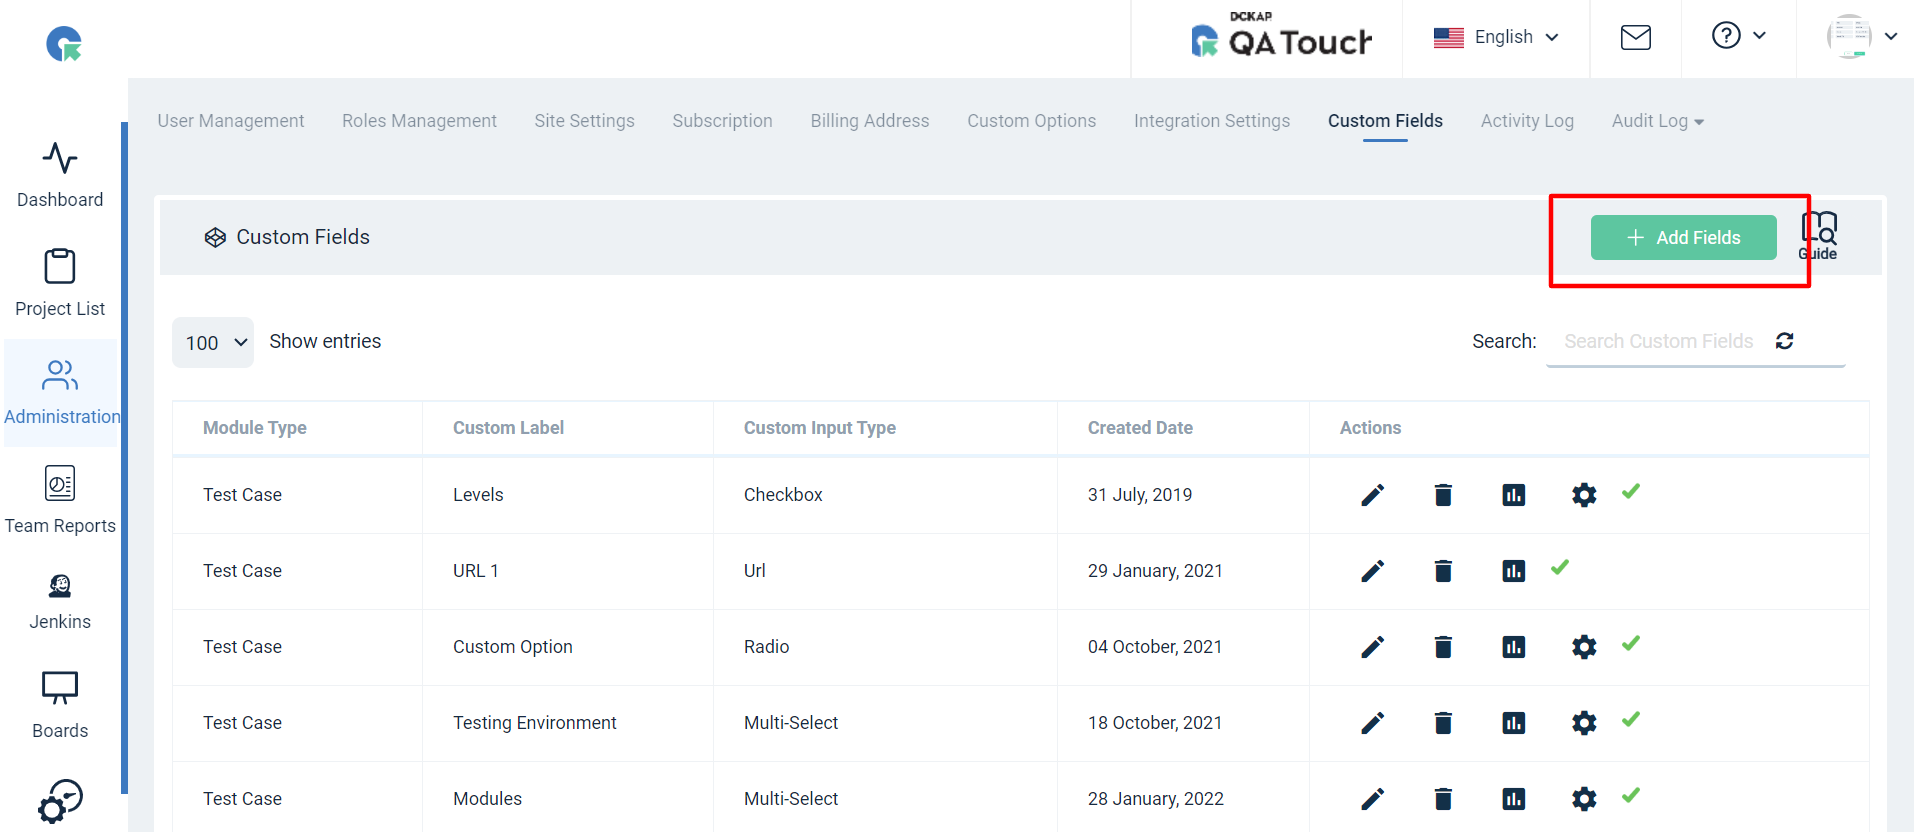
- Select issue in module type
- Select a specific project (OR) select all projects (as per requirement)
- Click on “next”
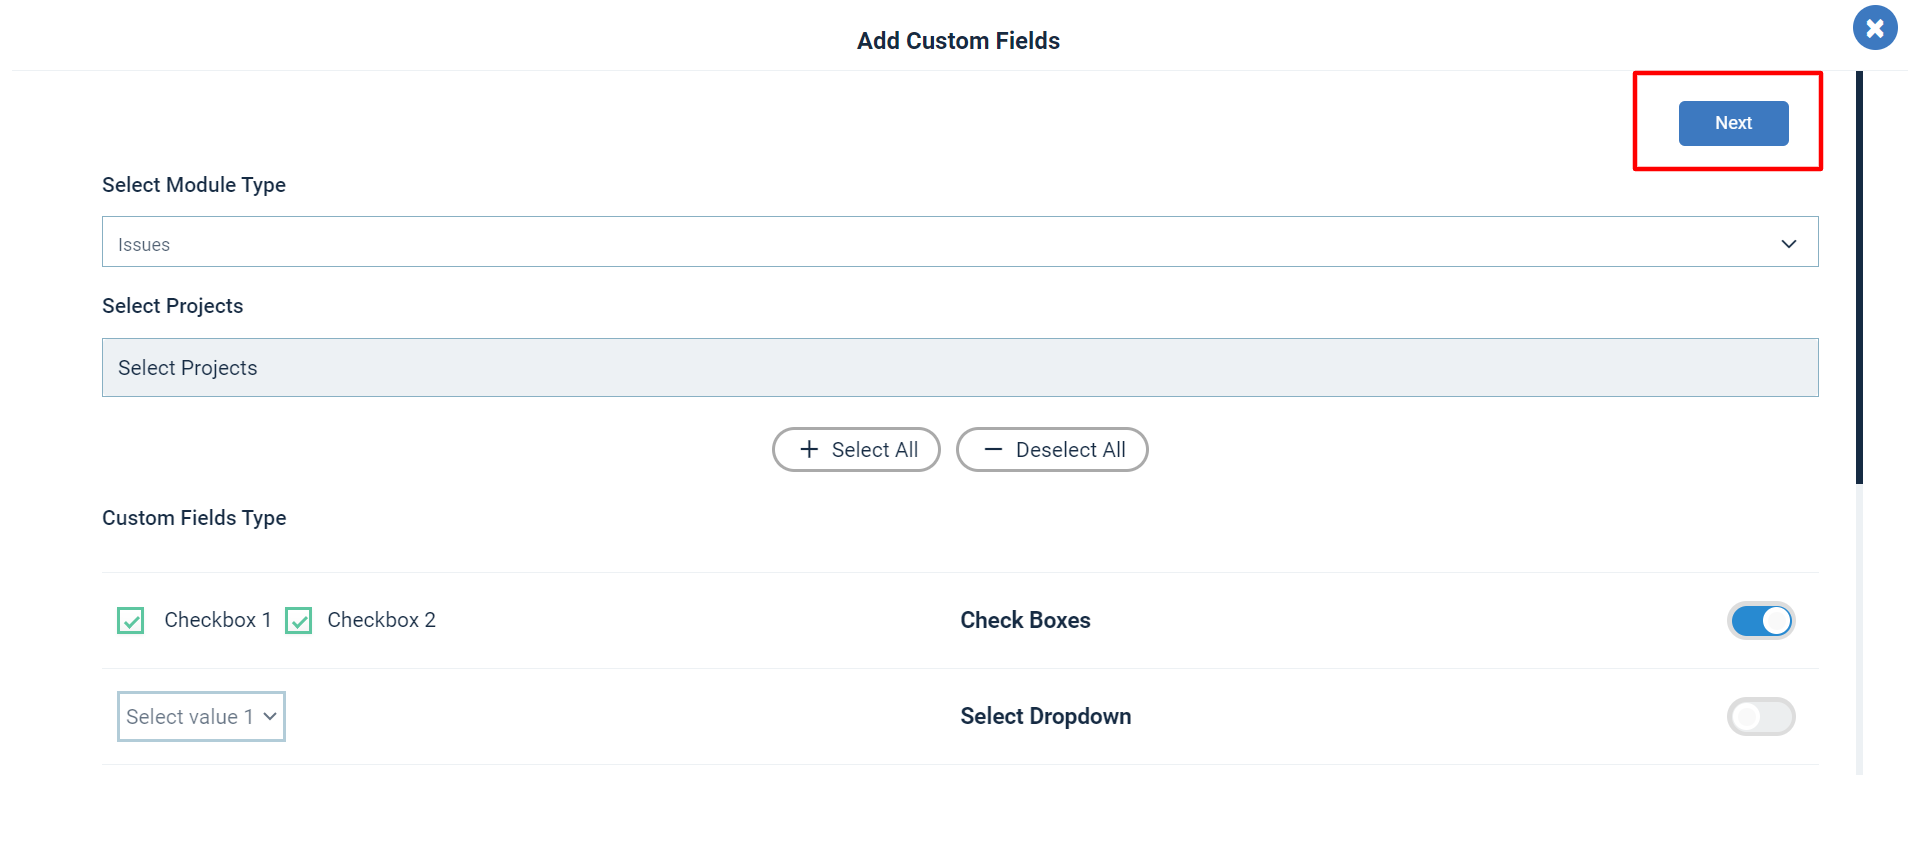
- Enter the Label name
- Add options
- Click on save
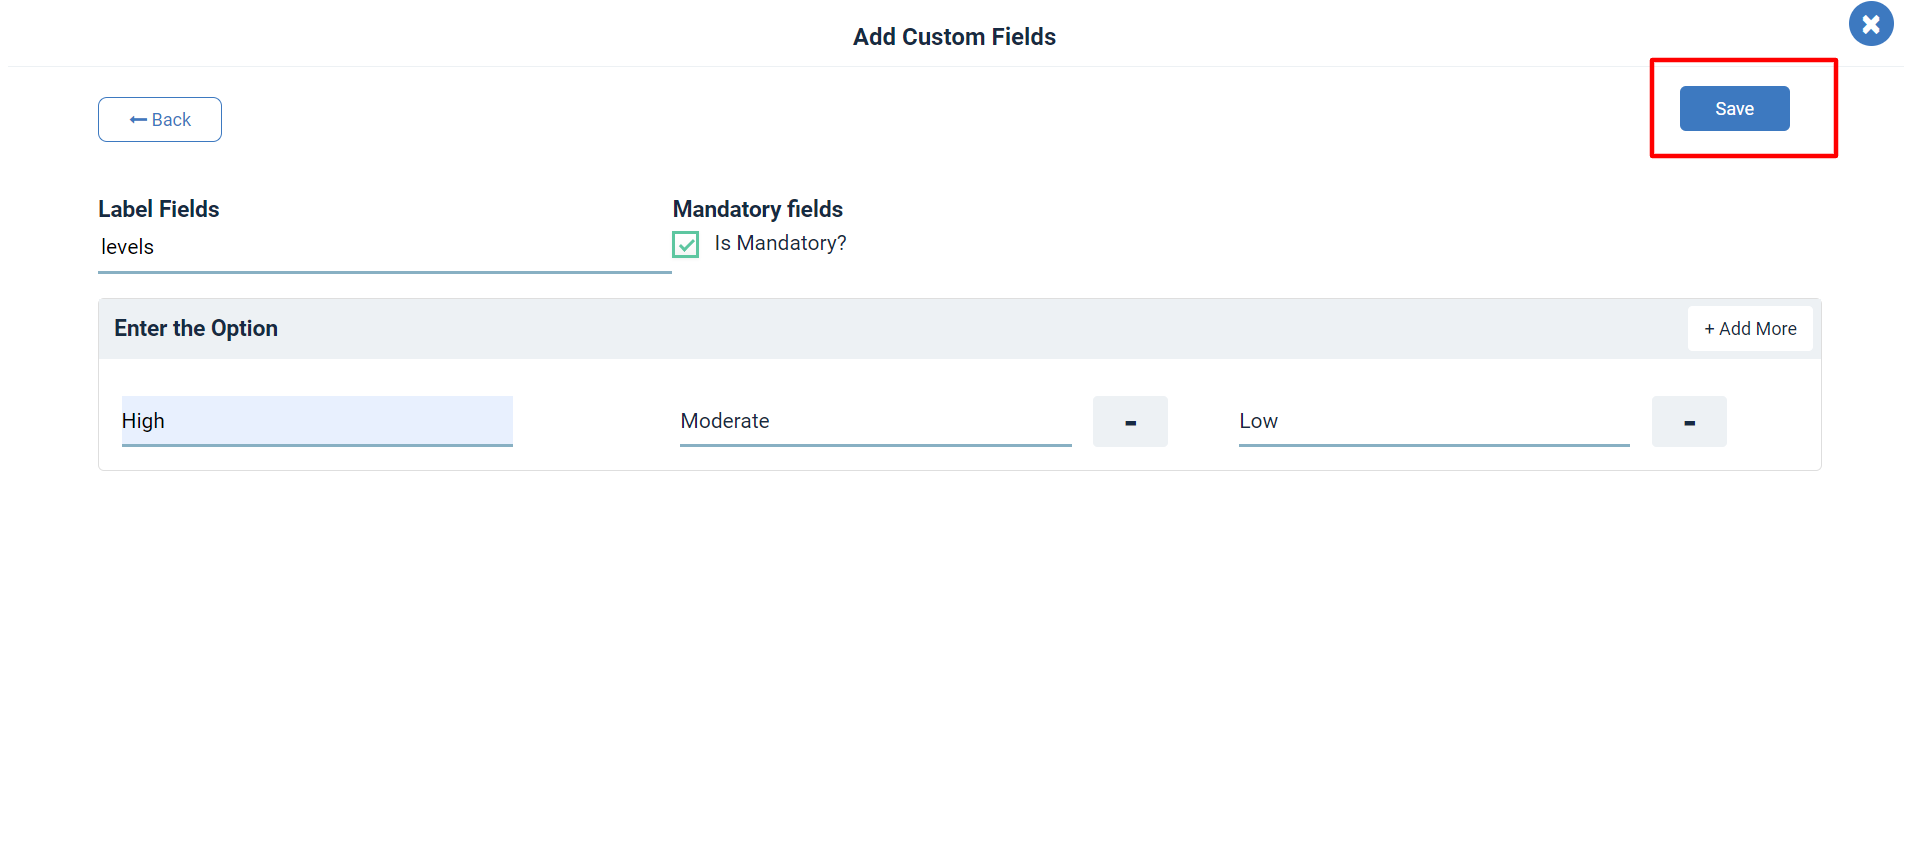
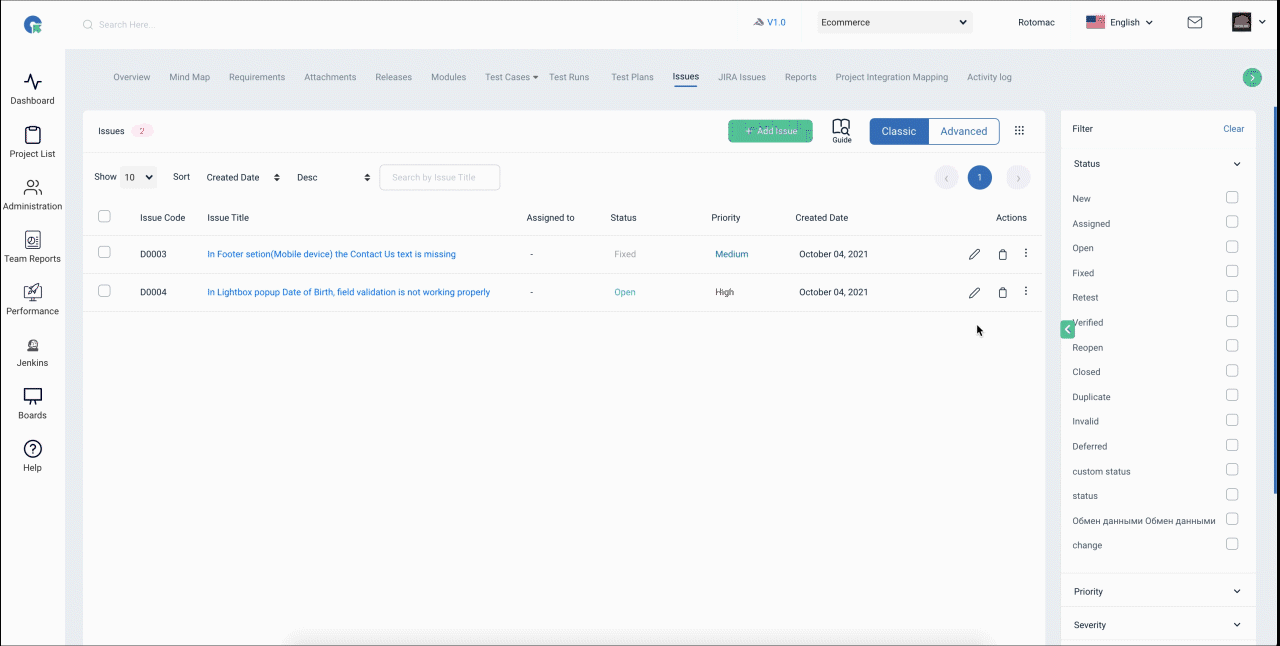
Import Issues:
- In Issues List page, Click on Import Button
- Upload the file(CSV, XLS, XLSX) to import
- Map the fields in your file with QA Touch Issue fields
- Click on Import button (Note: Issue with valid status, priority, severity, environment, Issue type will only be imported)
Import Issues with Custom Fields:
There are times where you have created a new custom field and want to add a lot of values to this custom field. A Quick Guide to How to import the custom fields in issues. Importing custom fields is easy to do.
How to Create a Custom Field ?
- To Goto Custom fields page, Click on Administration->Custom Fields
- Click on Add Fields,select the project you want add the custom field
- Select Field type and Add option if required Click on save button. To know more about How to create Custom Field Click Here
How to Import the Custom Fields in Issues?
Follow the below steps to import custom fields in issues page:
- After Creating the Custom field for the project,go to the issue page and click on the Import button.
-
Then Select Issue Custom Fields Import On the issue page.
-
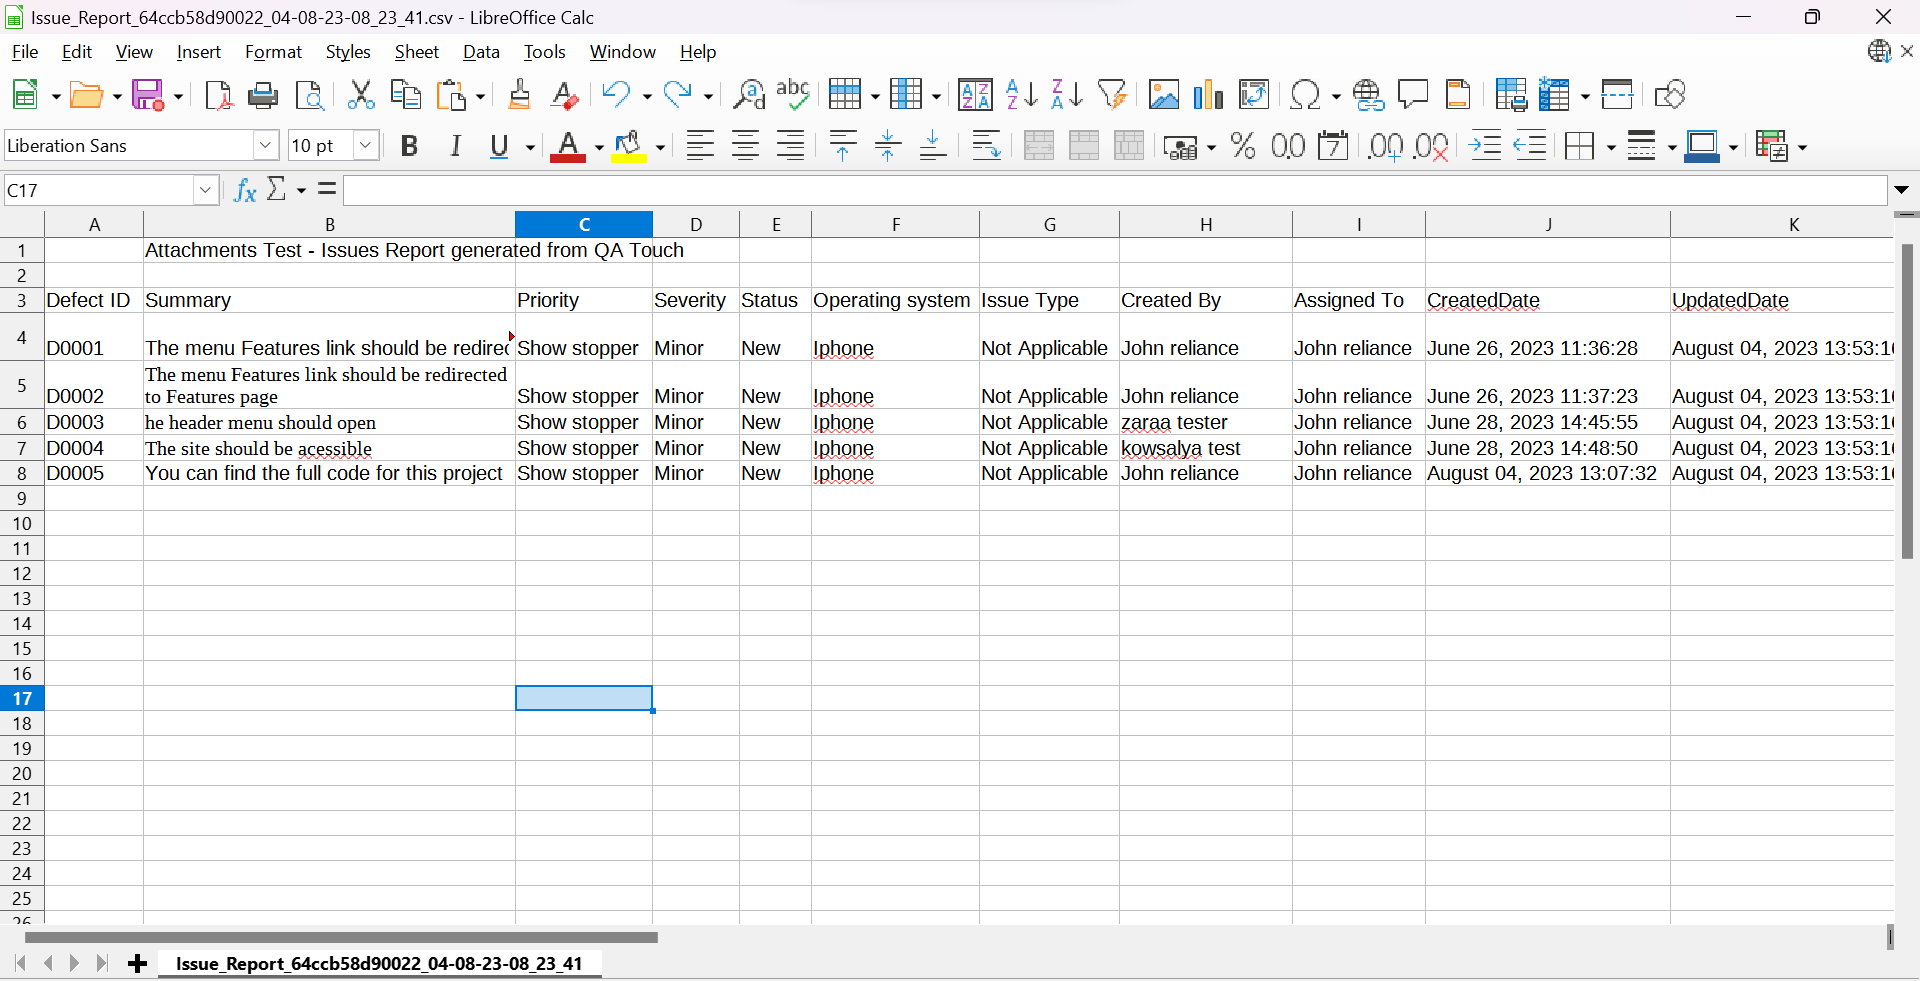
Download the sample Issue custom Fields ( CSV, XSL, XLSX) Format
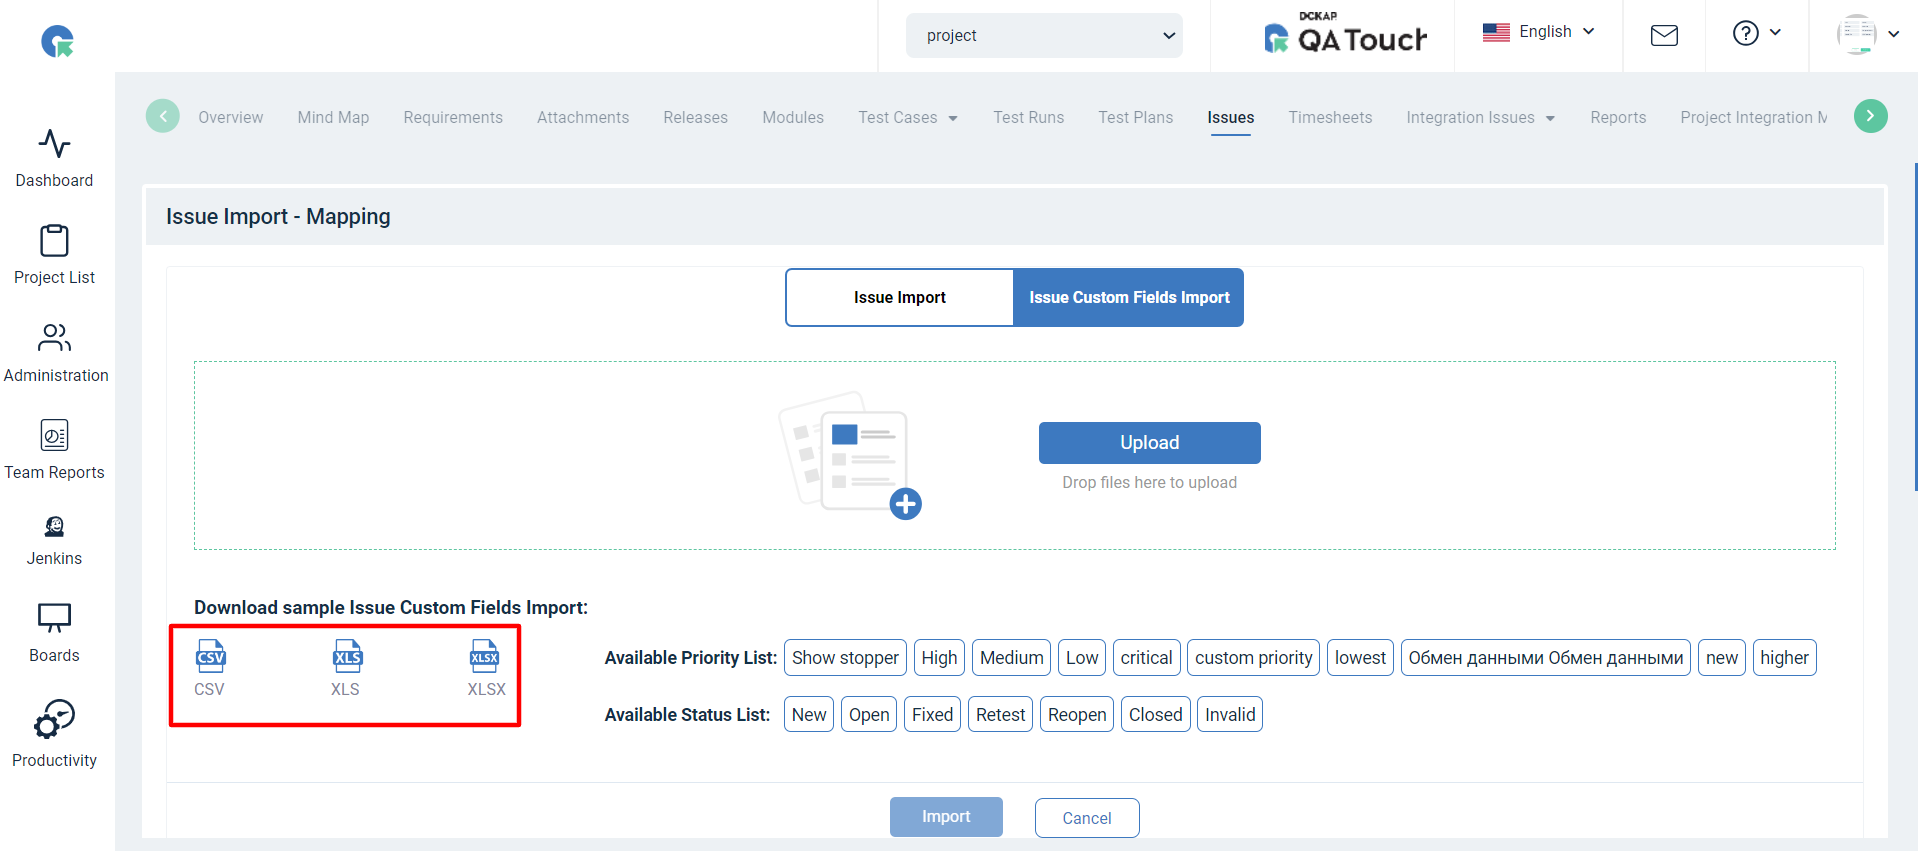
-
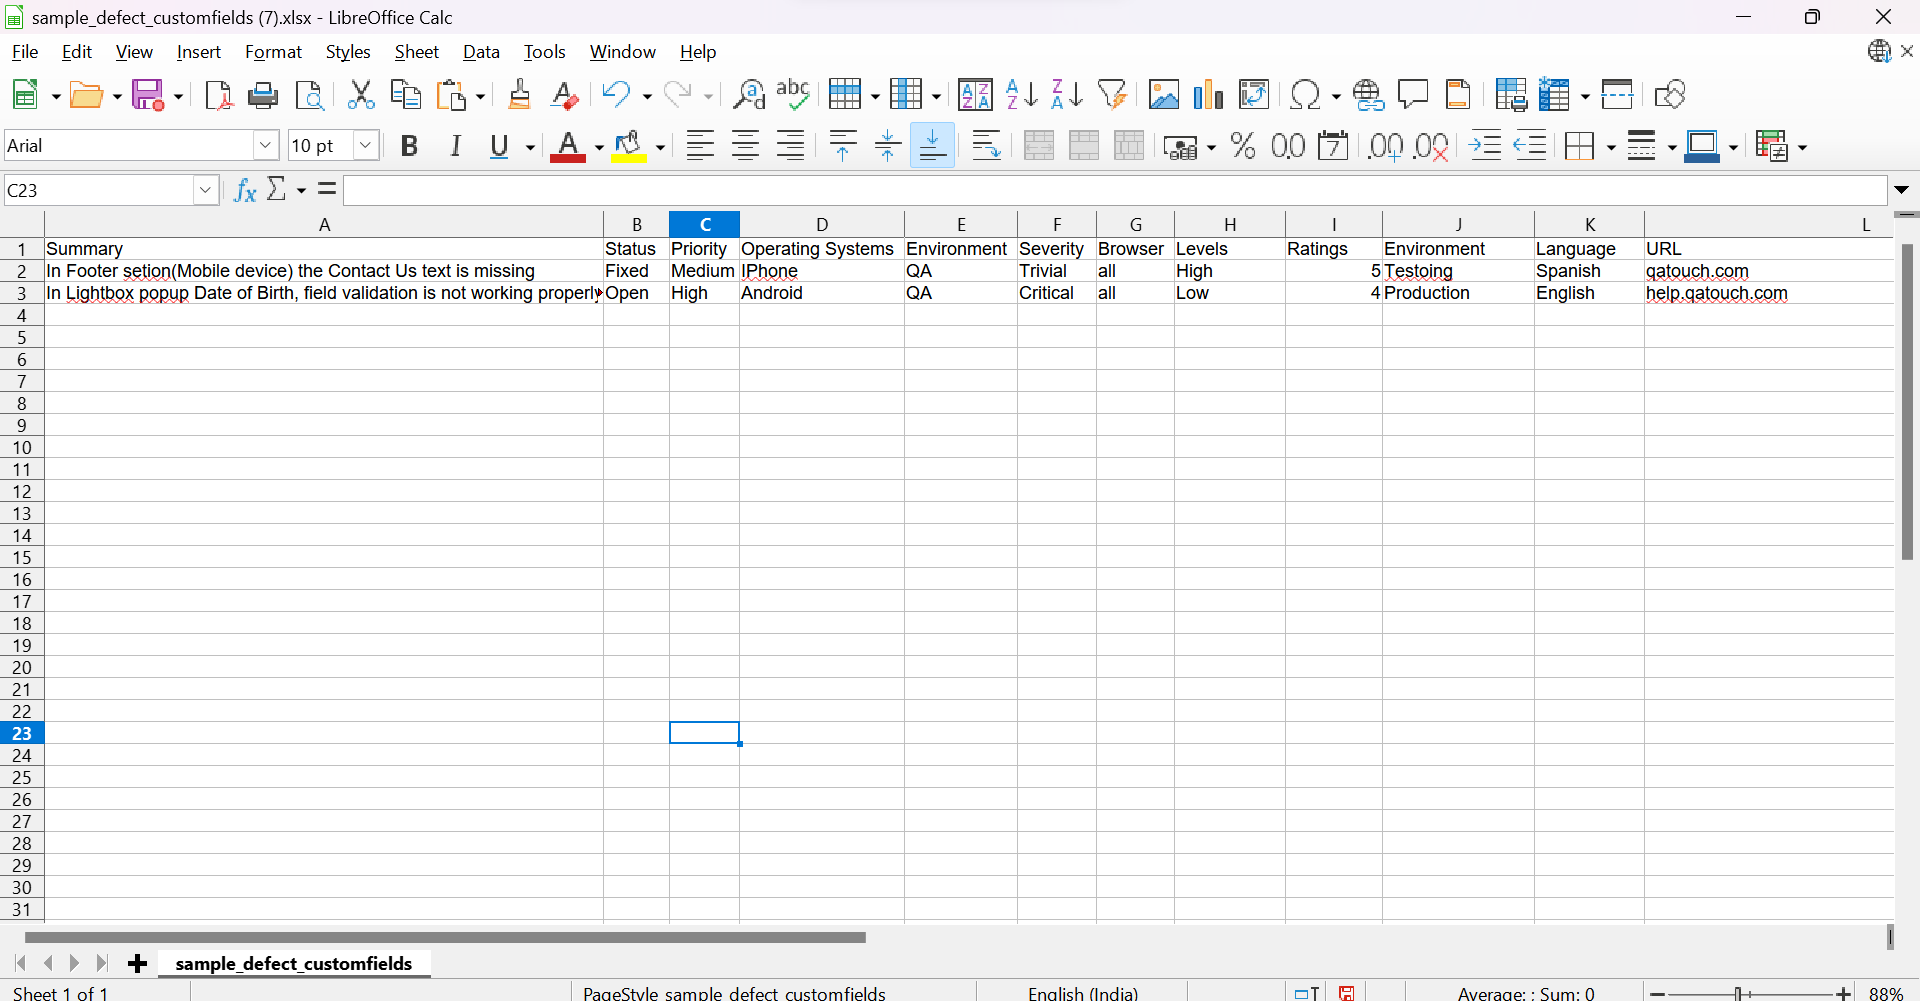
Open the exported file in any software (Excel,Google spreadsheet etc,)
-
If you specify new values of custom fields during this import, it will create the value in the issues custom field.
-
Upload the file (CSV, XSL, XLSX) to import.
Mapping Fields In Issues With custom Fields: After Uploading the file, you will see the Mapping fields page then Map the required field.The Below image depicts the mapping fields in issues.Summary,Status,Priority field is mandatory.
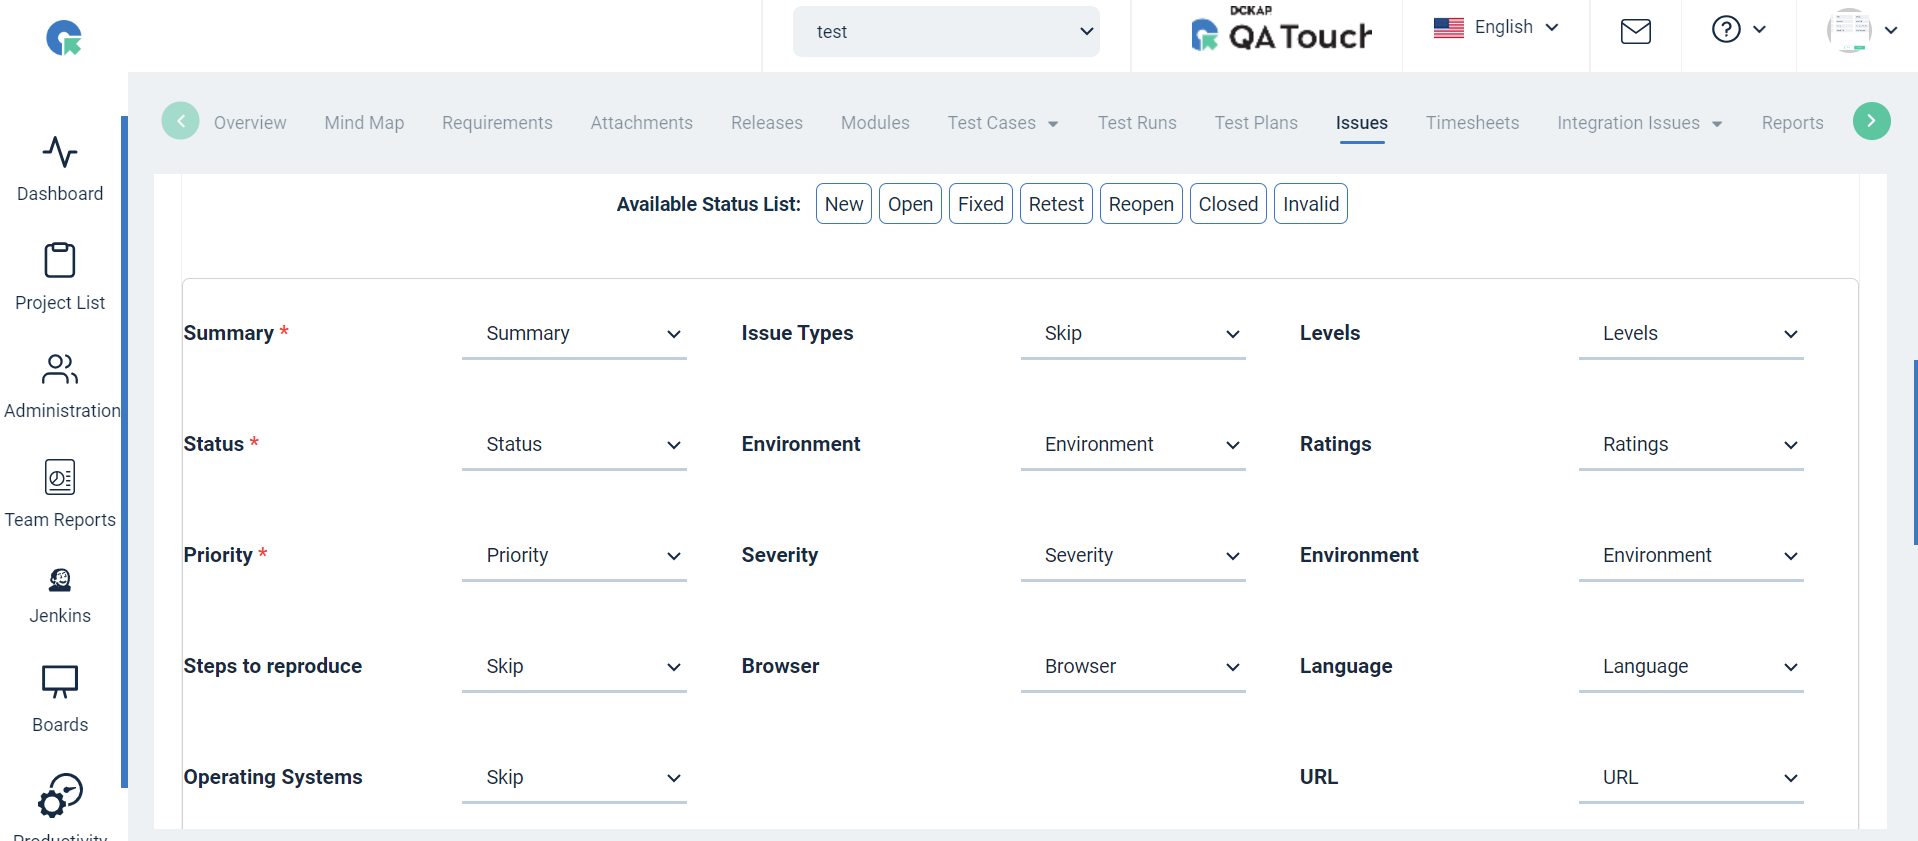
Map all the fields accordingly.Once all boxes are checked, click on the Import button .All imports will be imported successfully.
Link Testcase
- In Issues Page, Click on more->Link Test Case option
- Select the module
- Choose the Test cases to link (Note: you can filter Test cases by tags here)
- Click on Save Button to link selected cases with the Issue
Add comment
- In Issues Page, Click on More->Comments
- Enter the comments(You can enter comments with emoji)
- Select Status and Assigned to
- Click on save
How to Add, Edit and Manage Comments in QA Touch Issues Module?
View Comment
- In Issue View page, Click on Comments History
- In this page, you can i. Add a comment ii. Reply to a comment iii. Edit a comment(Created by you) iv. Delete a comment(Created by you)
How to Archive & Delete issue?
View Linked Testcases
- In Issues Page, Click on more->Link Test Case option
- Select the module
- Choose the Test cases to link (Note: you can filter Test cases by tags here)
- Click on Save Button to link selected cases with the Issue
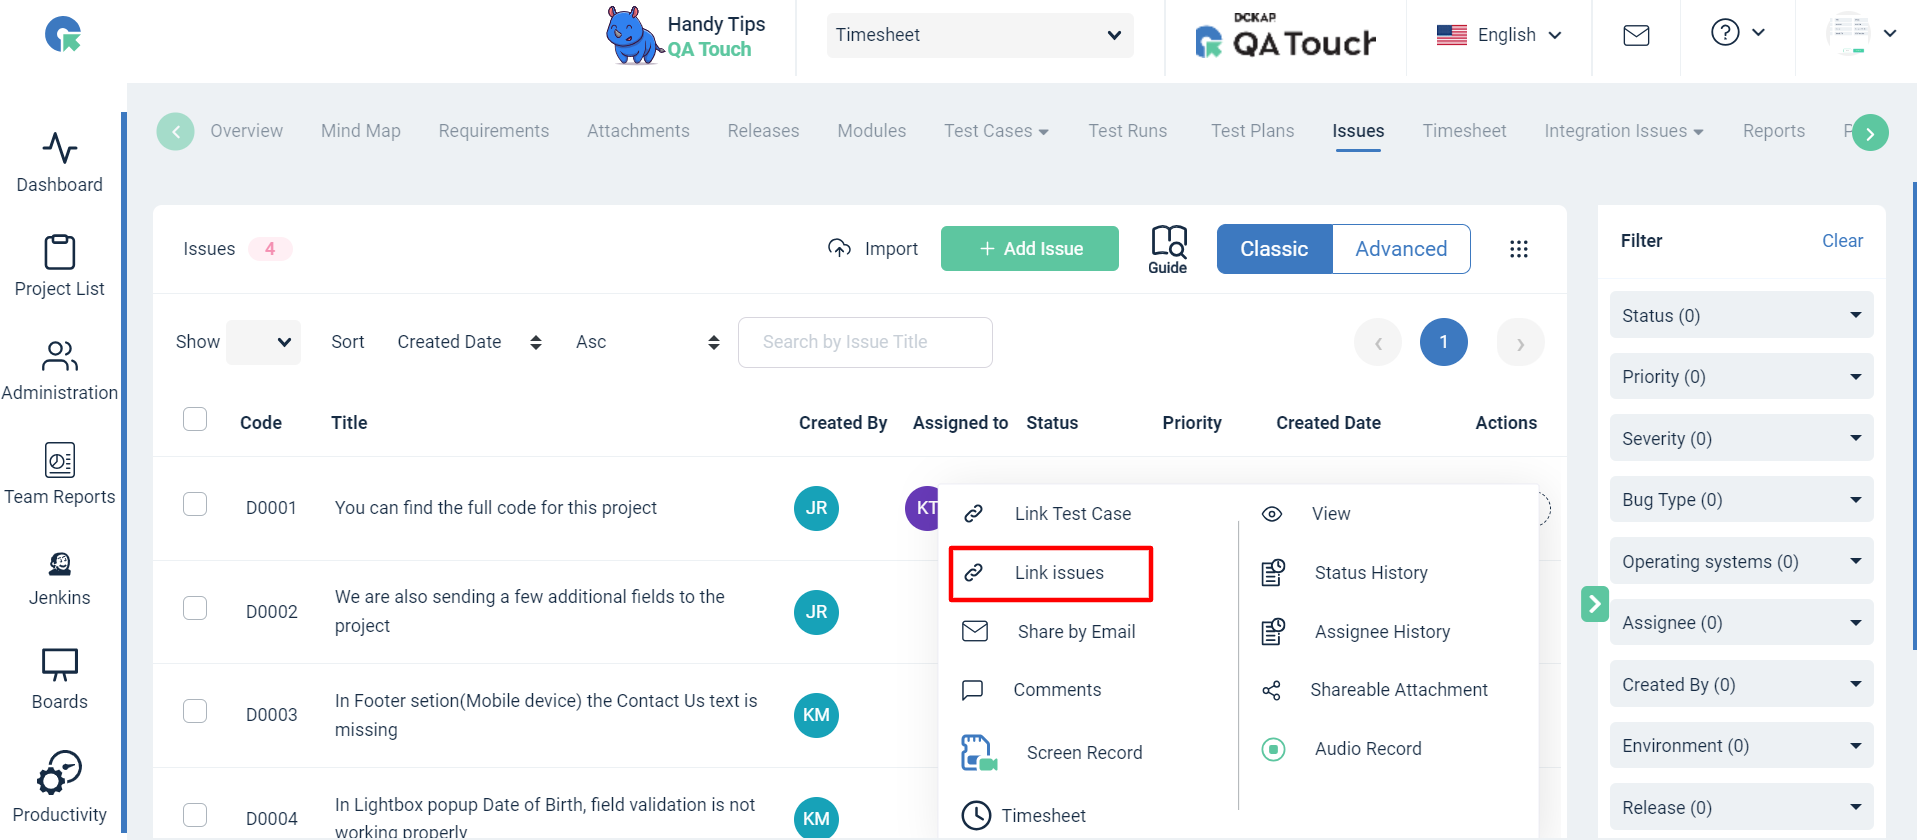
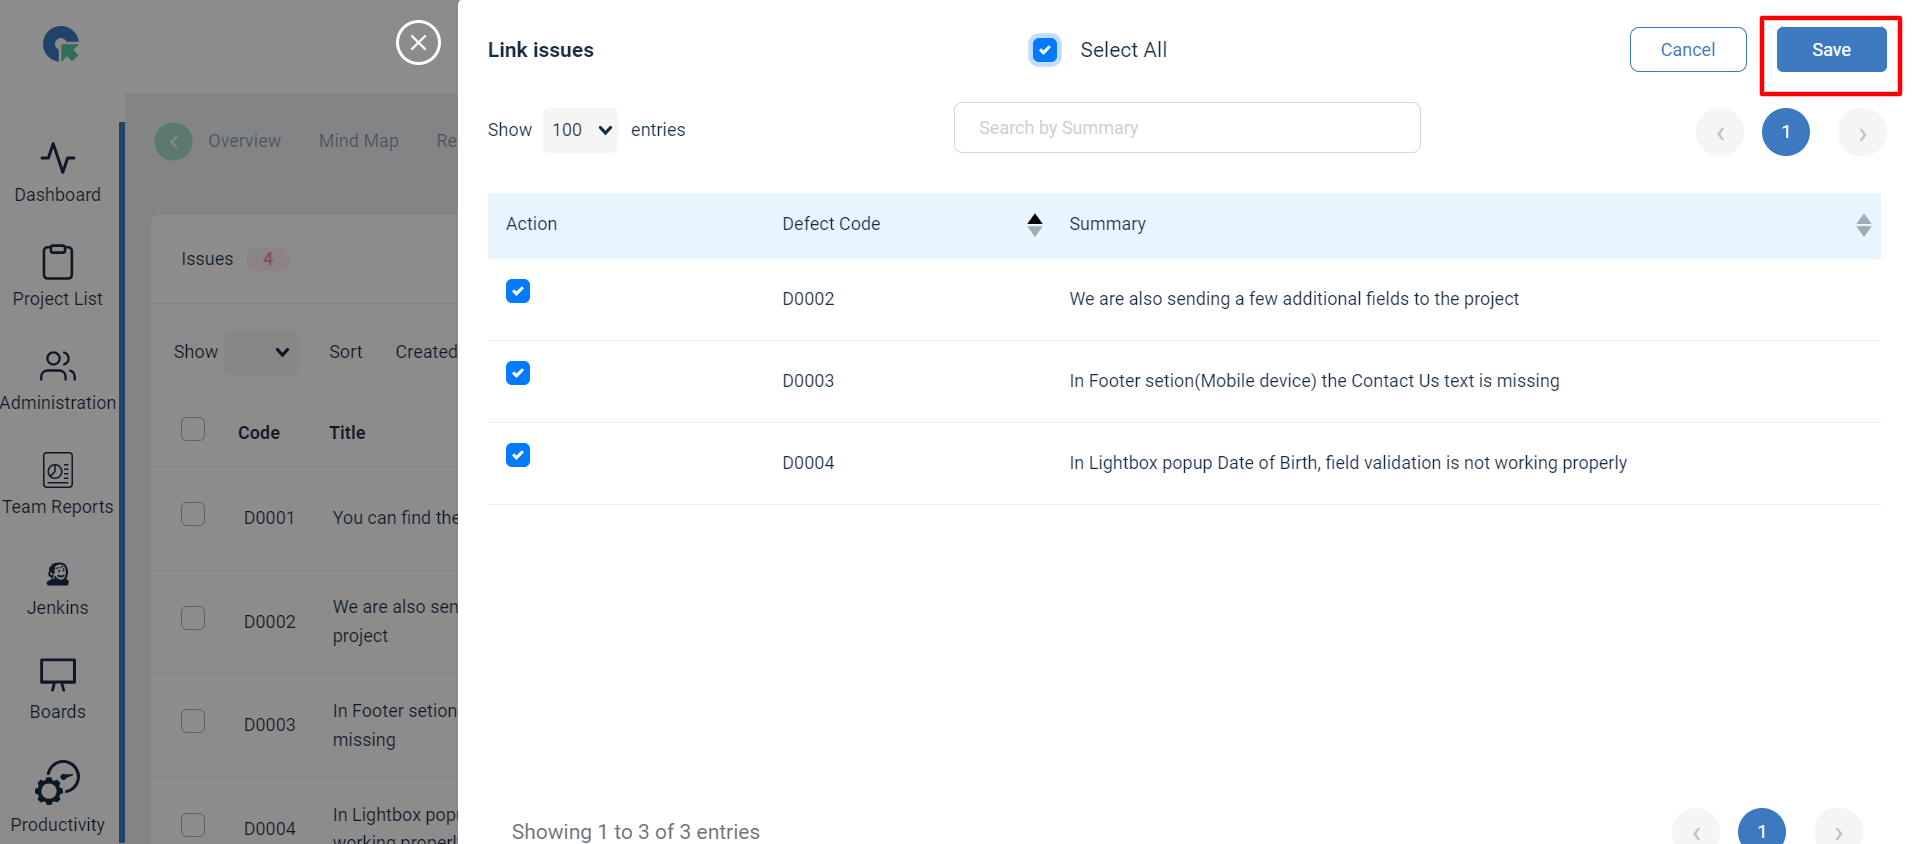
View Linked Issues
- In Issues Page, Click on more->Link Issues option
- Choose the Issues to link
- Click on Save Button to link selected issues will be linked to with the other Issue
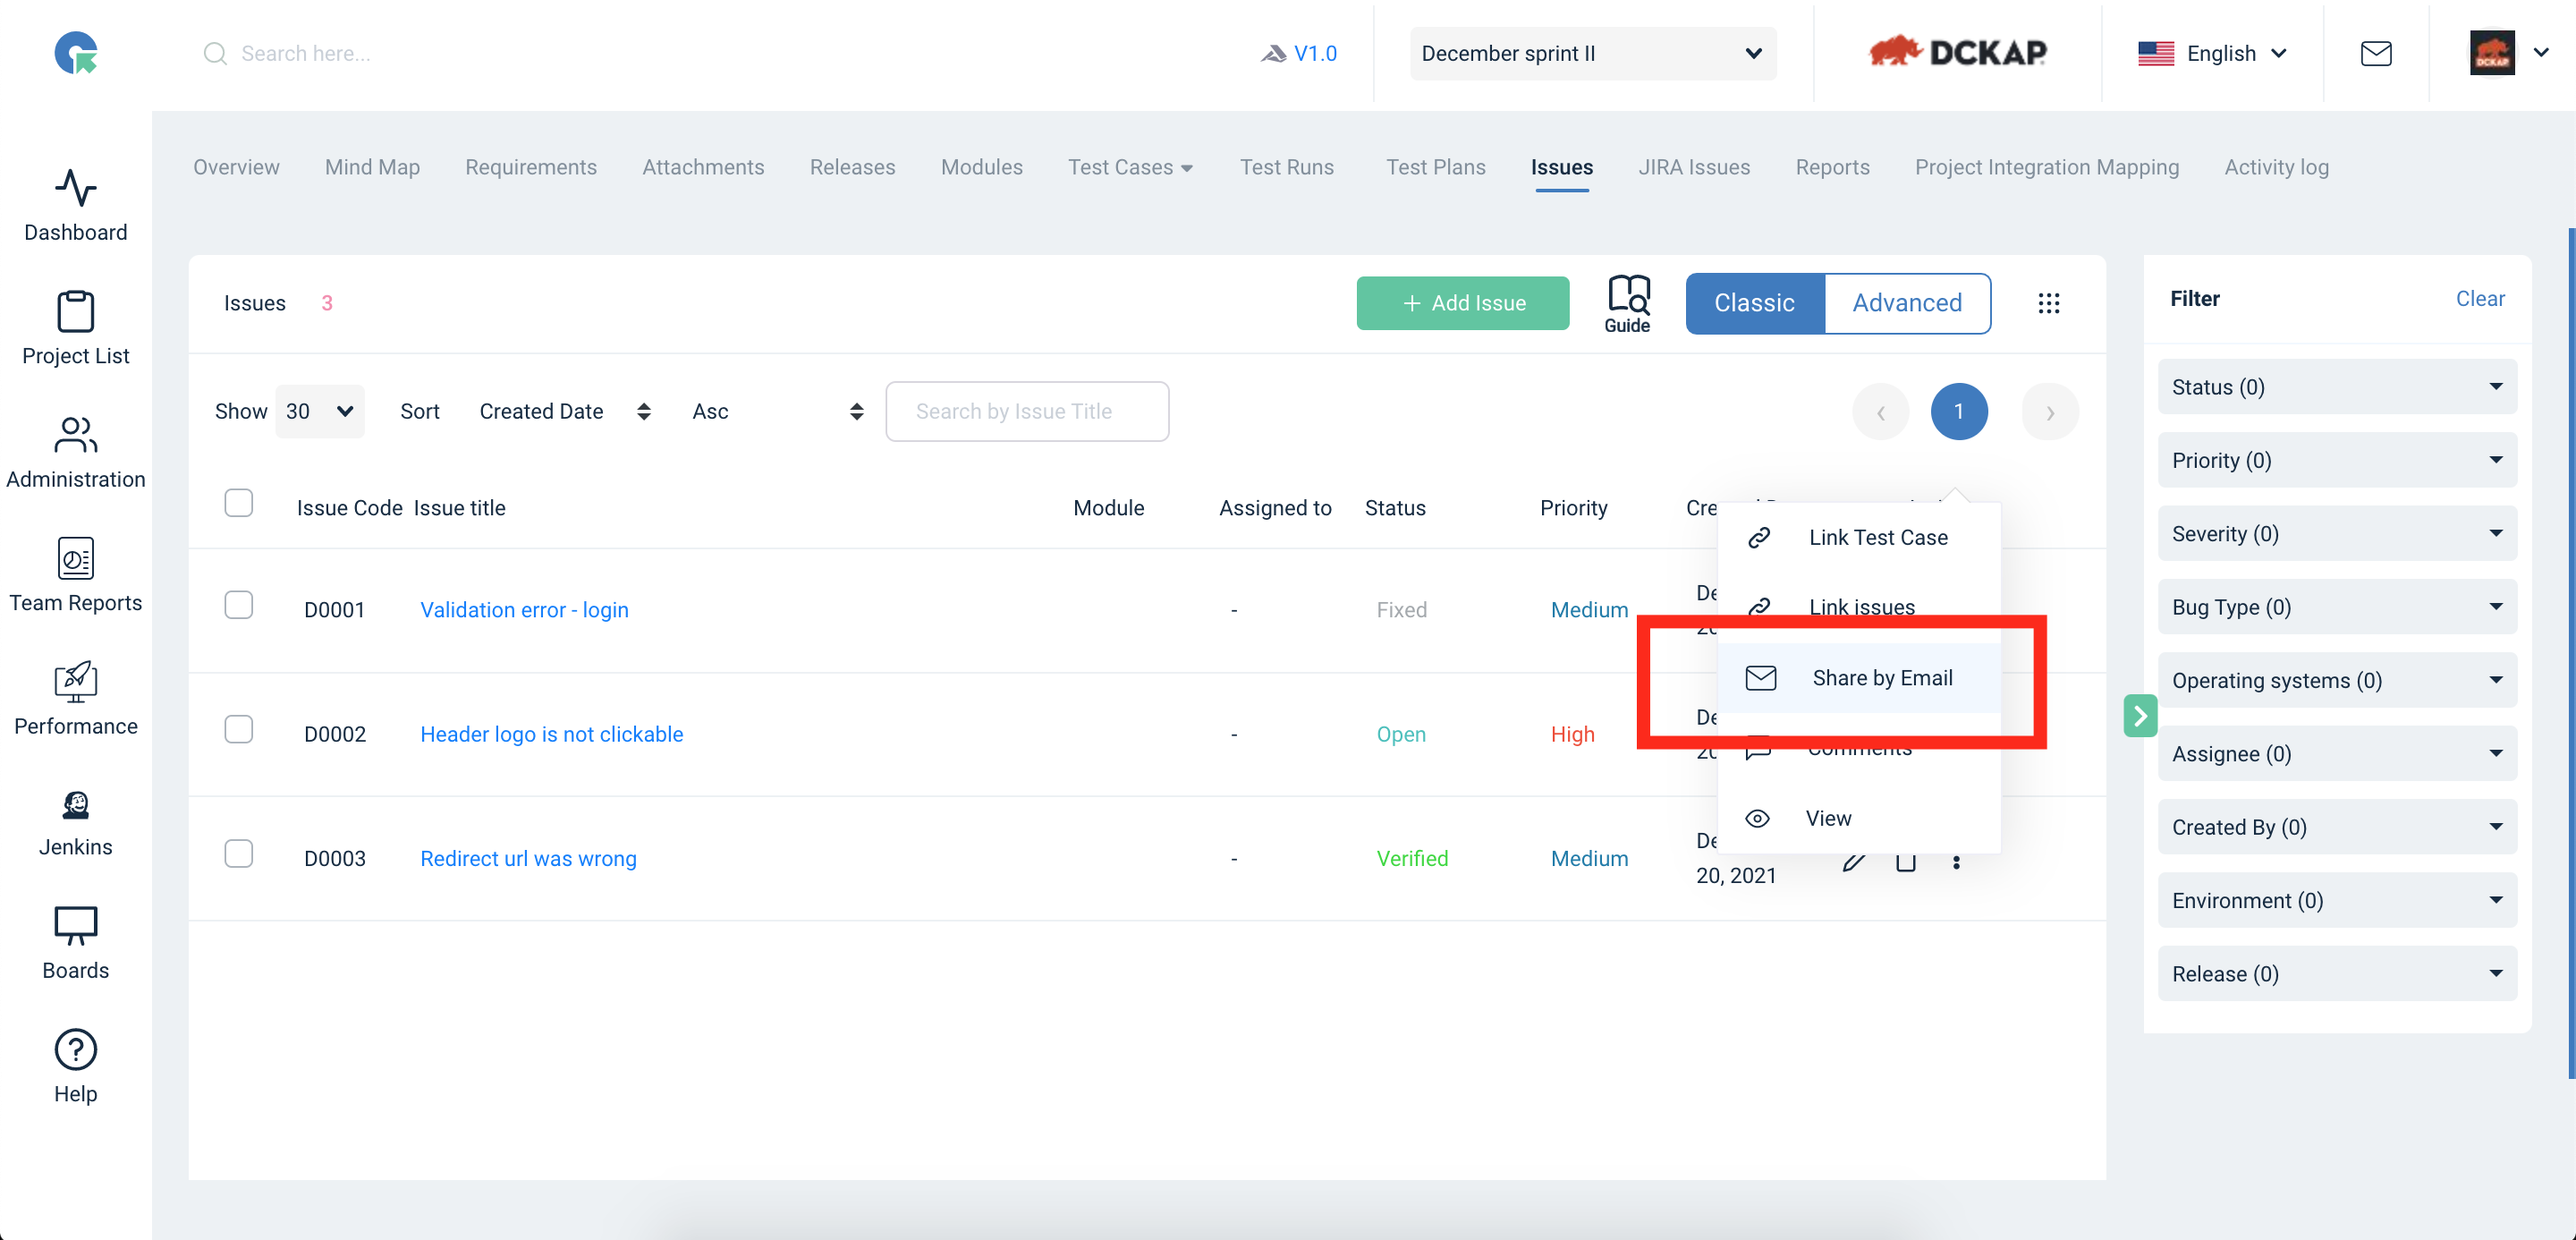
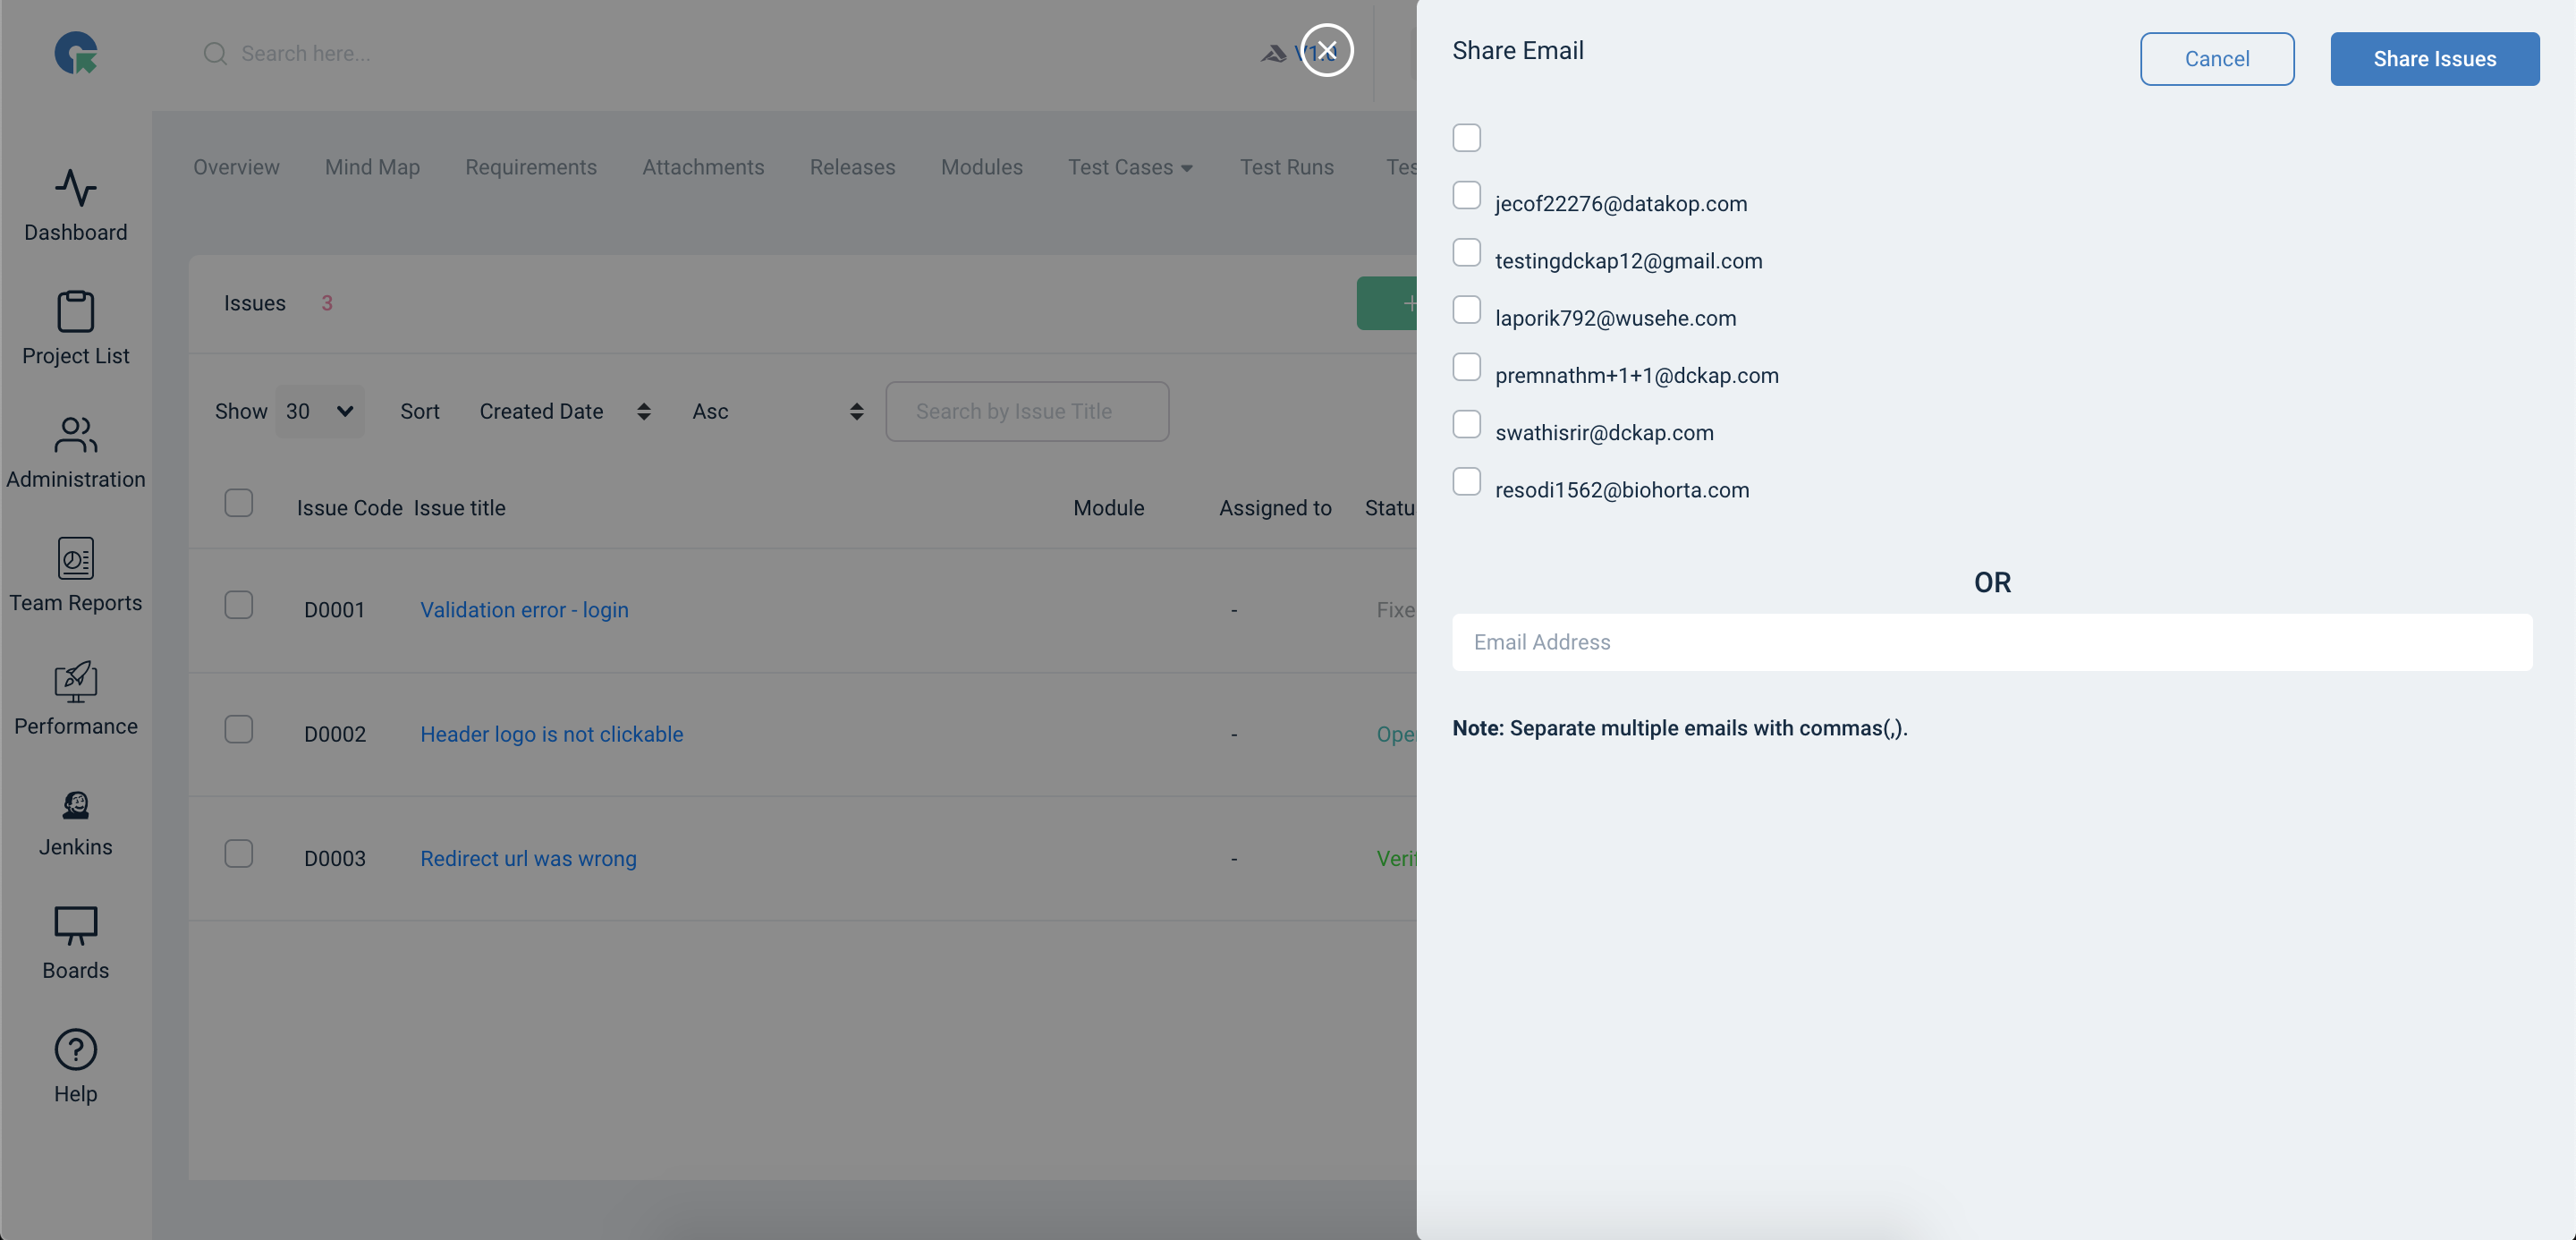
Issue share by email
- Issues can be share by email
- Click on the 3dots(Actions) near a issue and select share by email
- Select or enter an email id and click share issues.
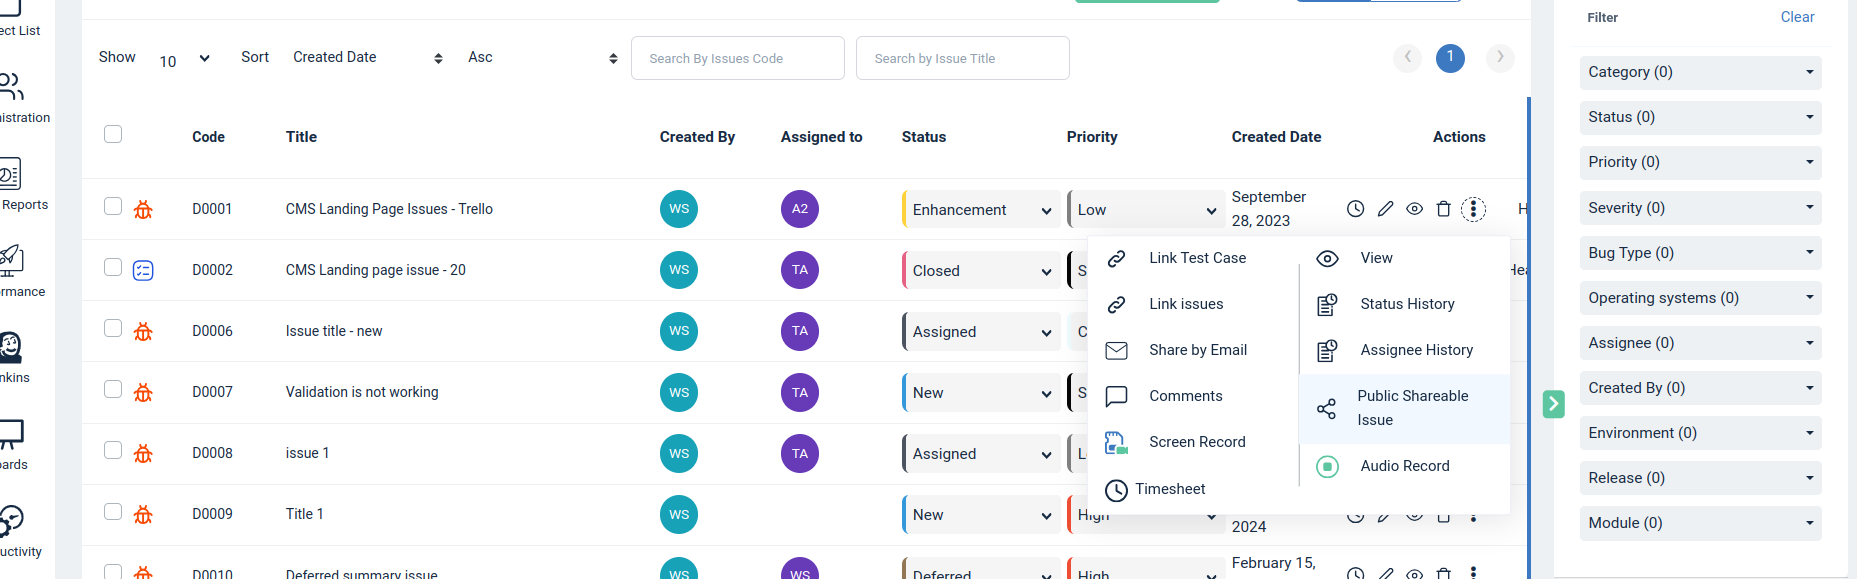
How to share the individual Issue in QA Touch?
To share the individual issue ,click on the action button and select the Public shareable issue option .

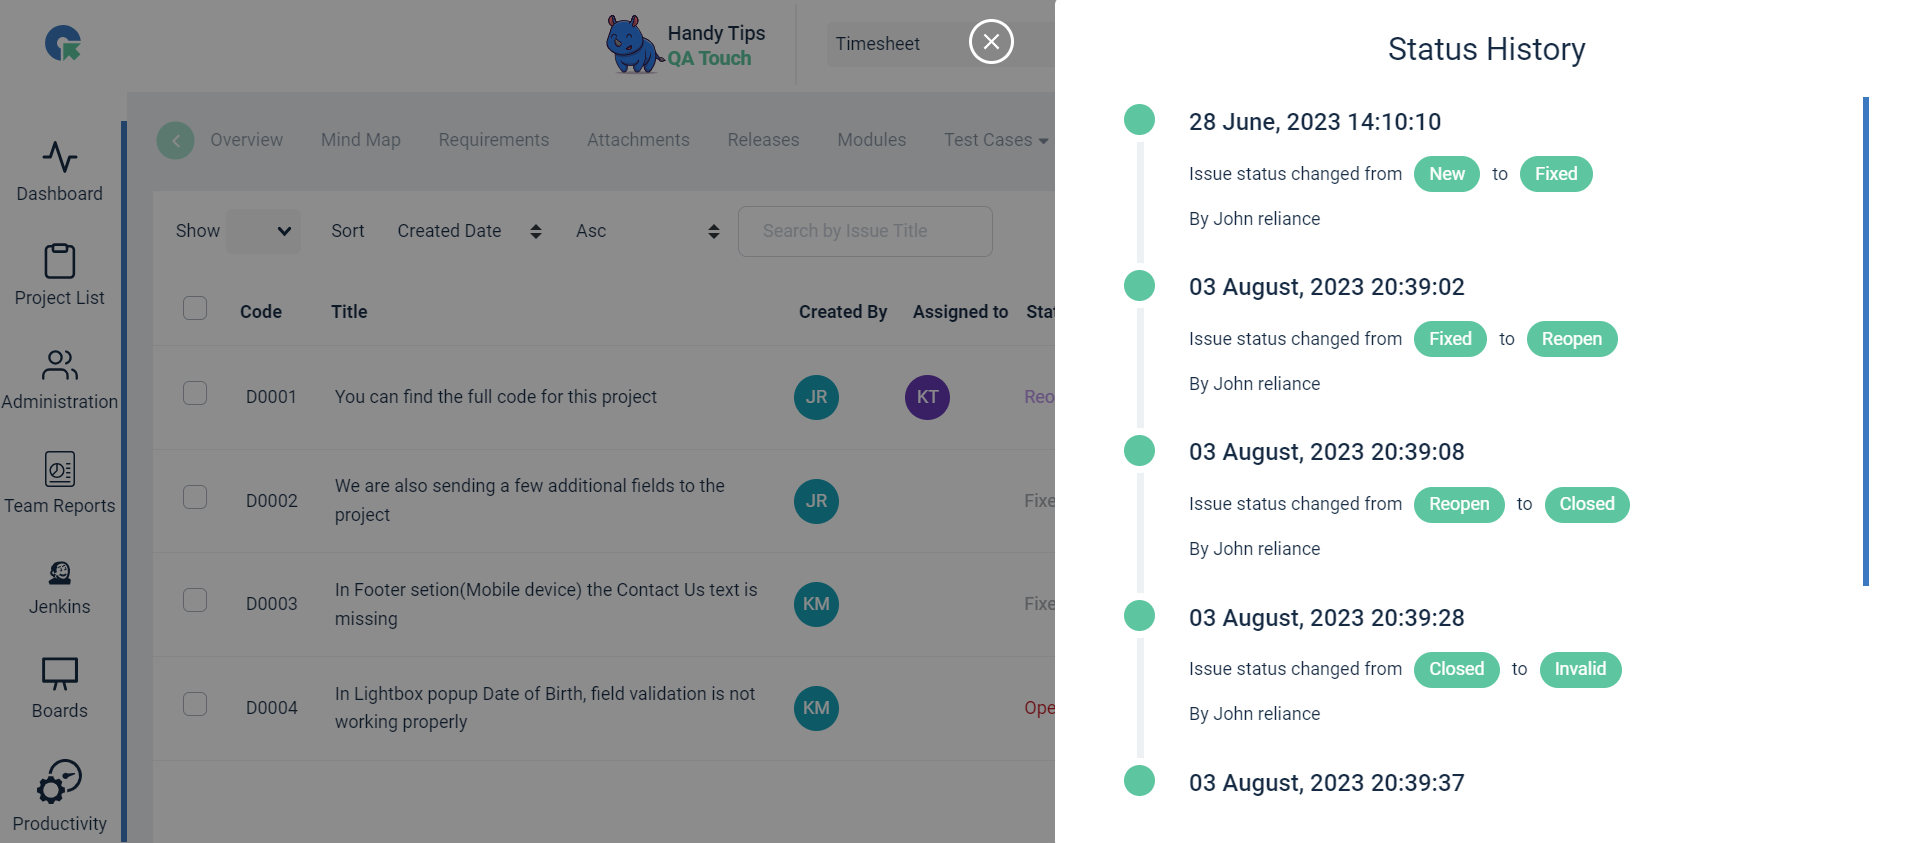
Issue Status History:
Status History can help you to monitor all changelog, including statuses transitions (when and by who made the status change).Click on Status History to view all the issue statuses .
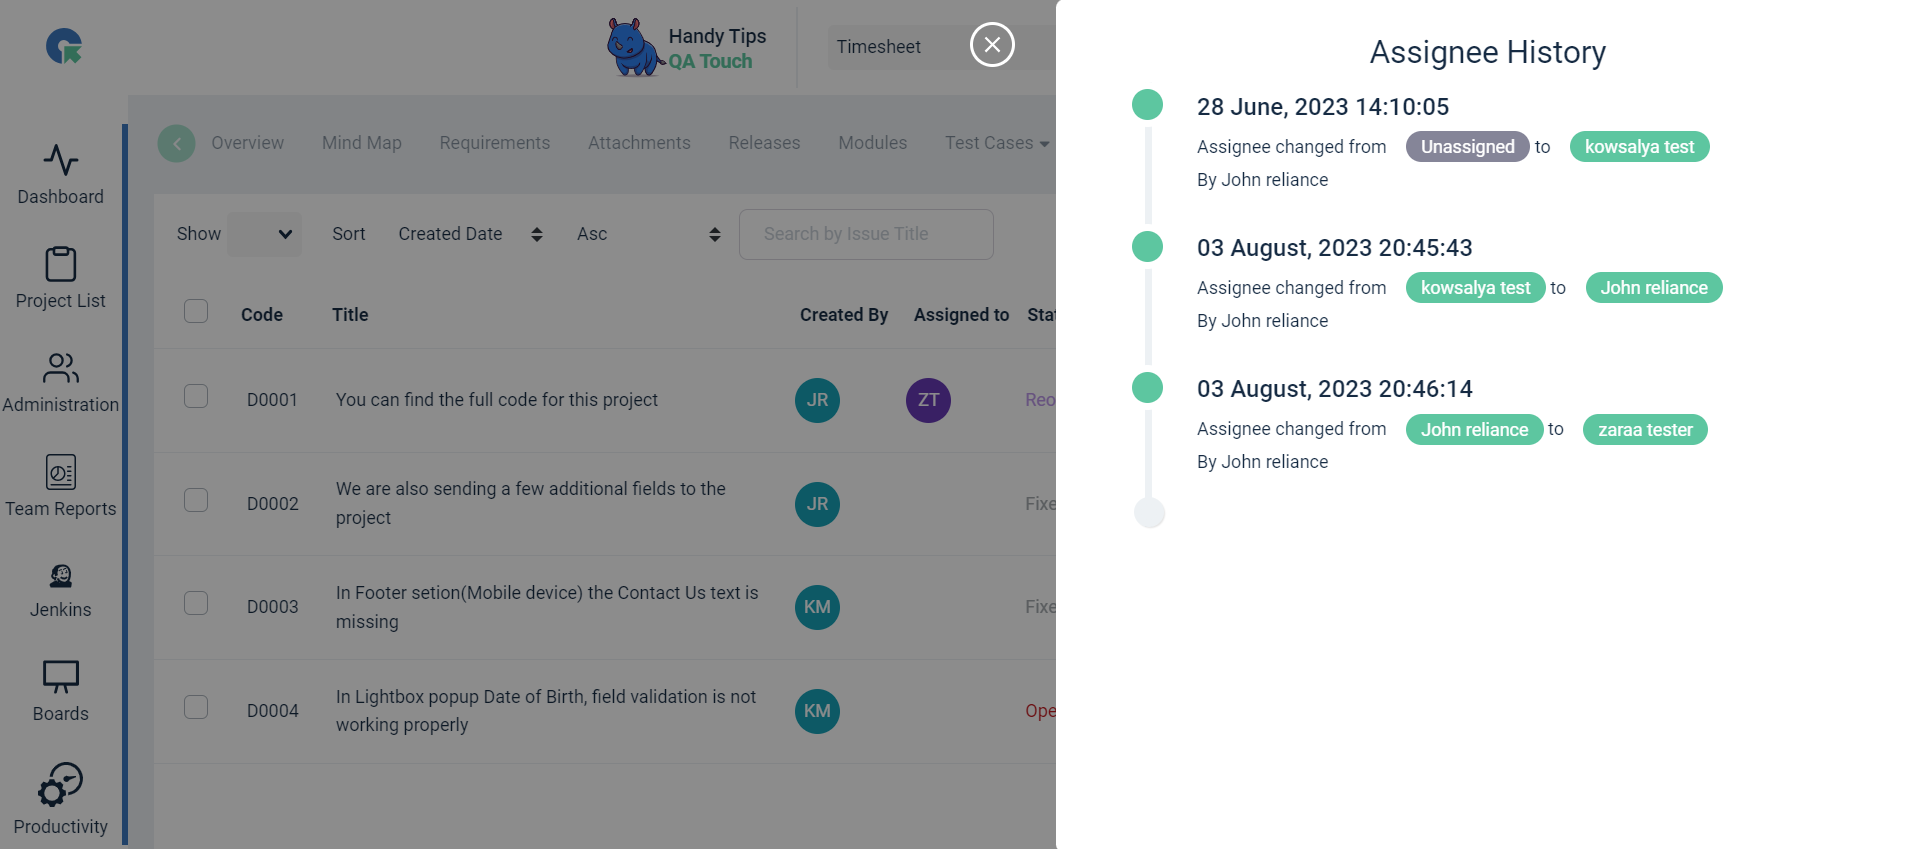
Issues Assignee History:
Assignee History shows the history of all the users that have been assigned to the Issue.This makes it easy to detect the changelog of assignees.Click on Assignee History Button to view all History of assignee’s.
Issues - Bulk Custom Field Update:
Bulk Custom field update in Issues allows you to make major changes to your custom field data without making the updates one by one .This will save your time and Update all the custom fields in one shot .
How to perform Custom Fields Bulk Action in Issues? Before performing the Custom field bulk action you have to create the custom fields for the issues.When you click “Custom Field”, a pop up will show all the custom fields currently on your project.. Follow the Below steps to perform Bulk Custom field action in Issues:
- Go to the Issue page Select issue you want to update the custom field.
- Click on Custom field option
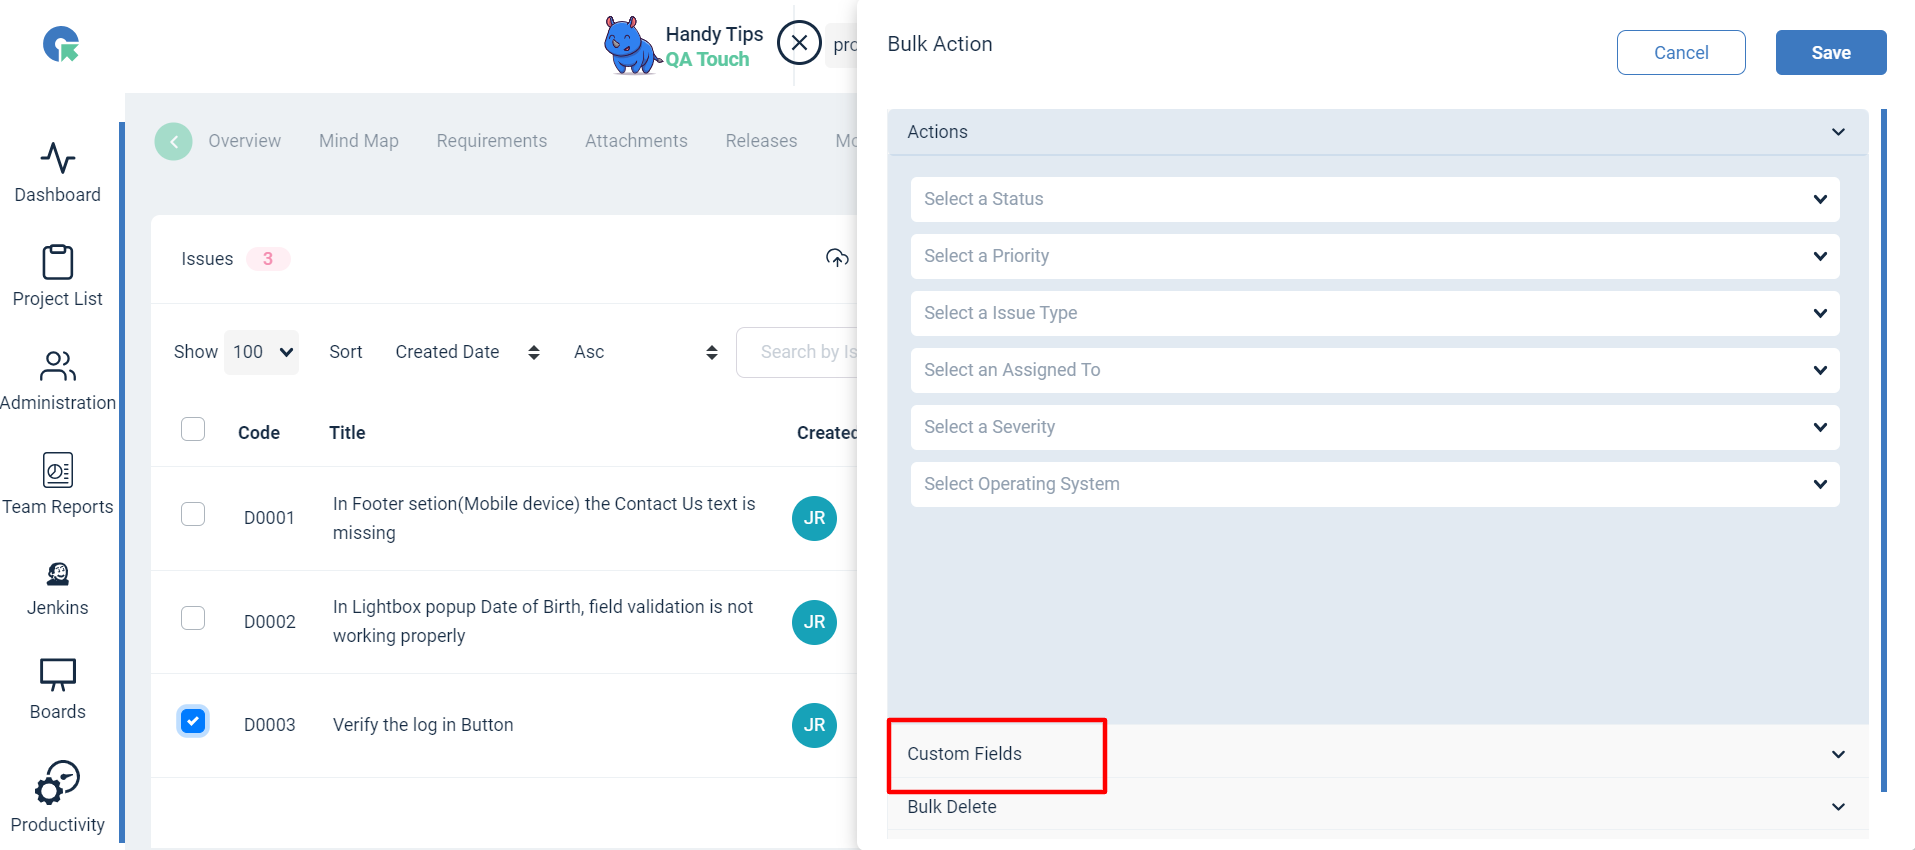
- Choose the custom field from the dropdown → add your field value.
- After Updating all the custom values, Click on Save button
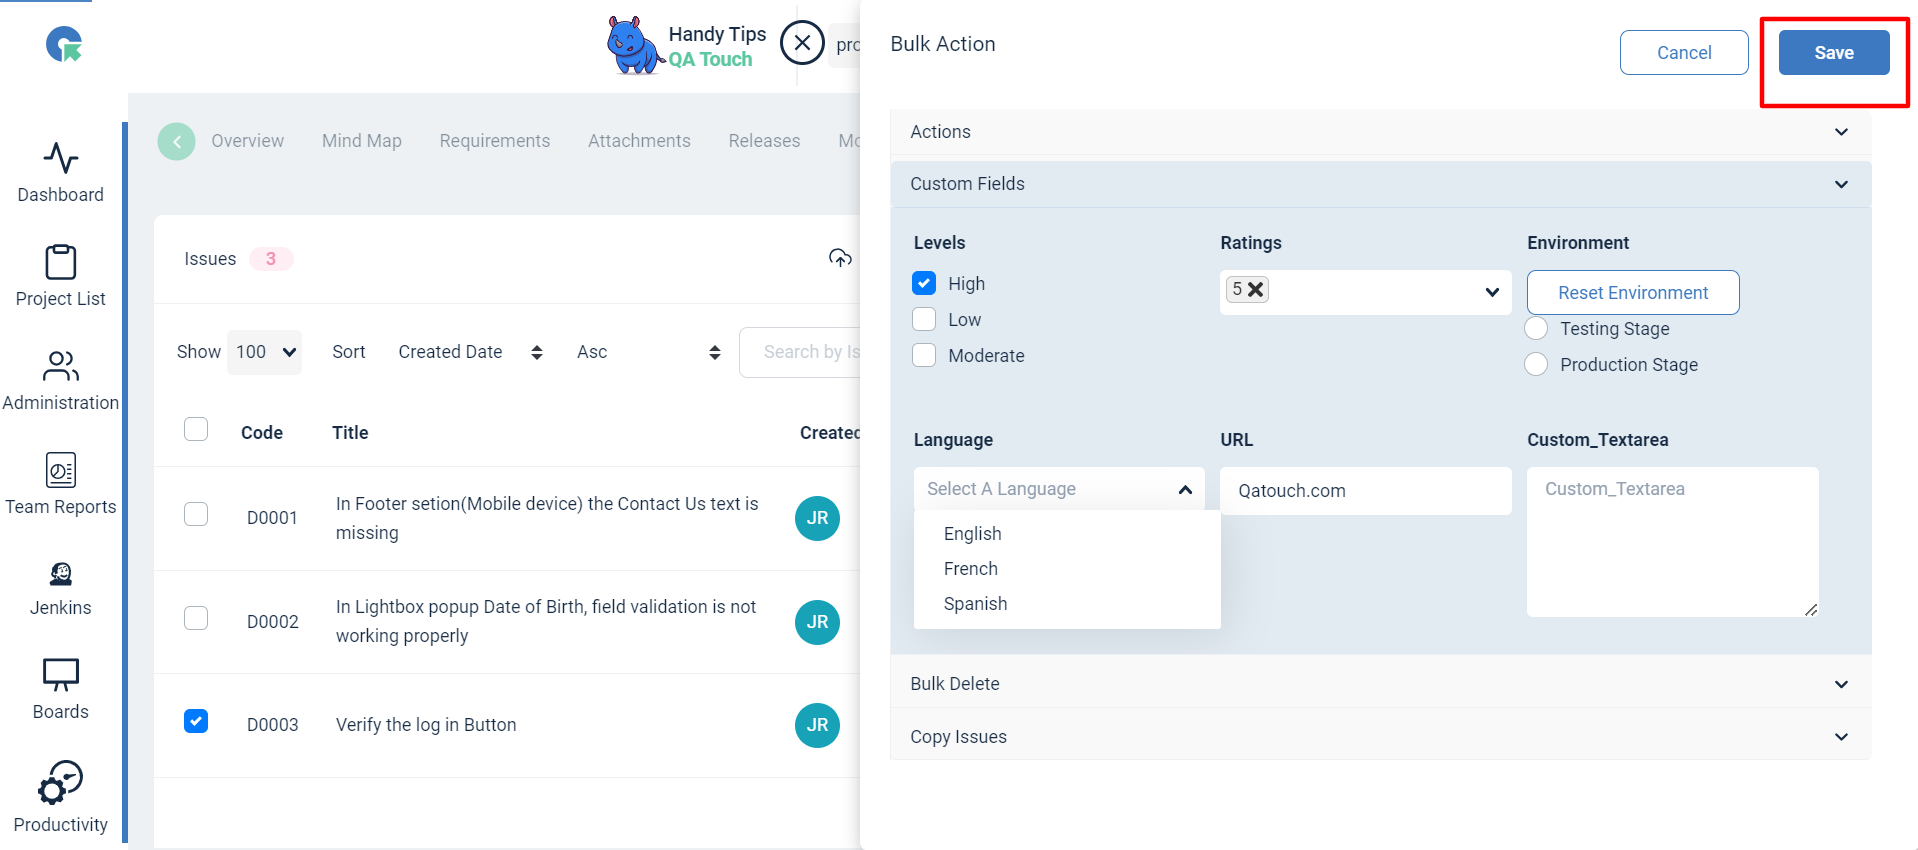
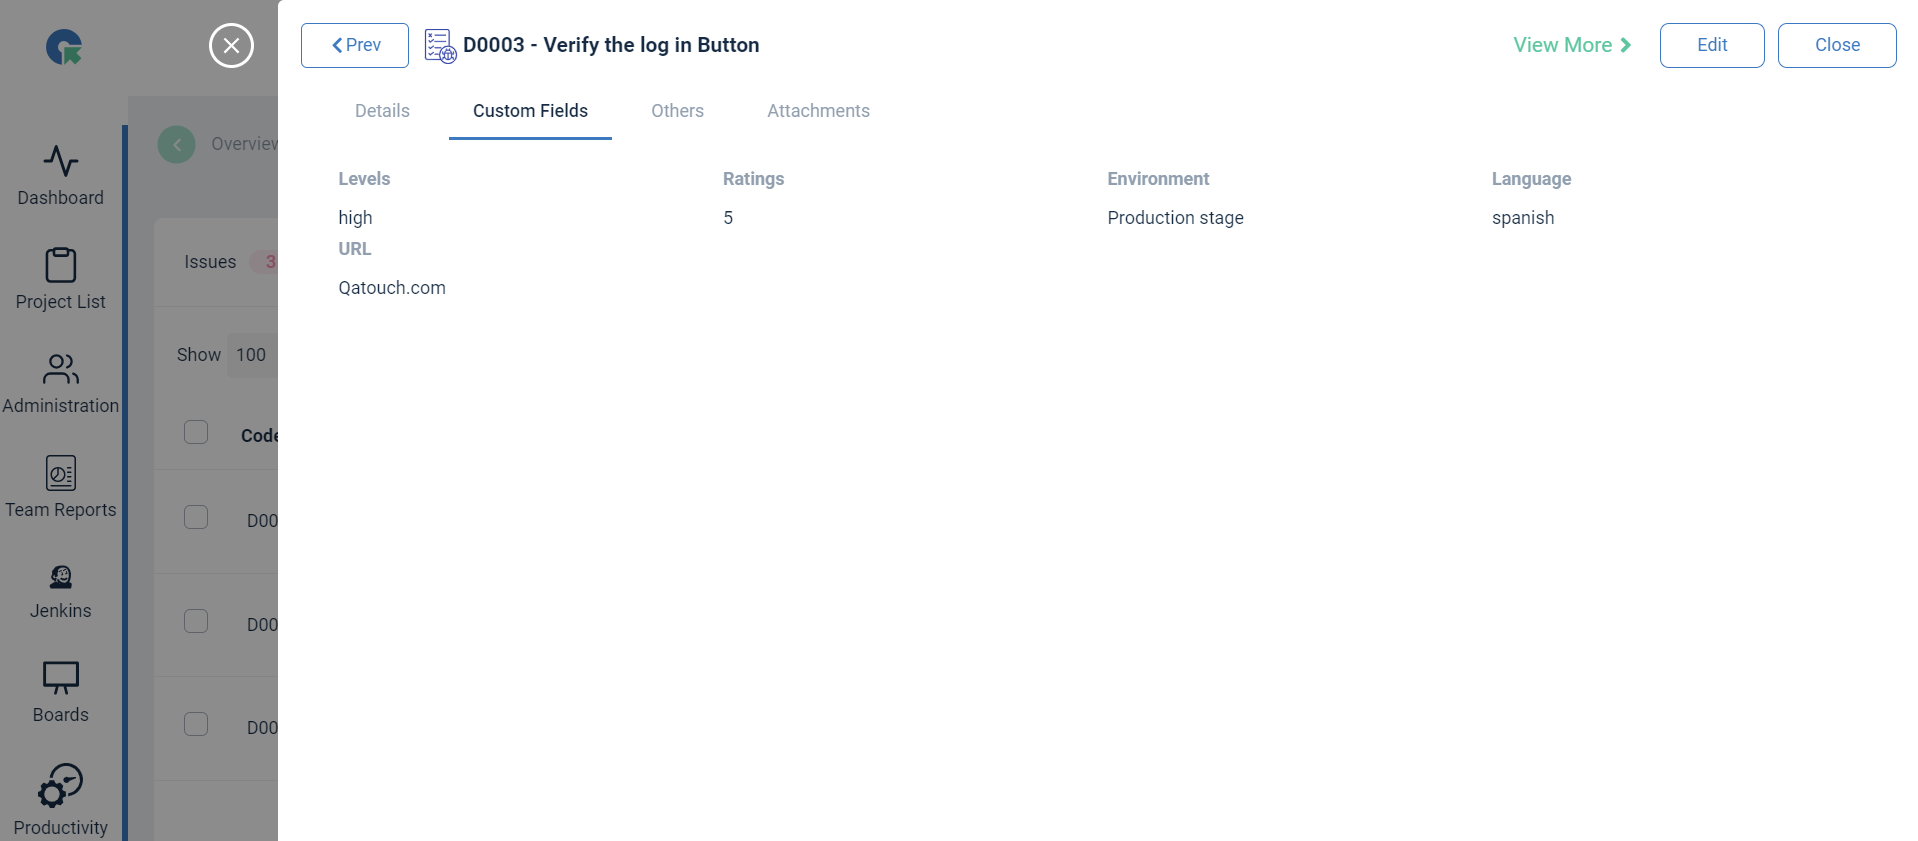
After performing Bulk custom field action ,click on view and verify all the updated custom values are showing properly.
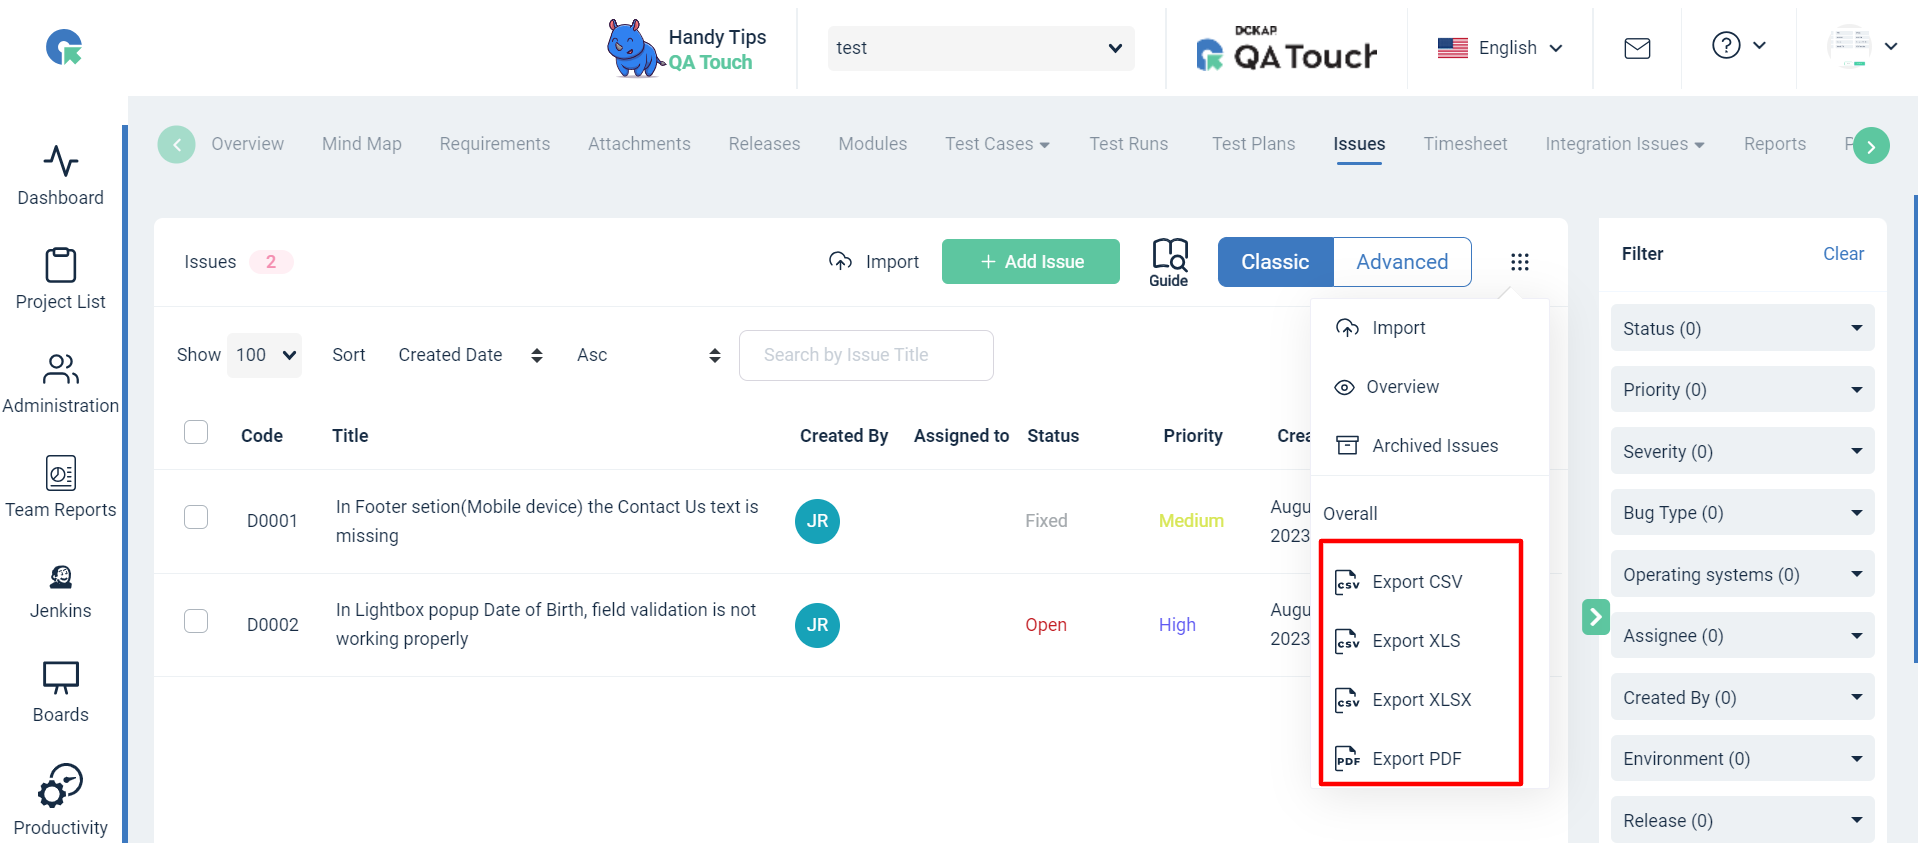
Issues Export:
- Login To QA Touch
- Go To Issues list page
- Click on the Export menu
- Click on any format (CSV,XLS,XLSX,PDF) in the Export dropdown.
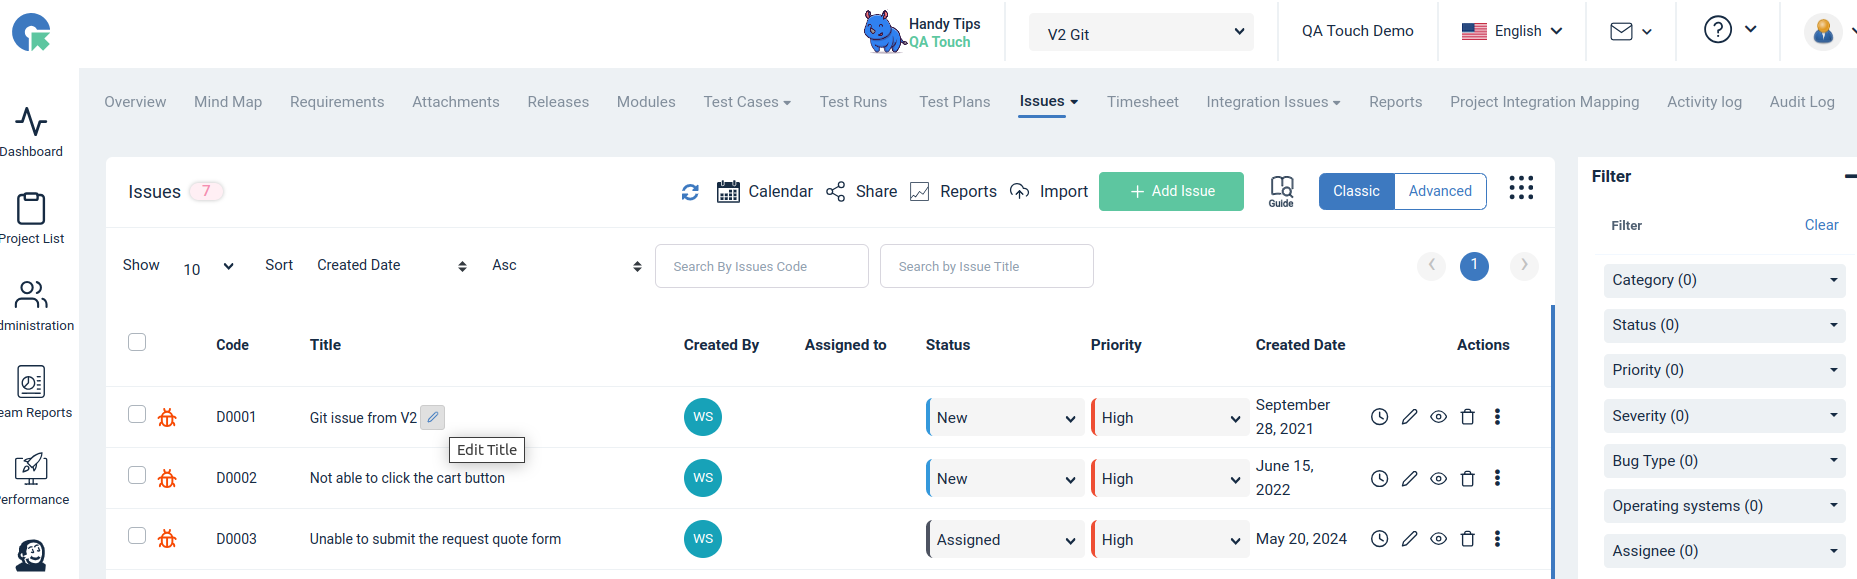
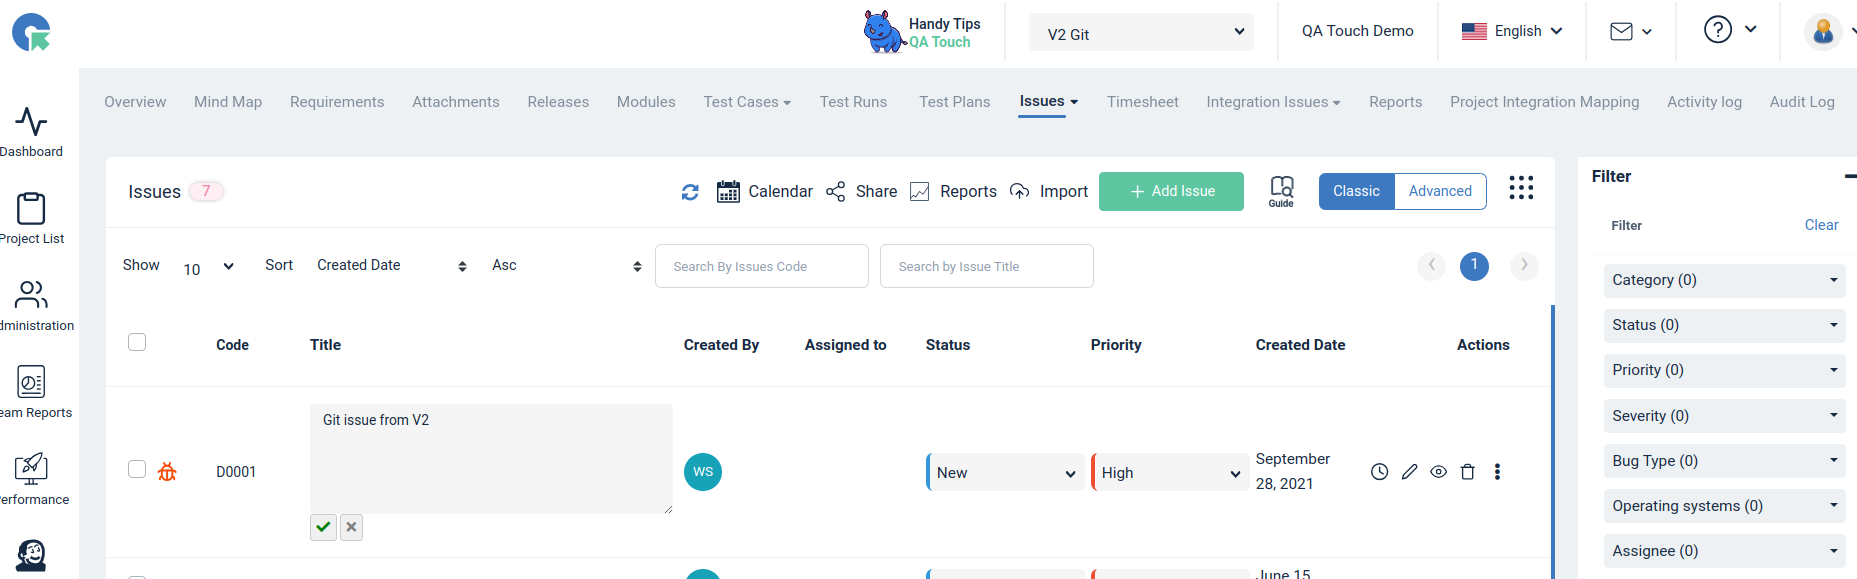
How to Inline Edit Option for Title in Issues?
The Inline Edit feature allows you to quickly and easily make changes to the Title directly without navigating to a separate edit page
Others
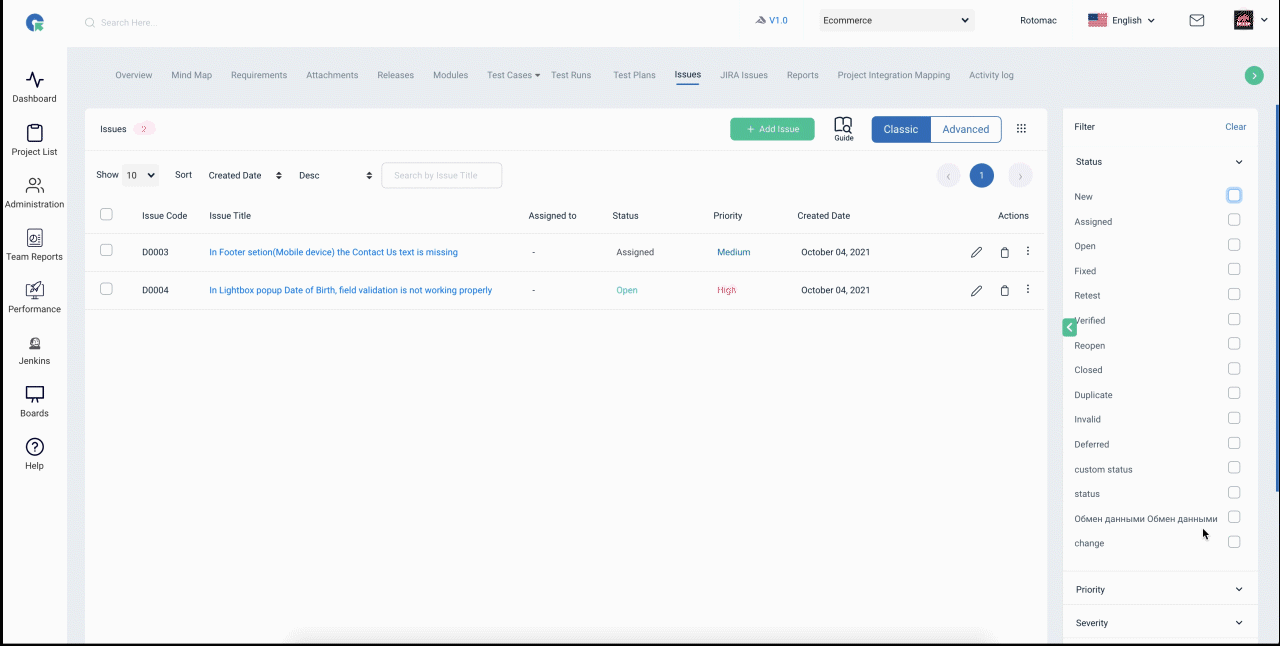
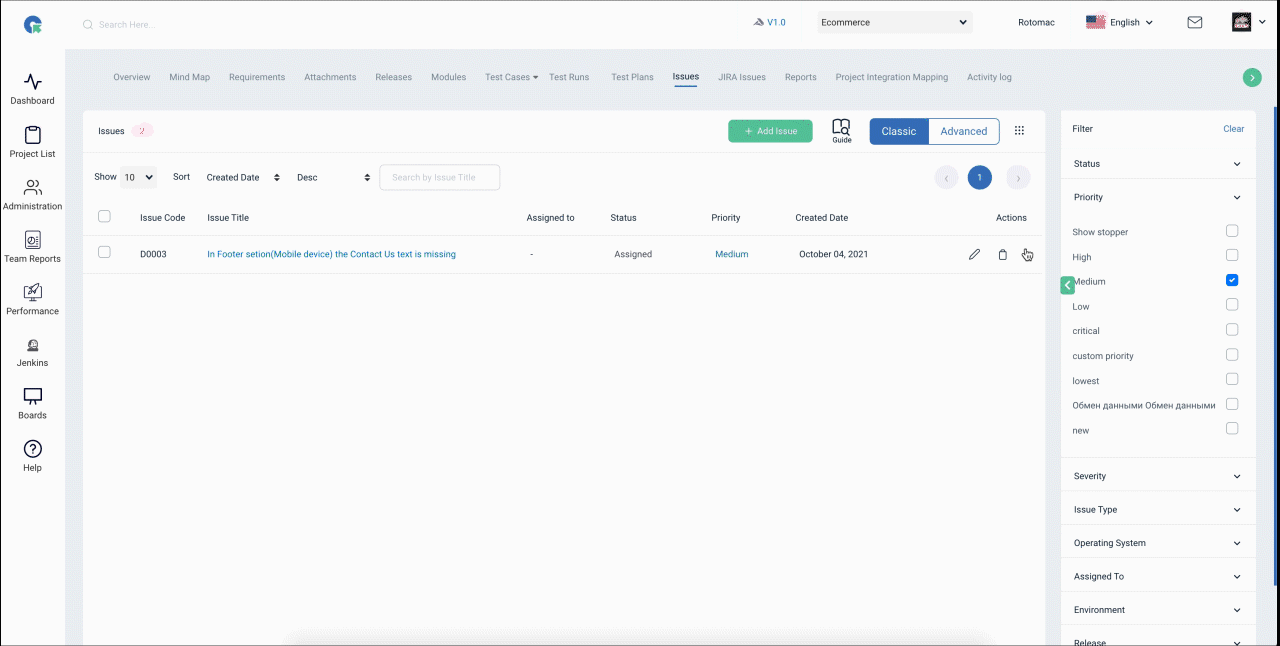
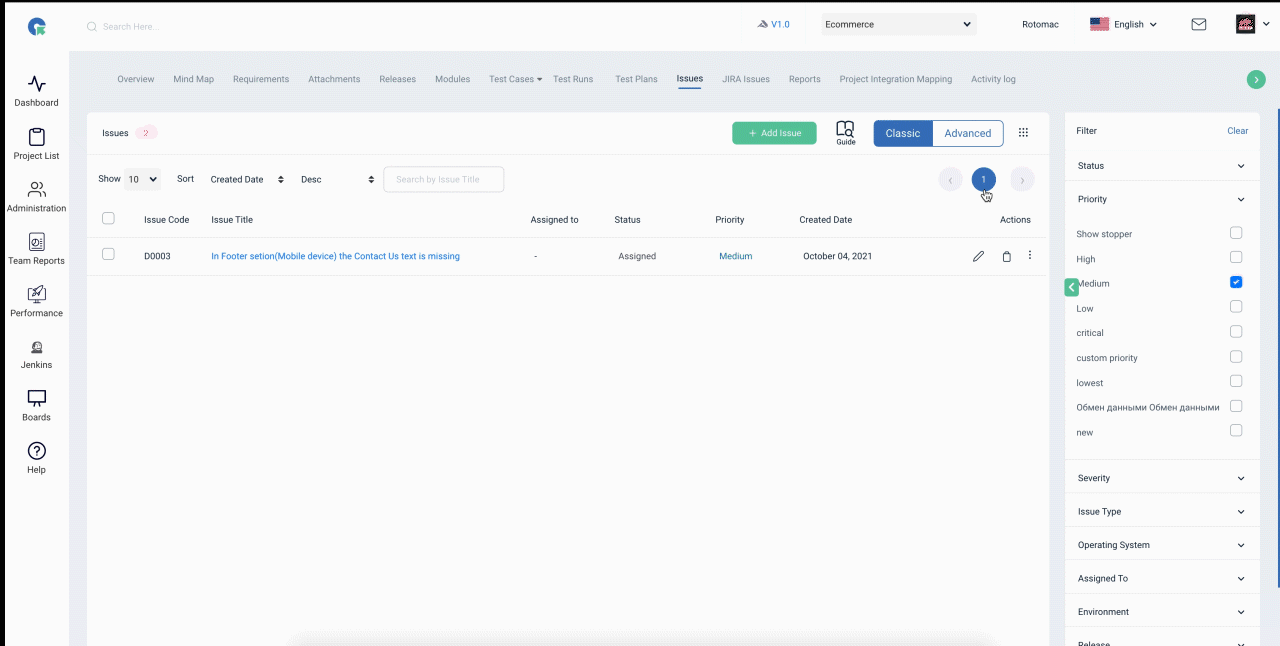
- Filter: Click on this button to filter Issues based on (Module, Priority, Severity, Issue type, Assigned user)
- Overview: Click on this button to view Issue Stats (Number of Issues based on Status, Priority, Severity)
- Export: Click on Export to export all the Issue in several Formats(CSV, XLS, XLSX, PDF)
Closed Issues Tab – Help Guide
The Closed tab in the Issues module displays all issues that have been marked as resolved or completed. This view helps teams track completed work and review previously reported issues.
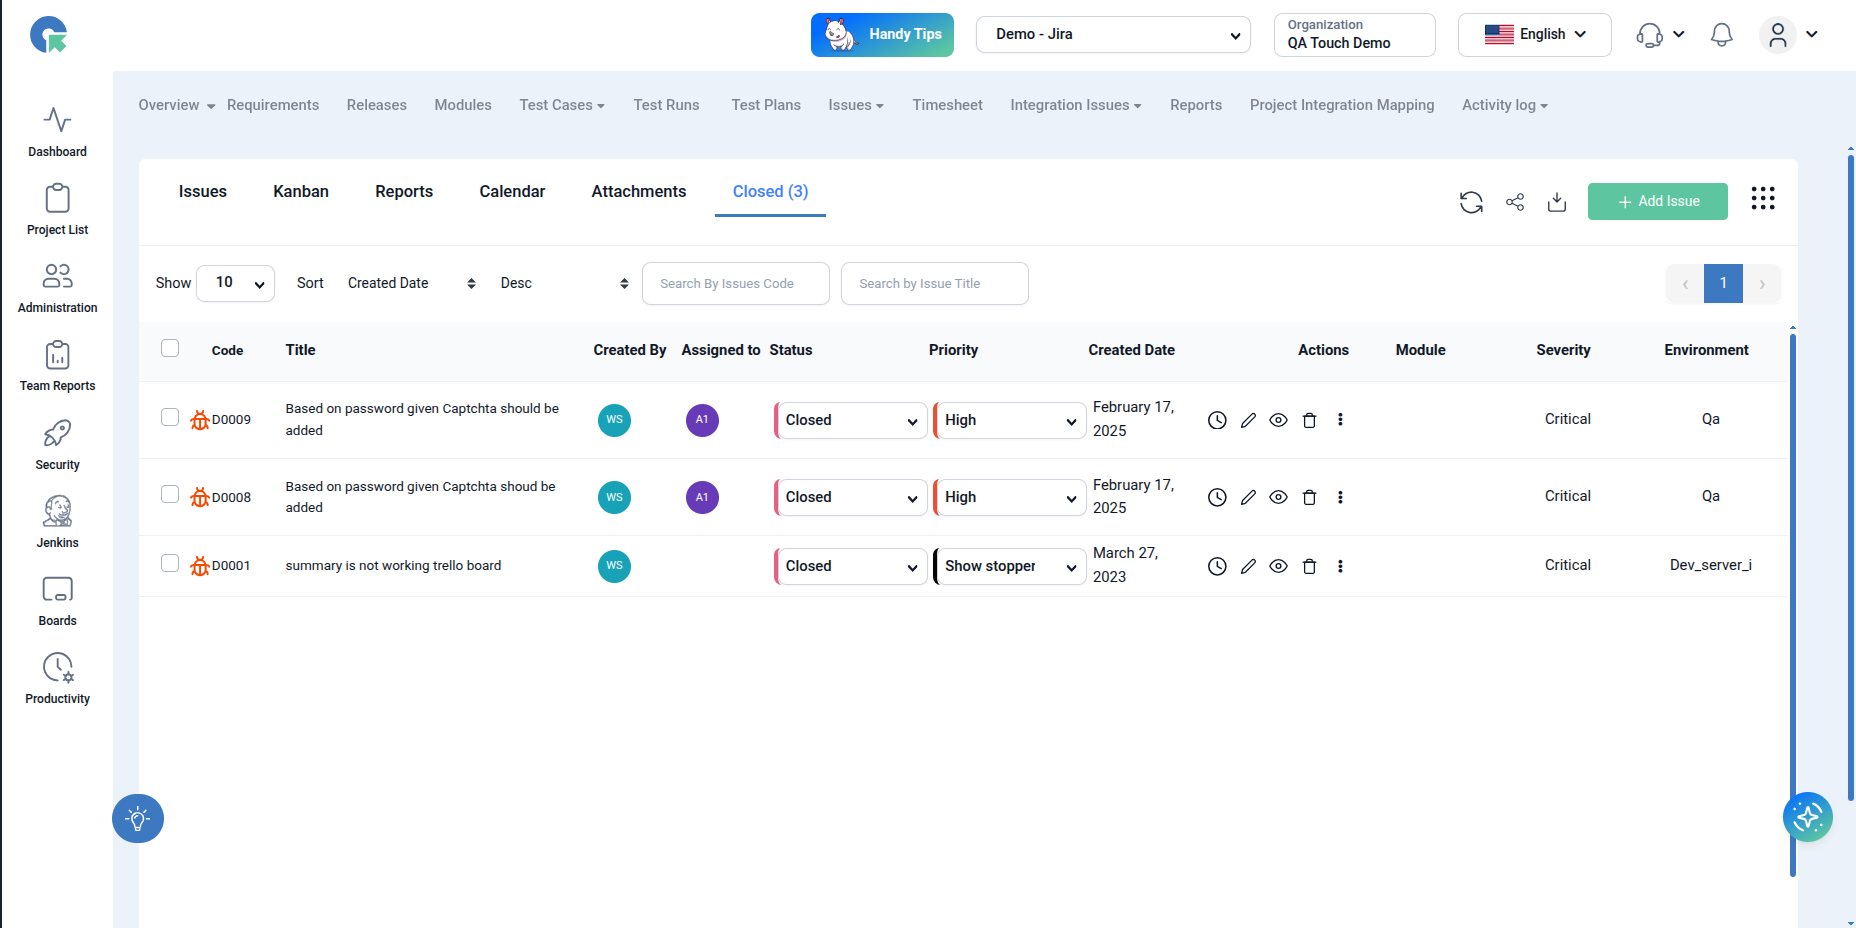
View Closed Issues
- Lists all issues with status set to Closed
- Includes details like:
- Issue Code
- Title
- Assigned User
- Priority
- Severity
- Environment
- Created Date