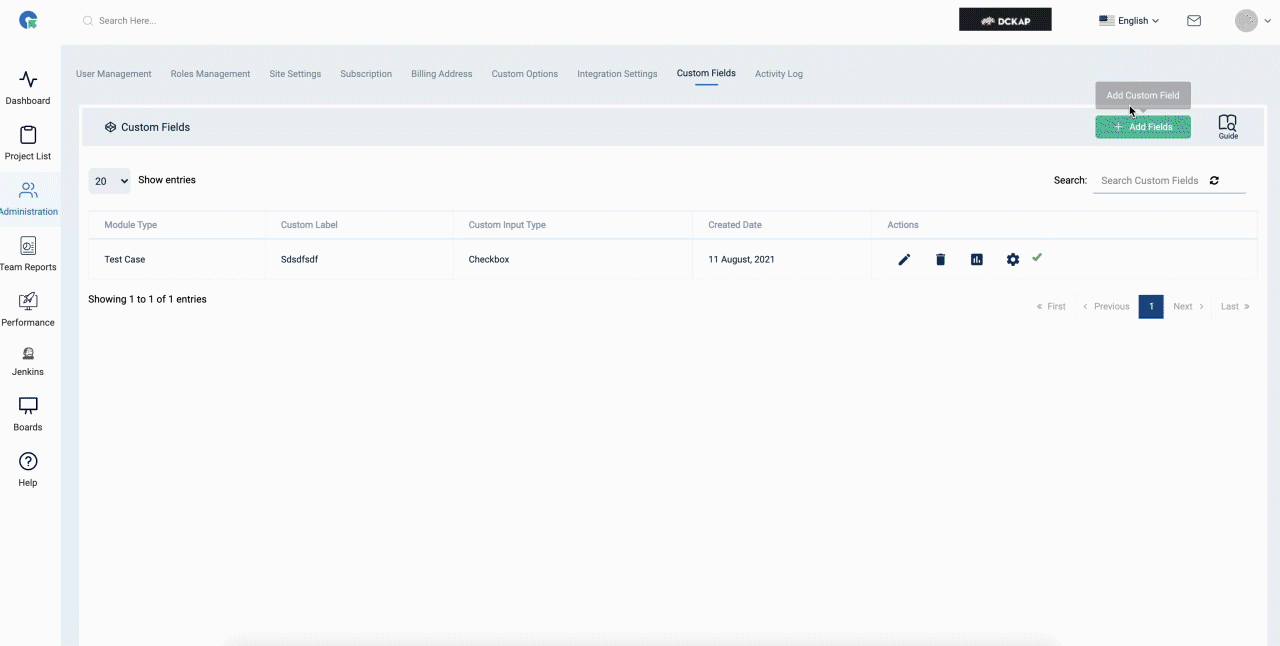
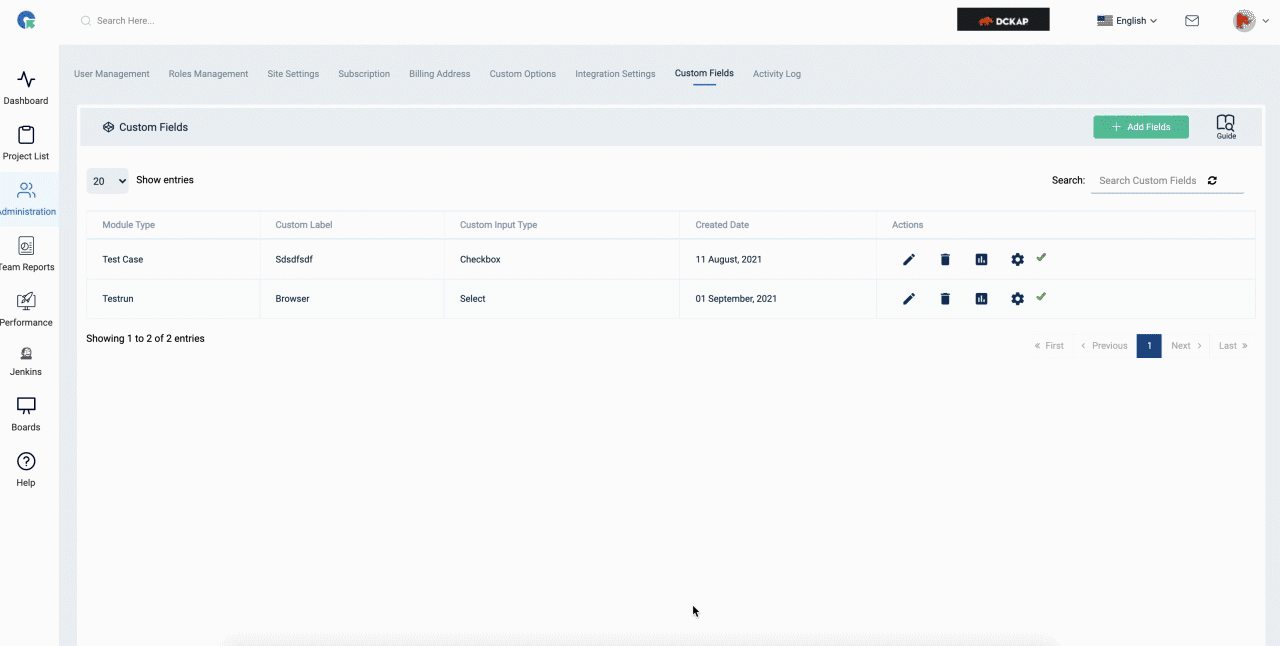
Custom fields for Test Run
Custom fields for Test Run
When you wanted to execute your tests in a combination of multiple options, then you can leverage the custom fields to handle this. You can create your own custom fields for test runs where you can add/update/view each custom field status with the result in the test run.
How to add custom fields in test run
- Login in QA Touch.
- Go to Administration > Custom Fields
- Click on add field button
- Select Test Run in module type
- Select a specific project (OR) select all projects (as per requirement)
- Click on “next”
- Enter the Label name
- Add options
- Click on save
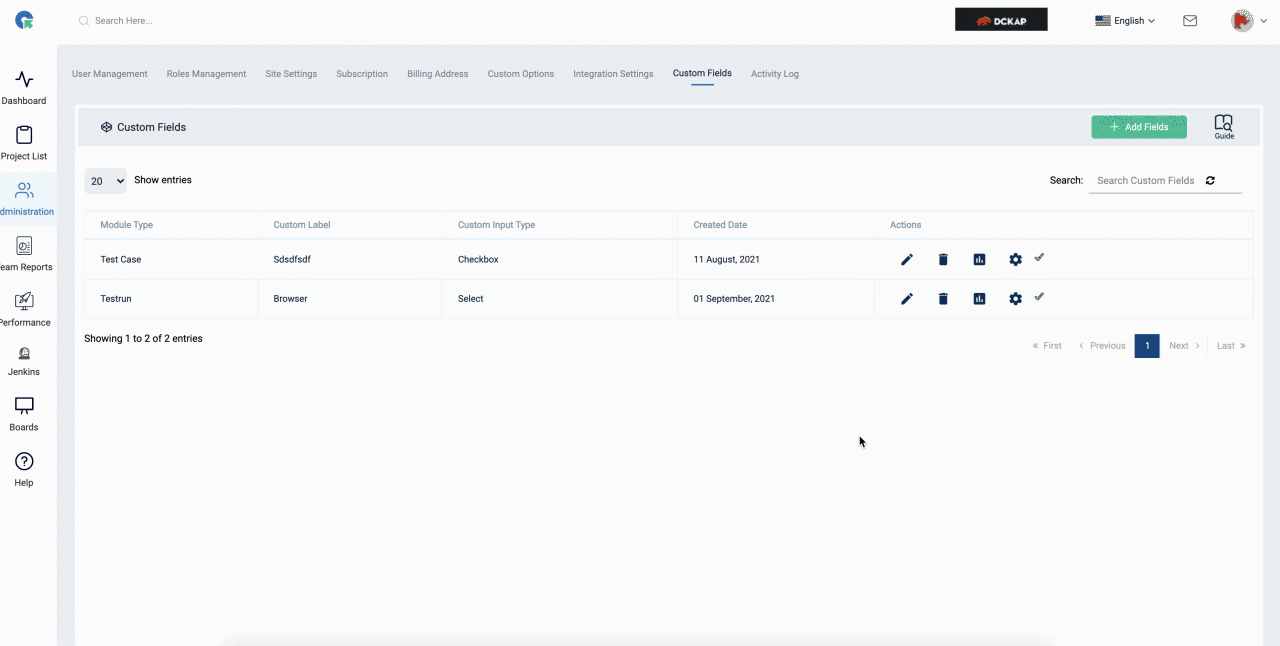
Add/Remove Projects from Custom Field
- To add/ remove projects for custom fields
- Select/ remove projects
- Click on update
Add/Edit/Remove options
- Click on Add/Edit Option
- To add an option, Enter the option name and click + Add Fields.
- To Enable/Disable an option, Click on its status.
- To update an option name, click on edit edit enter the name and click done.
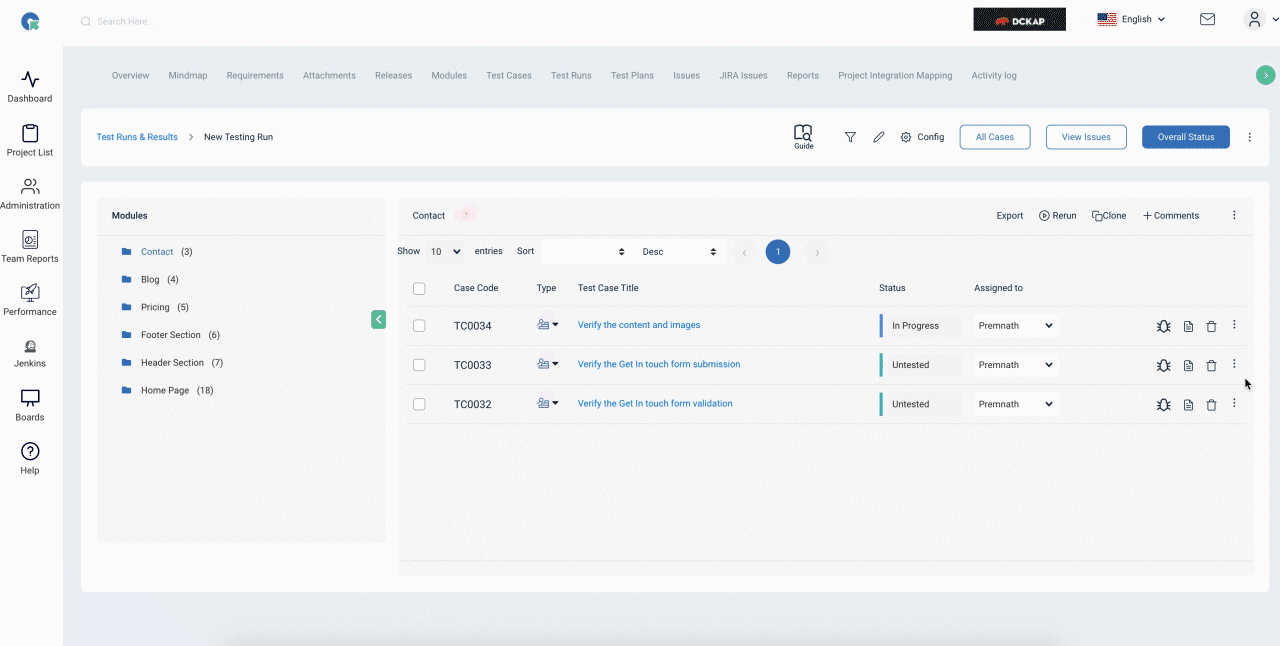
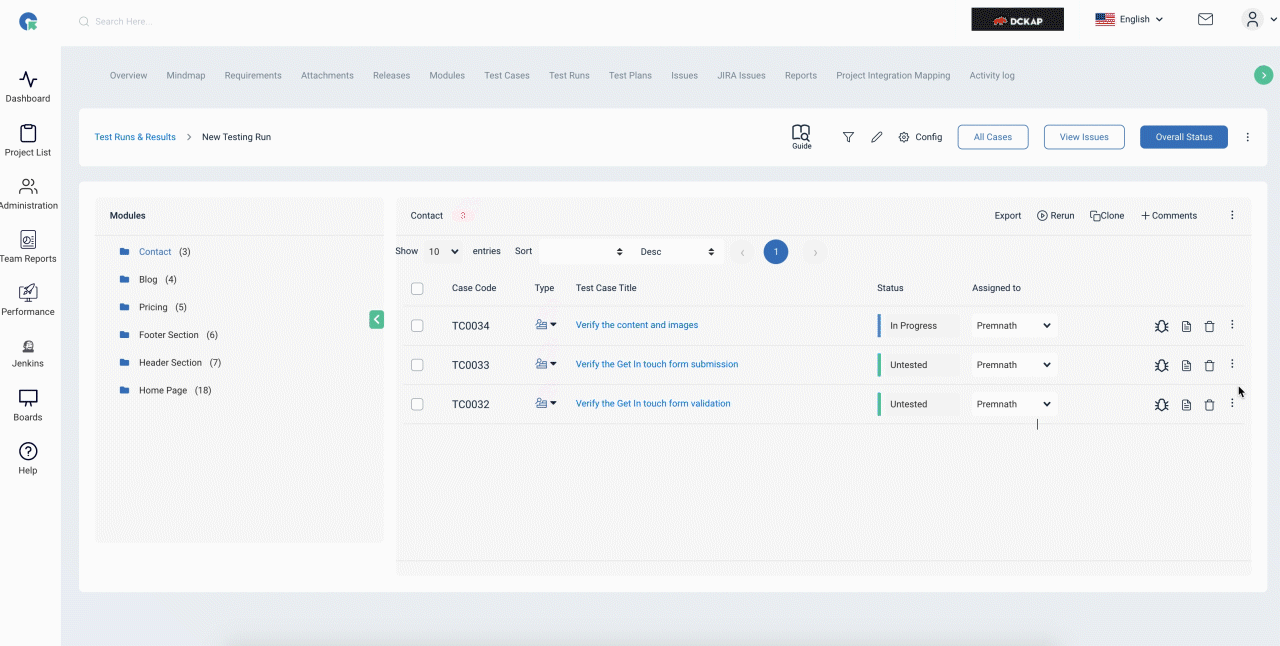
Test Run Result Page
Add Test Run Result with custom field in Test run result page
- Login in QA Touch.
- Go to Test Run Result page
- Click on Add result icon near the test case
- Enter the required data and then click on custom fields tab
- Select the status(s) as per output
- Click on Save Result button

Test Run Result - View Page
Add Test Run Result with custom field in Test run result case view page
- Login in QA Touch.
- Go to Test Run Result page
- Click on view icon of required test case(s)
- Click add result tab
- Enter the required data and click on Custom Fields tab
- Select the status(s) as per output
- Click on the Save Result button.
View custom field test results
- Login in QA Touch.
- Go to Test Run Result page
- Click on view icon of required test case(s)
- Click on result history tab
- Click on “Custom fields test result” button
- Result will be displayed