Cypress Integration
What is Cypress Test Automation in QA Touch?
QA Touch Cypress reporter connects with Cypress, an open-source test automation tool. Fast, easy and reliable testing for anything that runs in a browser. Cypress has been made specifically for developers and QA engineers, to help them get more done.
You can sync your cypress.io automation test results to QA Touch with our handy QA Touch reporter. The steps are below:
Cypress Installation Steps
CYPRESS INSTALLATION - UBUNTU
cd /your/project/path- apt-get install libgtk2.0-0 libgtk-3-0 libgbm-dev libnotify-dev libgconf-2-4 libnss3 libxss1 libasound2 libxtst6 xauth xvfb
- npm i cypress@9.7.0
- npm init -y
- npm i cypress-qatouch-reporter (QA Touch Cypress Package Installation) Execution command : npx cypress run
Go To Latest Cypress 11 + Integration
$ npx cypress -vCypress package version: 9.7.0
Cypress binary version: 9.7.0
Electron version: 18.0.4
Bundled Node version: 16.13.2

CYPRESS Version (9.7.0)
Cypress Tutorial Video
QA Touch & Cypress Integration Process
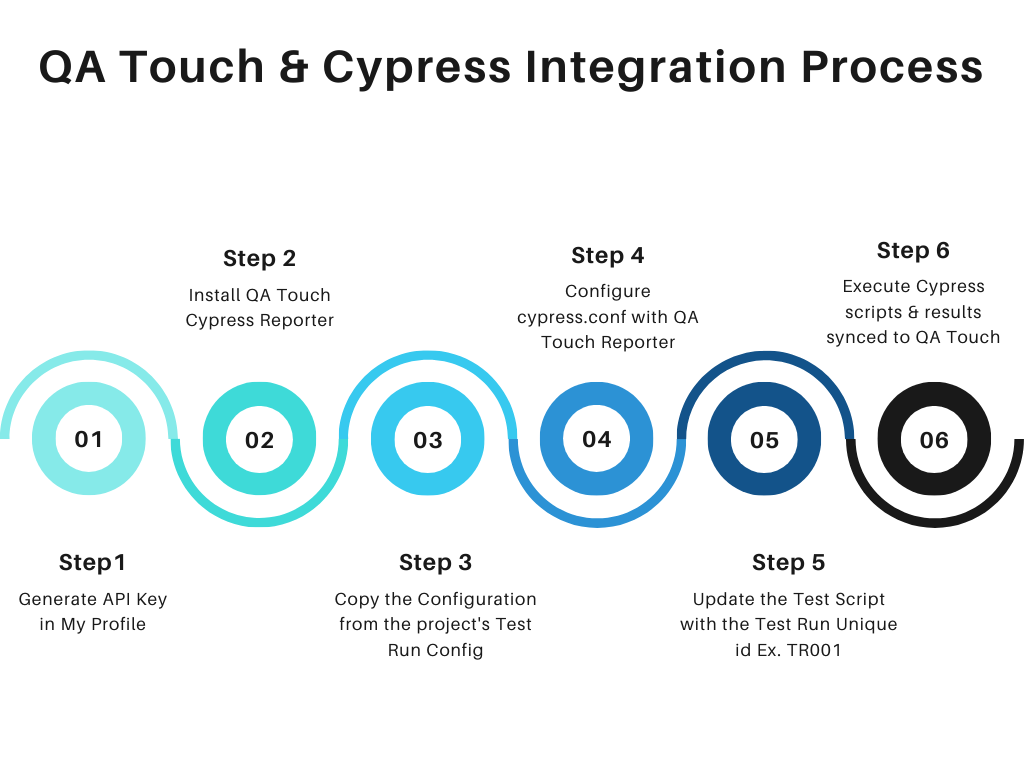
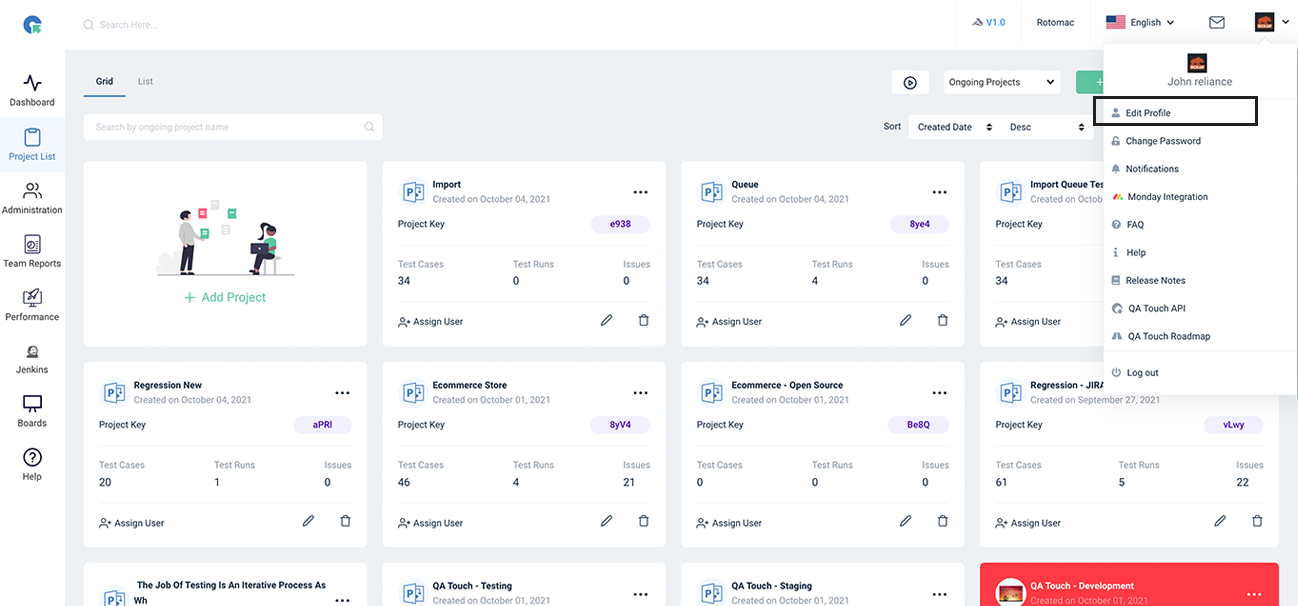
- Login in QA Touch.
- Click My profile - Generate API key.
- You can refer QA Touch API from https://doc.qatouch.com/#qa-touch-api
- Access the URL https://www.npmjs.com/package/cypress-qatouch-reporter
- Install the package in cypress root directory by executing the below command from your automation environment from the command line.
Github : https://github.com/gitdckap/cypress-qatouch-reporter
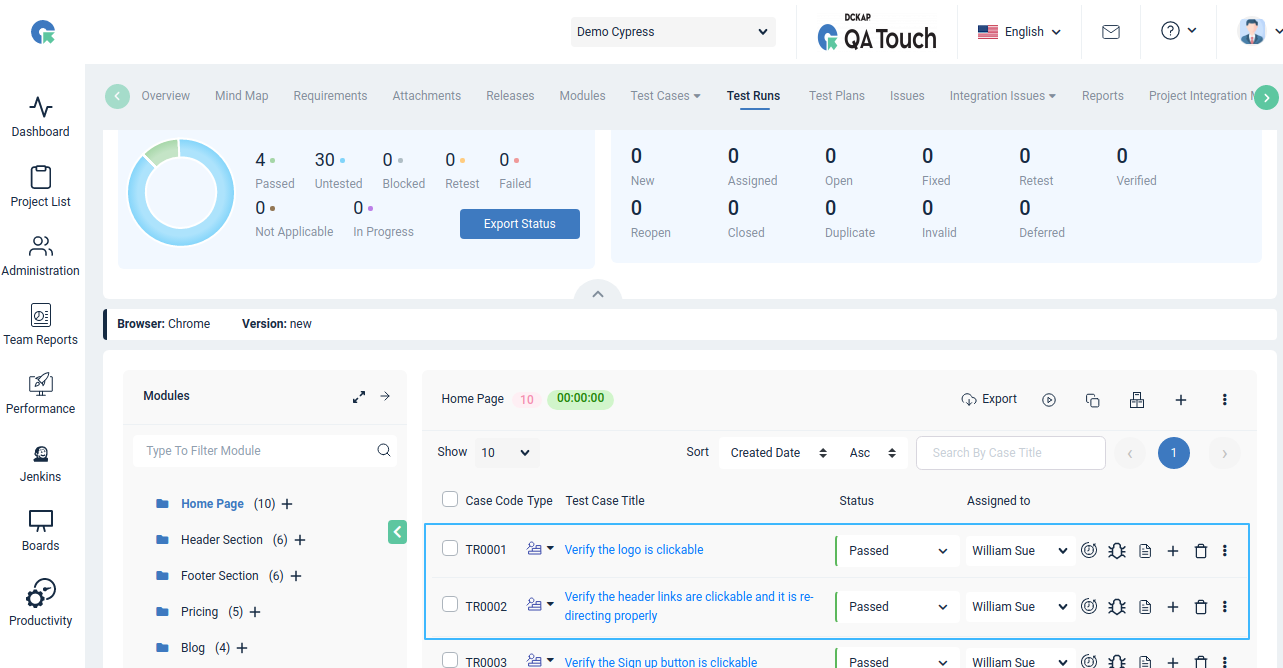
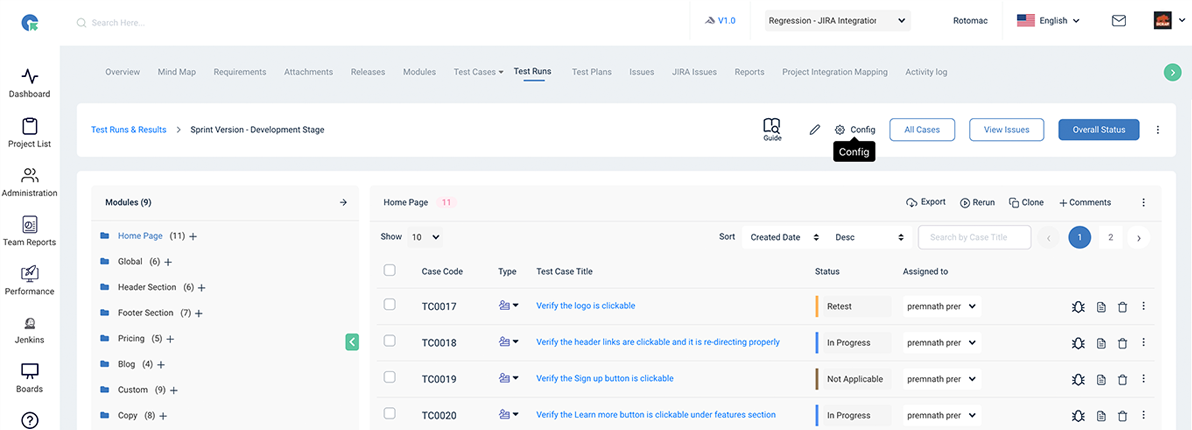
How to Sync Cypress Test Automation Results to QA Touch?
$ npm i cypress-qatouch-reporter- Access your project’s test run.
- Click cypress config button.
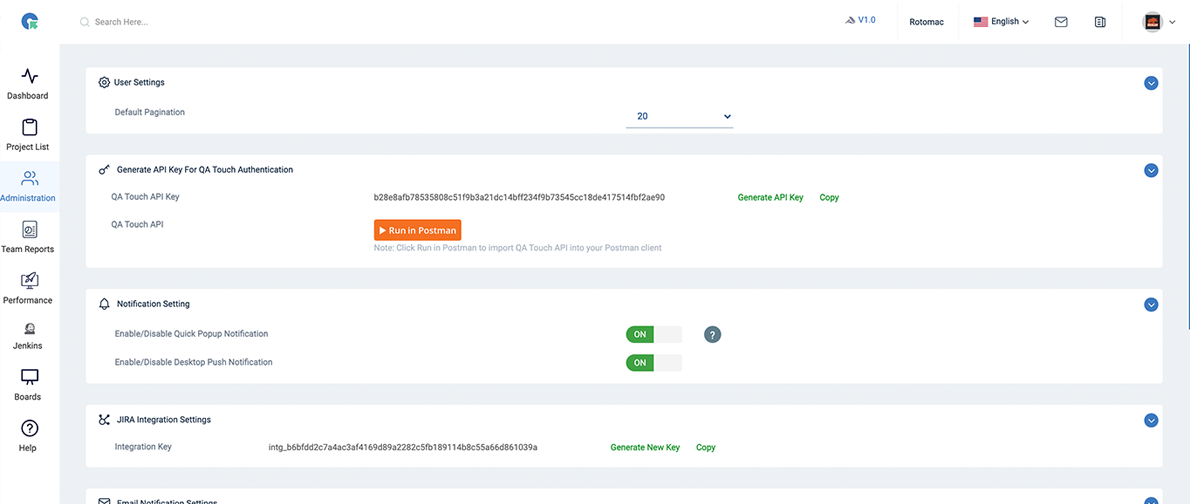
- In the resulting popup, copy the API key and the details and update the value in cypress.json file.
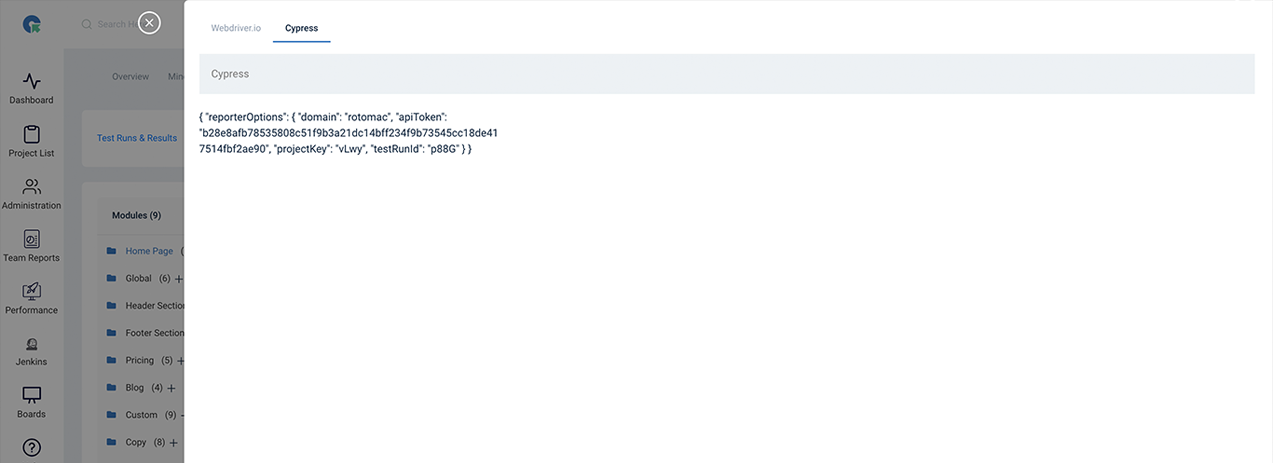
    "reporter": "cypress-qatouch-reporter",
    "reporterOptions": {
        "domain" : "your-domain",
        "apiToken": "your-token",
        "projectKey": "project-key",
        "testRunId": "test-run-id"
},-
Next, we have to map the Test Run id and the test automation script. Setup the Test Run value in your Cypress test scripts. For example, your test run id is TR0032 then prefix this value in your test script.
-
The updated sample script will look like below:
Sample Code 1
describe('cypress page', () => {
    it('TR0001 should have the right title', () => {
        browser.url('https://cypress')
        expect(browser).toHaveTitle('cypress · Next-gen browser
            and mobile automation test framework for Node.js');
    })
})
Sample Code 2
    describe('My First Test', () => {
    it('TR0003 clicking "type" shows the right headings', () => {
        cy.visit('https://example.cypress.io')

        cy.pause()

        cy.contains('type').click()

        // Should be on a new URL which includes '/commands/actions'
        cy.url().should('include', '/commands/actions')

        // Get an input, type into it and verify that the value has been updated
        cy.get('.action-email')
        .type('fake@email.com')
        .should('have.value', 'fake@email.com')
        expect(true).to.equal(true)
    })
    })

    describe('My second Test', () => {
    it('TR0004 Does not do much!', () => {
        expect(true).to.equal(true)
    })
})- Execute the Cypress scripts.
Cypress Command
$ npx cypress run
- The test result will be synced in the QA Touch’s test run and test case status will be updated.