ON BOARDING WITH QA TOUCH
Registration
Registration link for QA Touch : Registration link
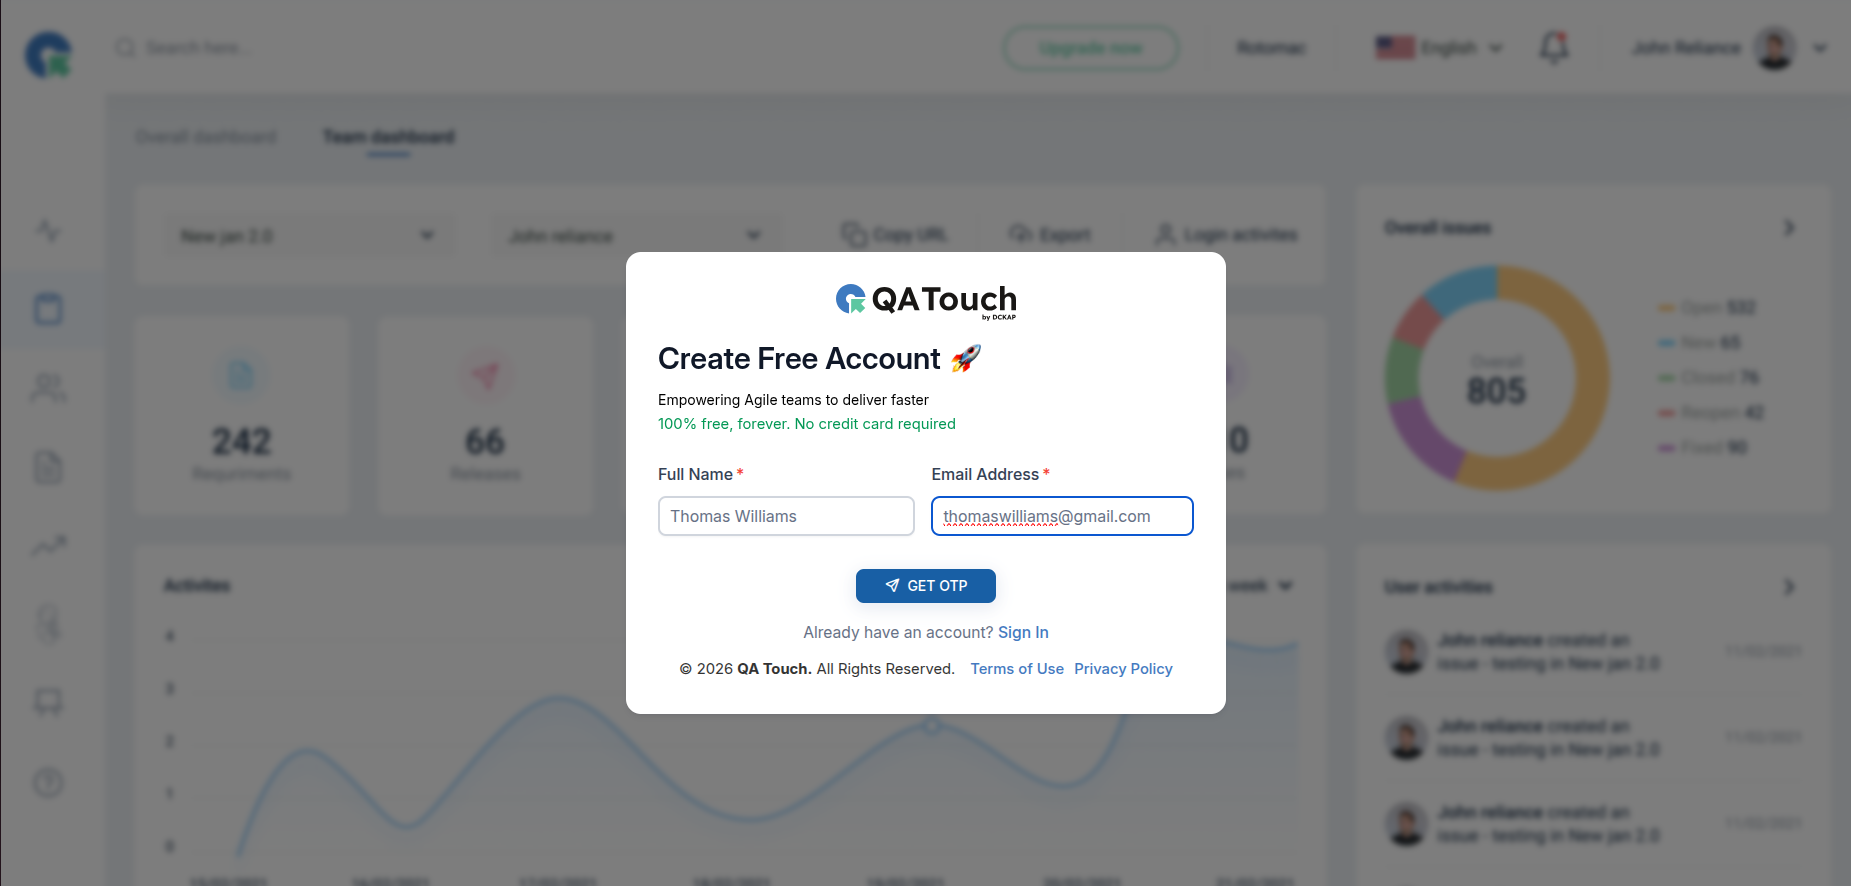
How to Create Your Free QA Touch Account
Getting started with QA Touch is quick and free. Follow these simple steps:
Step 1: Enter Your Details
- Full Name – Enter your full name.
- Email Address – Enter a valid email address that you can access.
- Note: The OTP (One-Time Password) will be sent to this email address.
- Get OTP
- Click Get OTP.
- Check your inbox for the verification code.
- If you don’t receive the email within a few minutes:
- Check your Spam/Junk folder.
- Ensure the email address is entered correctly.
- If the OTP expires or is not received,Click Resend OTP
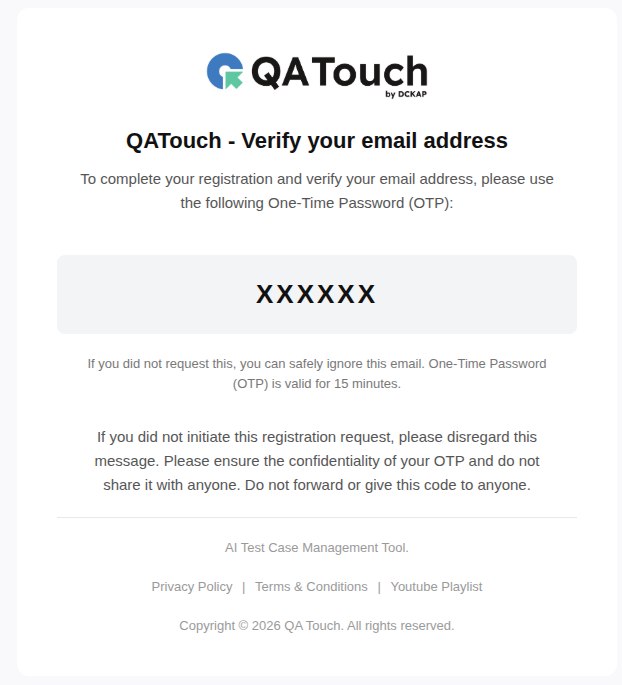
Step 2: Verify Your Email Address
After clicking Get OTP, you’ll be asked to verify your email address using a One-Time Password (OTP).
How to Verif
- Check your email inbox for the 6-digit OTP sent by QA Touch.
- Enter the OTP in the Enter OTP field.
- Click Submit OTP to verify your email and continue creating your account.
Note: Your account will be created only after your email address has been successfully verified.
Step 3: Complete Your Account Setup
After your email is verified, complete the remaining details to create your QA Touch workspace.
Fill in the Required Information
- Password – Create a strong password for your account.
- Company Name – Enter your company or organization name.
- Number of Users – Select the estimated number of team members who will use QA Touch.
- Domain – Enter a unique workspace name. Your workspace URL will be:
Example: If your domain is lavitech, your workspace URL will be https://yourdomainname.qatouch.com
Create Your Account
- Verify that all the information is correct.
- Click Create Free Account.
- QA Touch will create your workspace and redirect you to your dashboard.
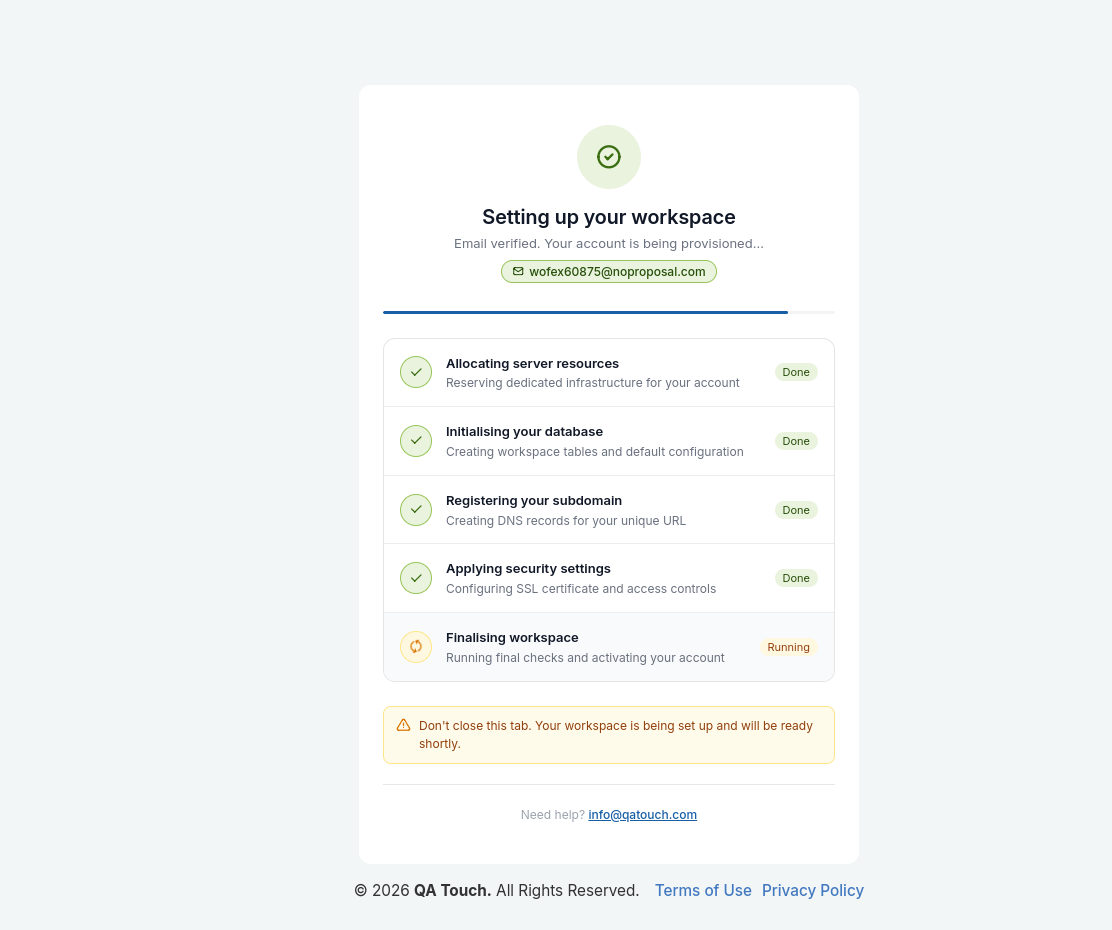
Step 4: Setting Up Your Workspace
After clicking Create Free Account, QA Touch automatically provisions your workspace. This process usually takes a few moments.
- Keep this browser tab open while your workspace is being created.
- Wait until all setup steps are completed.
- You will be automatically redirected to your QA Touch workspace once provisioning is finished.
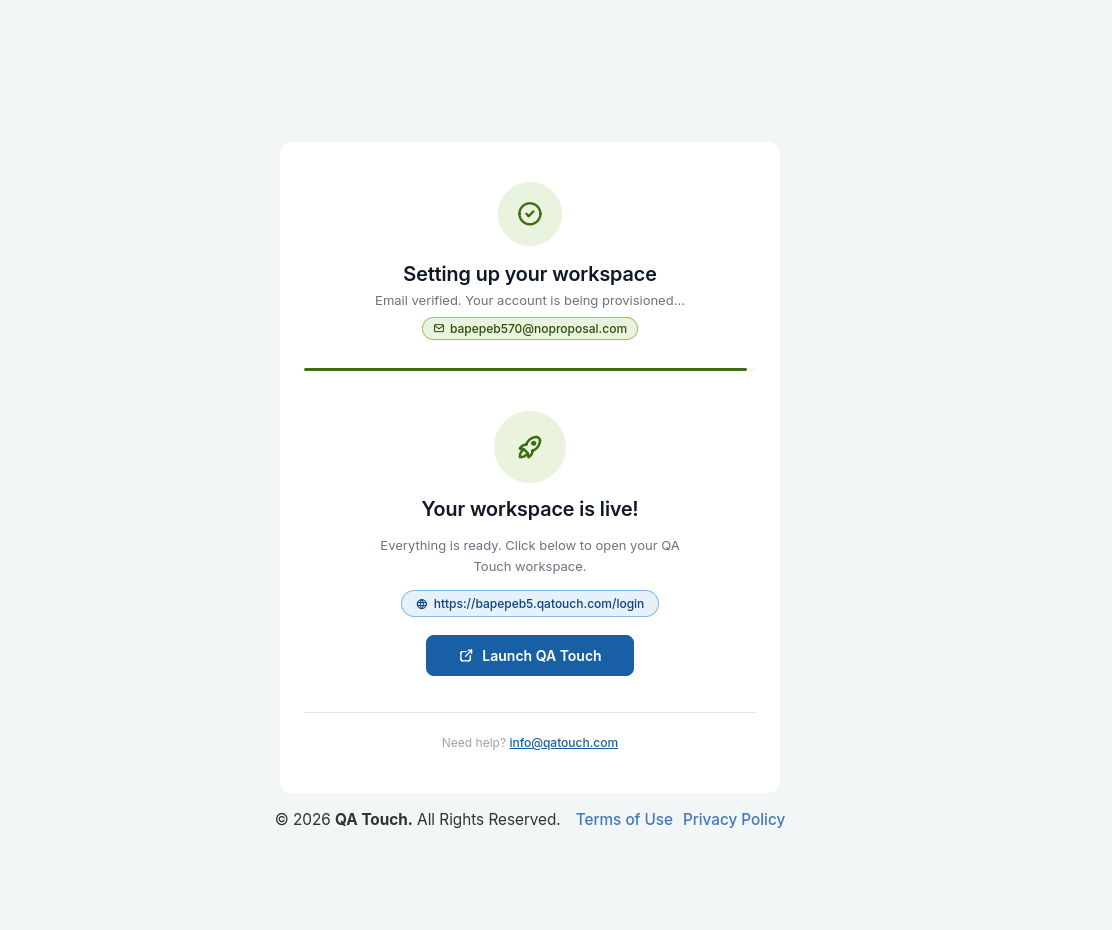
Step 5: Launch Your QA Touch Workspace
Congratulations! Your QA Touch workspace has been successfully created and is ready to use.
Access Your Workspace
- Verify that the setup is complete.
- Note your workspace URL displayed on the screen.
- Click Launch QA Touch to open your workspace.
If you encounter any issues while accessing your workspace:
- Ensure you’re using the registered email address and password.
- Verify that you’re opening the correct workspace URL.
- Contact QA Touch Support if you’re unable to sign in or access your workspace.
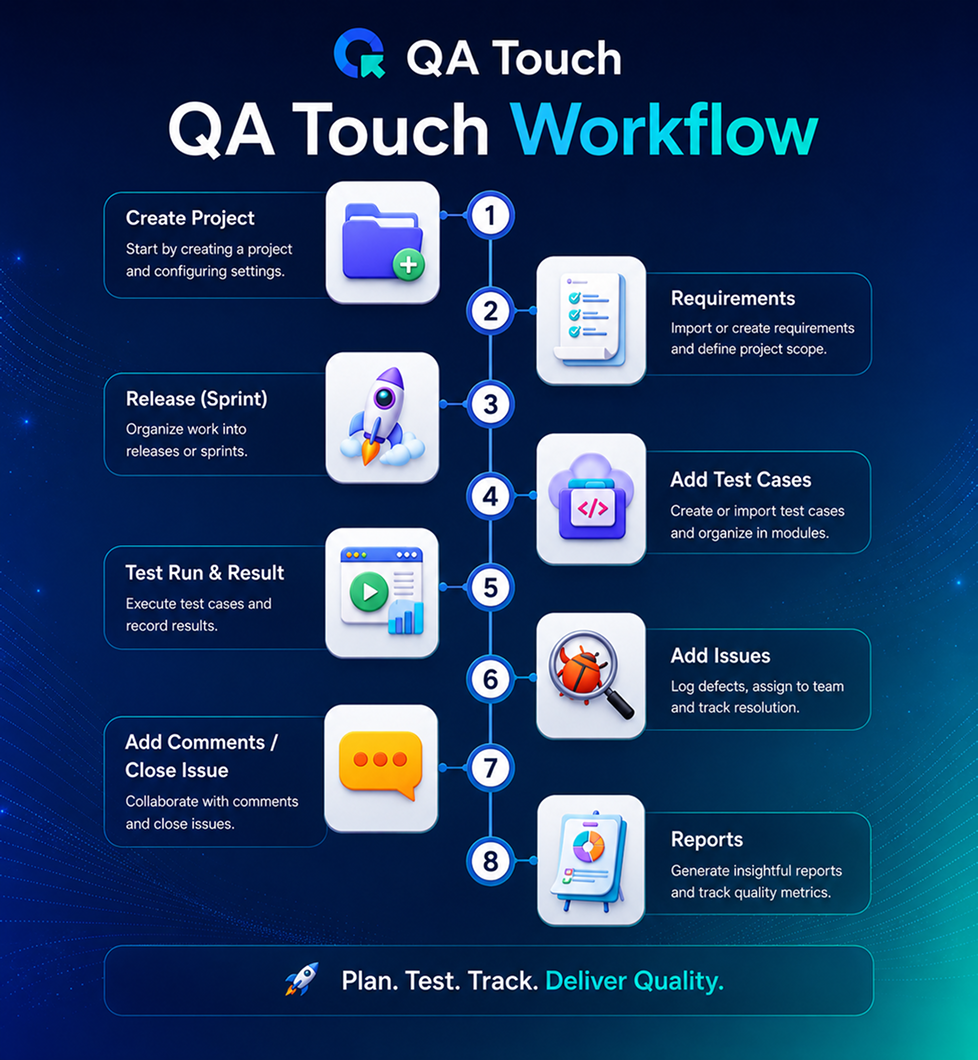
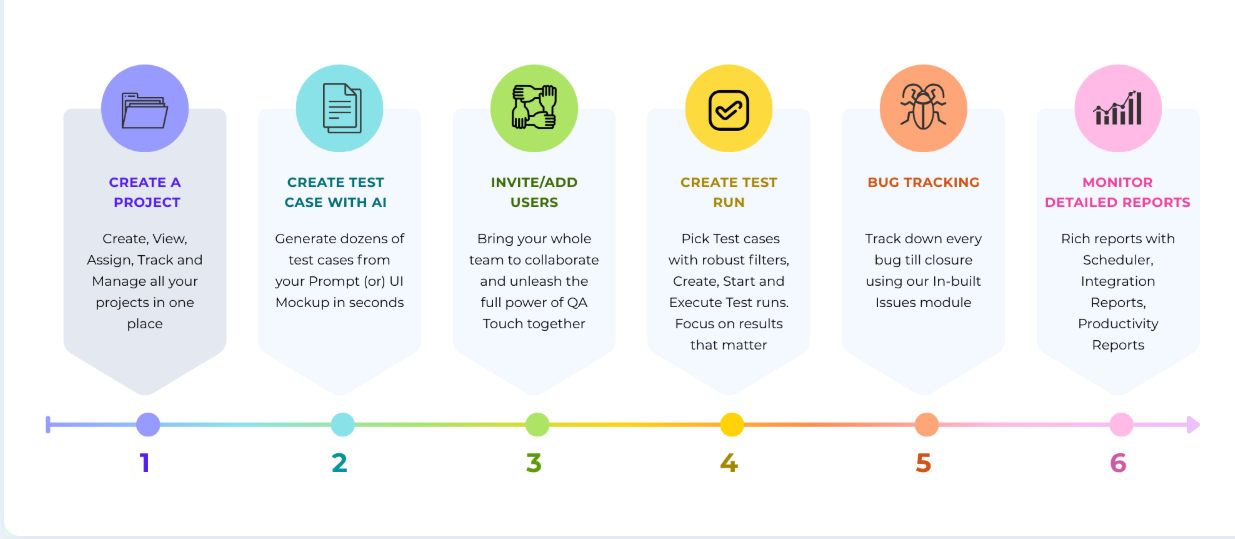
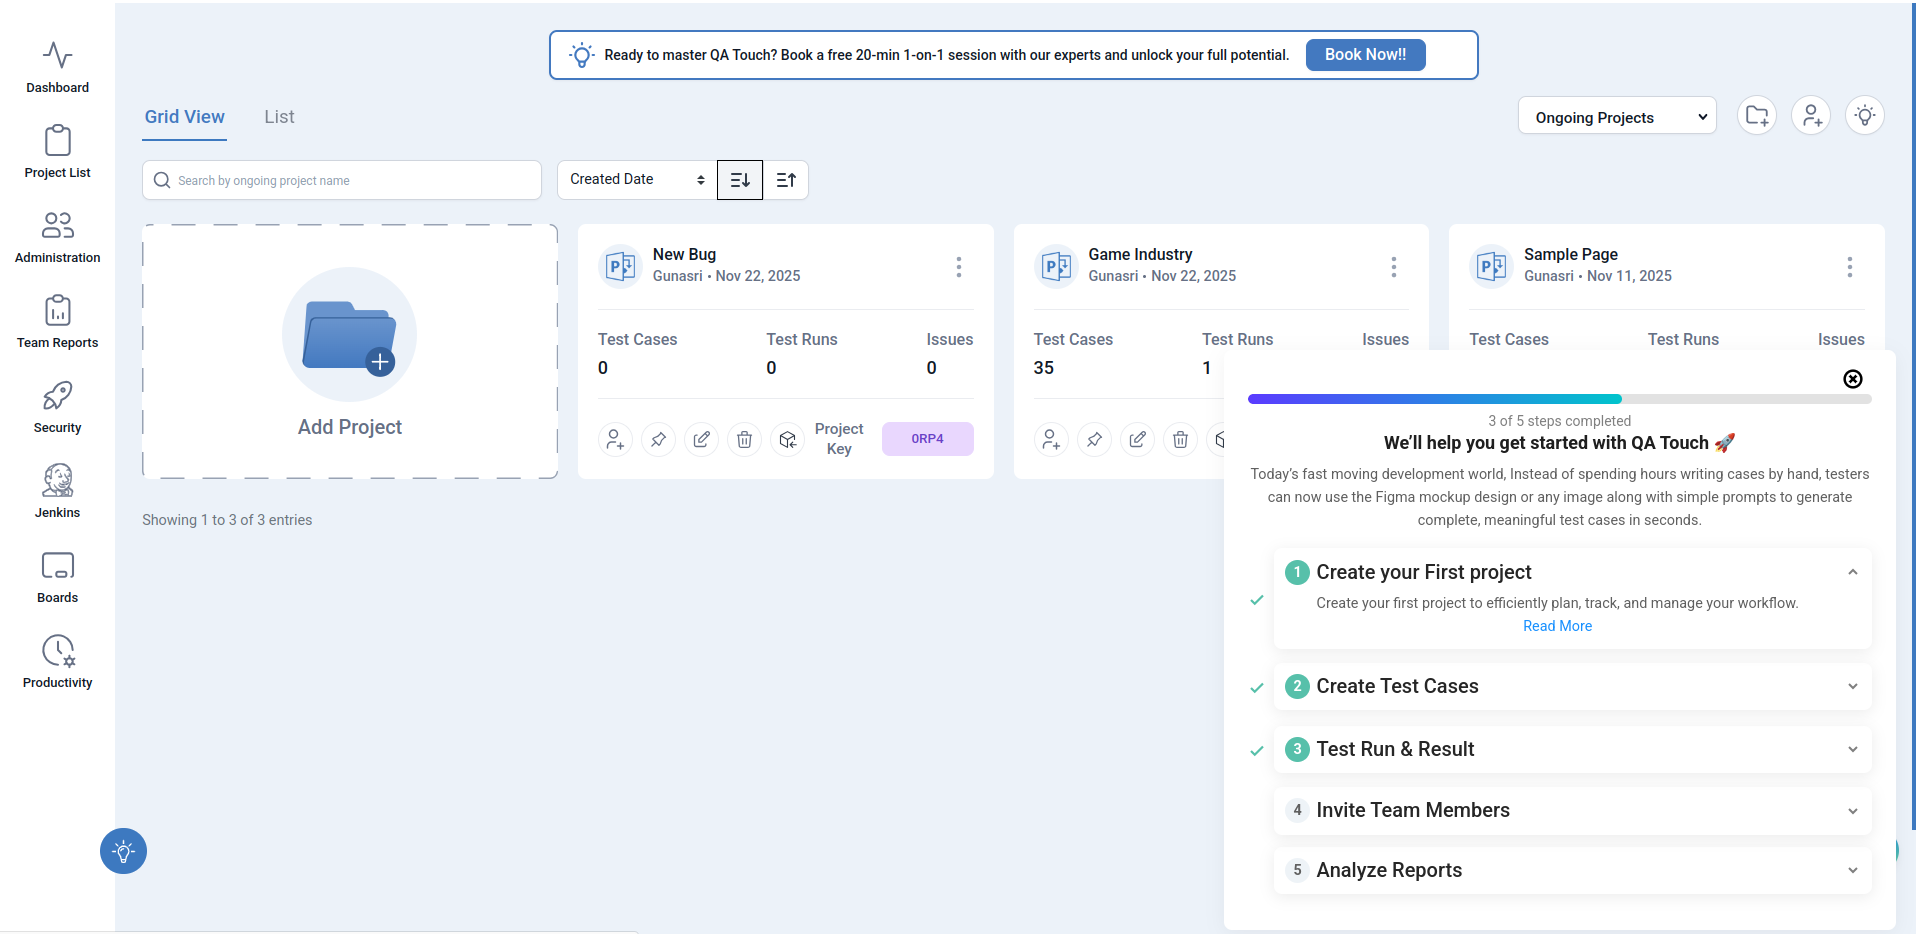
Welcome to QA Touch! Follow these quick steps to set up your workspace, create your first project, and begin managing your testing activities effectively.
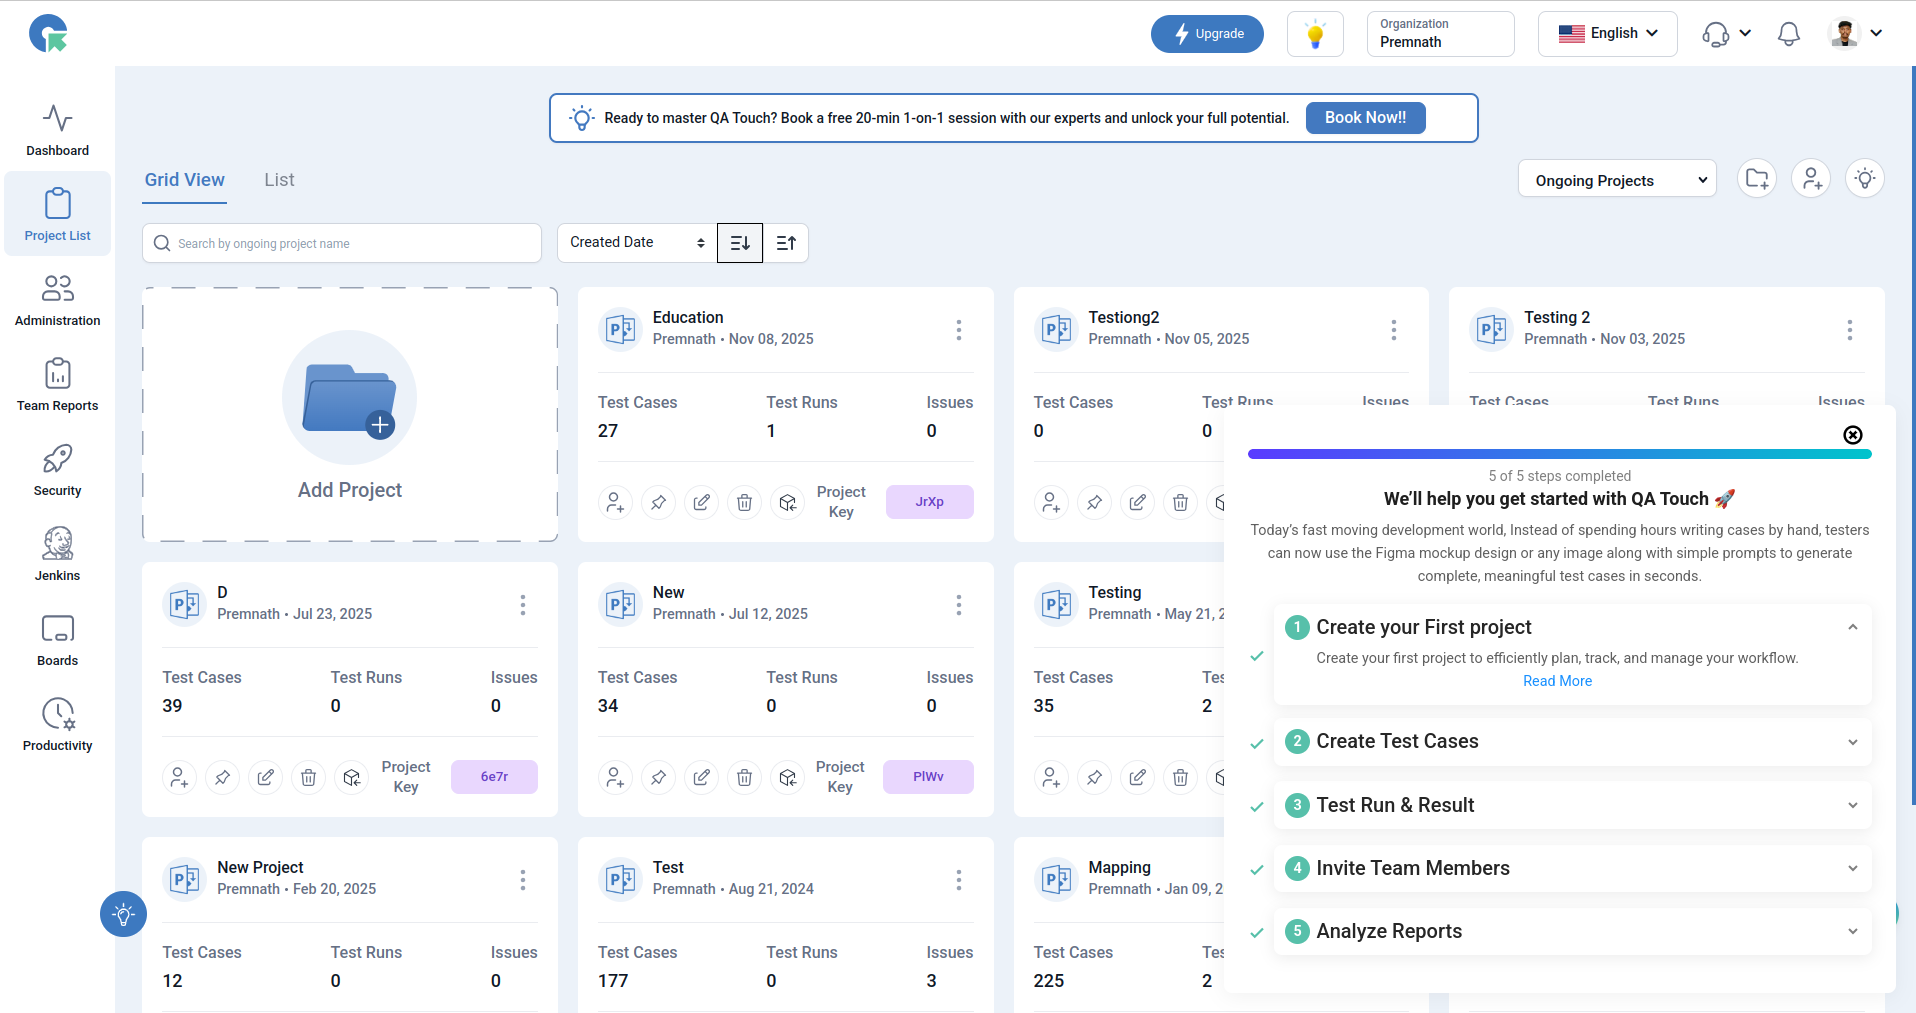
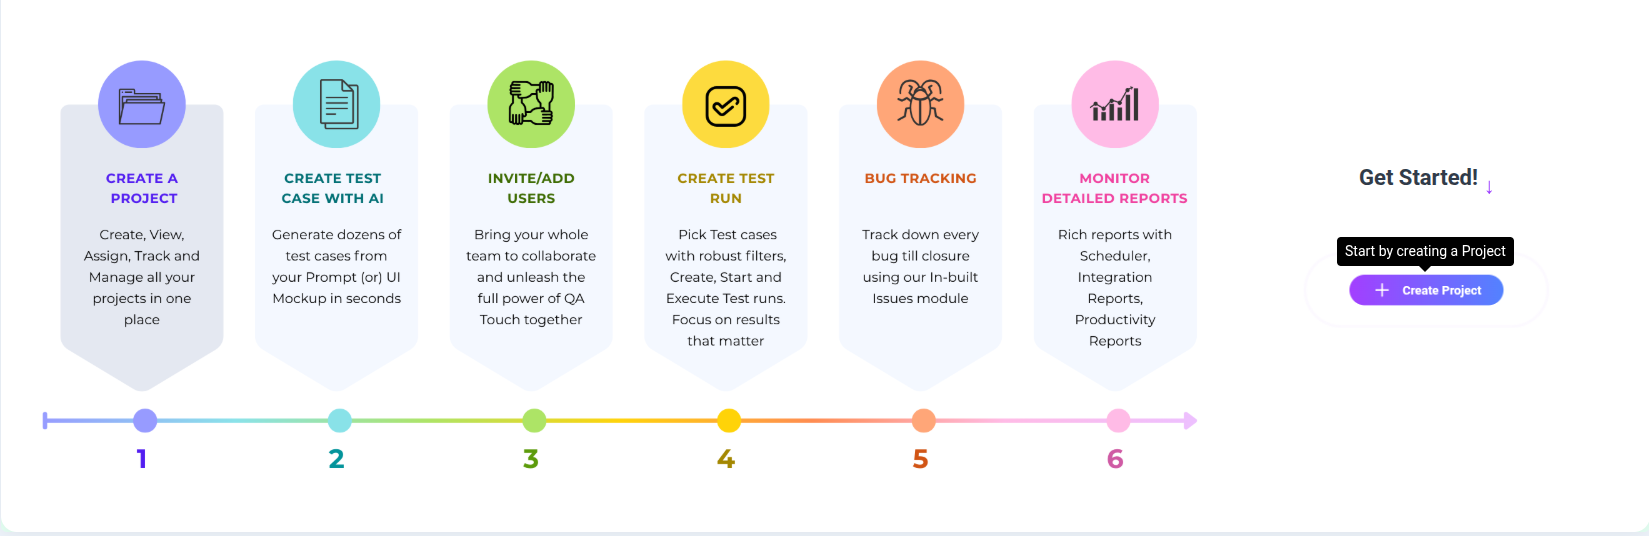
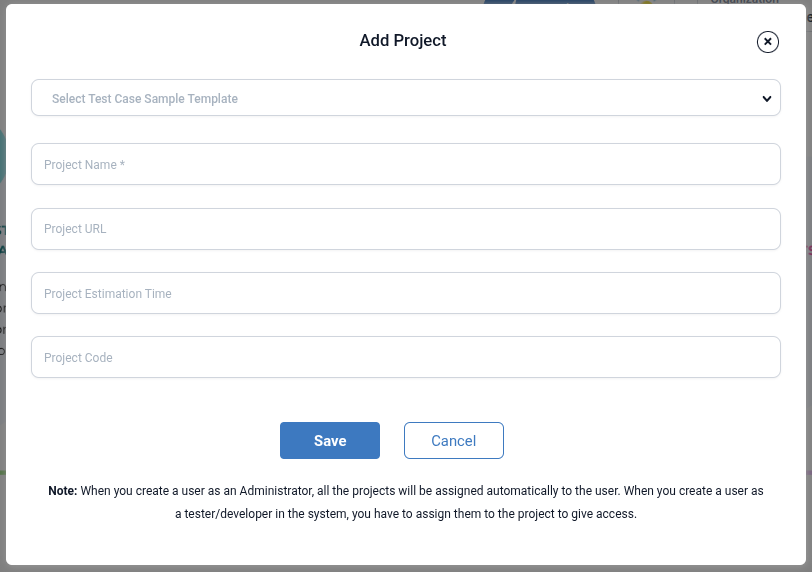
1. Create Your First Project
Start by creating your first project to plan, track, and manage all your testing activities in one place.
Steps:
-
Click Add Project from the Projects page.
-
Enter your project details such as:
- Project Name
- Project Code
- Project URL
- Description
-
Save and begin adding team members and test assets.
2. Create Test Cases
Build the foundation of your testing process by adding test cases.
Steps:
-
Navigate to the Test Cases module inside your project.
-
Click Create Test Case.
-
Add:
- Preconditions
- Test Steps
- Expected Results
- Priority
-
Organize test cases into modules for better structure.
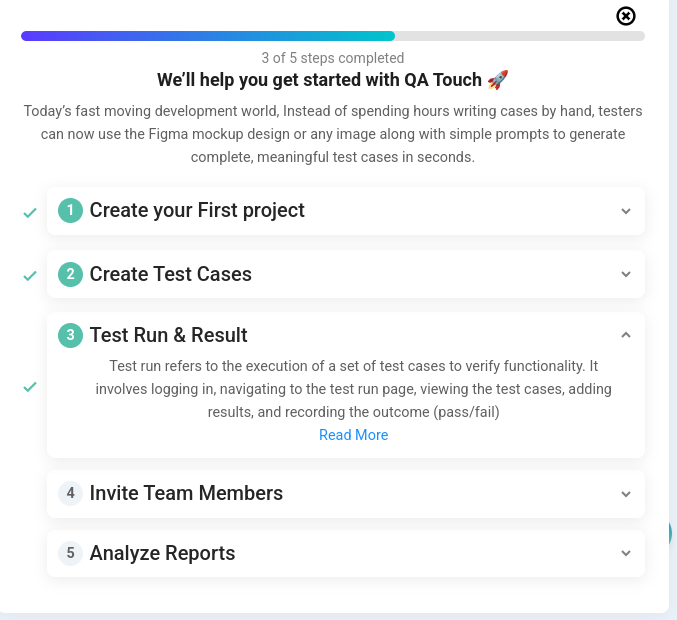
3. Execute Test Runs & Review Results
Once your test cases are ready, you can execute them and track real-time progress.
Steps:
-
Go to the Test Run section.
-
Create a new run by selecting Test cases
-
Start execution and mark each test case as:
- Passed
- Failed
- Blocked
- Hold
-
Attach screenshots overview/or log defects directly during execution.
4. Invite Team Members
Collaborate with your QA and development team by adding members to your project.
Steps:
-
Go to Settings → Users.
-
Add your team members.
-
Assign roles such as:
- Admin
- Manager
- Tester
- Viewer
This ensures controlled access and efficient workflow management.
5. Analyze Reports
Track your team’s productivity, testing progress, and release readiness with detailed reports.
Use reports to:
- View requirement coverage
- Track test execution status
- Analyze defect trends
- Monitor team productivity
- Export data to PDF, Excel, or CSV