JIRA - QA Touch APP Configuration Setup
Install QA Touch App in JIRA
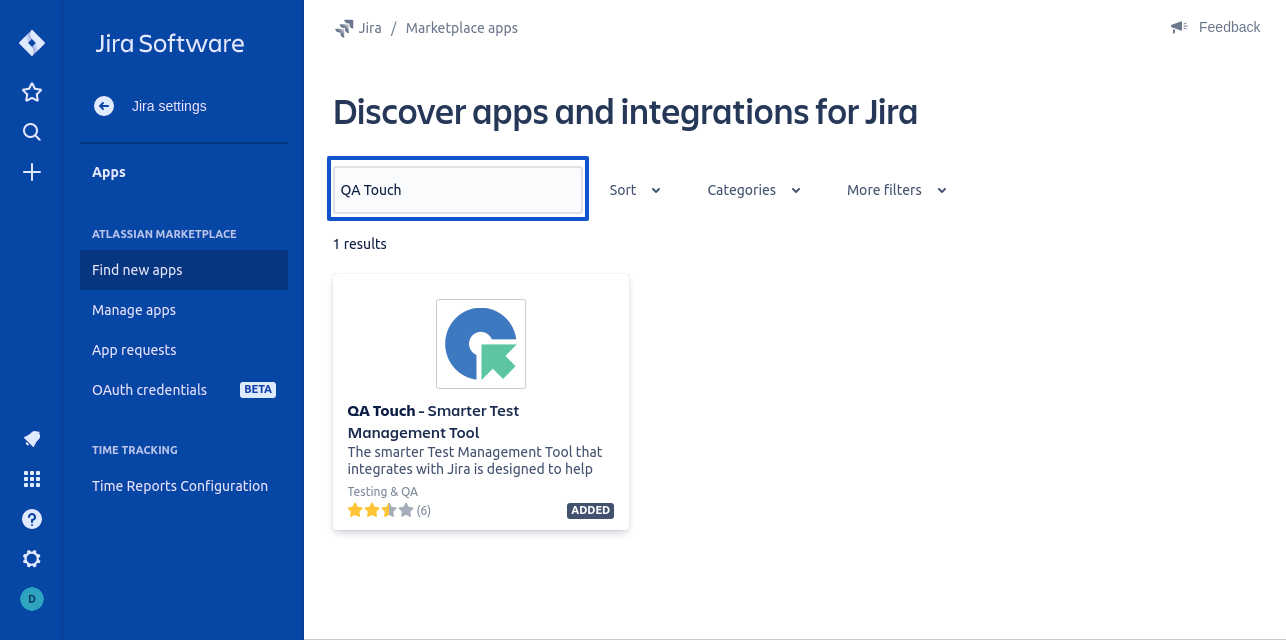
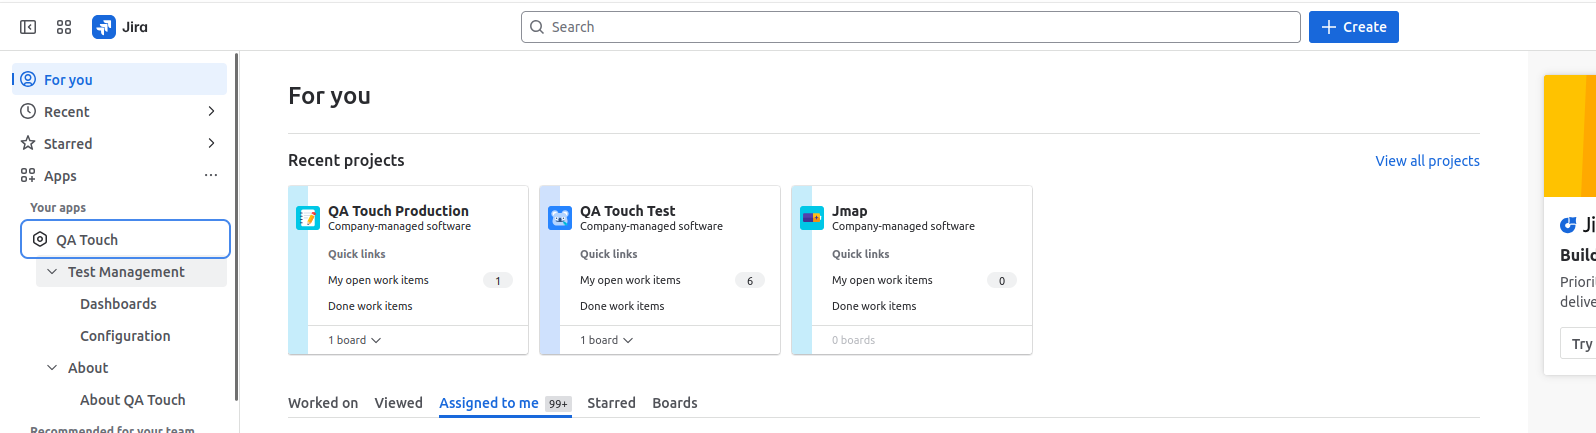
Step 1: Go to Settings -> Apps Step 2: In Apps page search “QA Touch” in the search box and install the QA Touch app in.
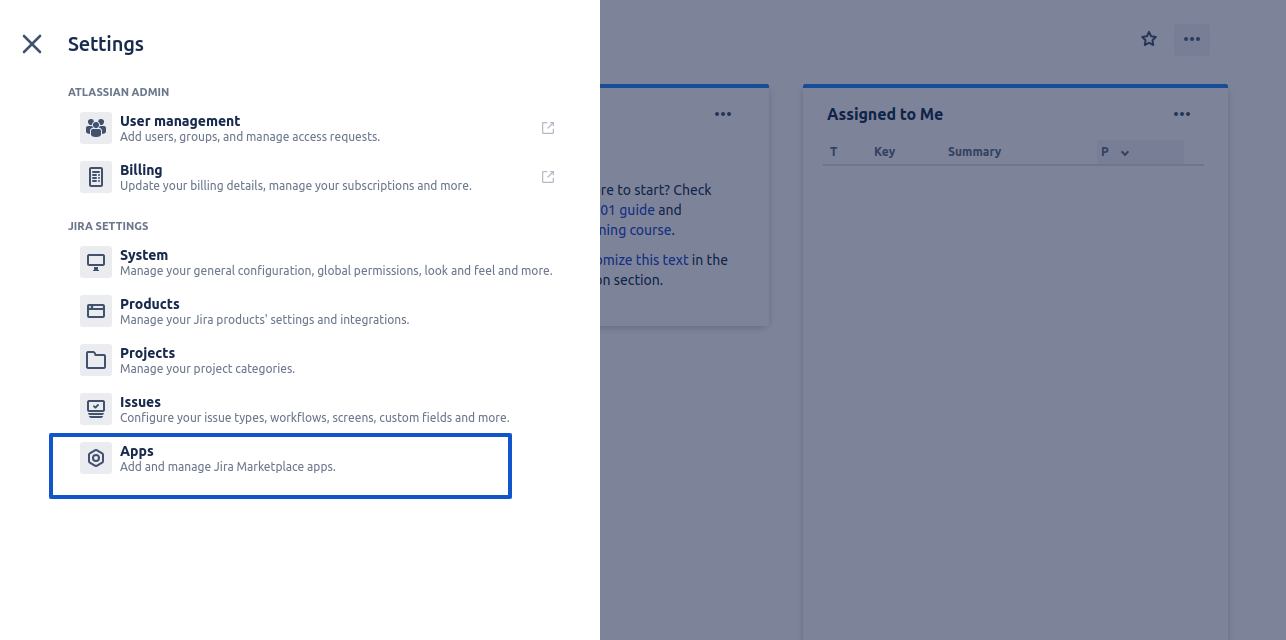
Step 2: In Apps page search “QA Touch” in the search box and install the QA Touch app in
Configure QA Touch App in JIRA
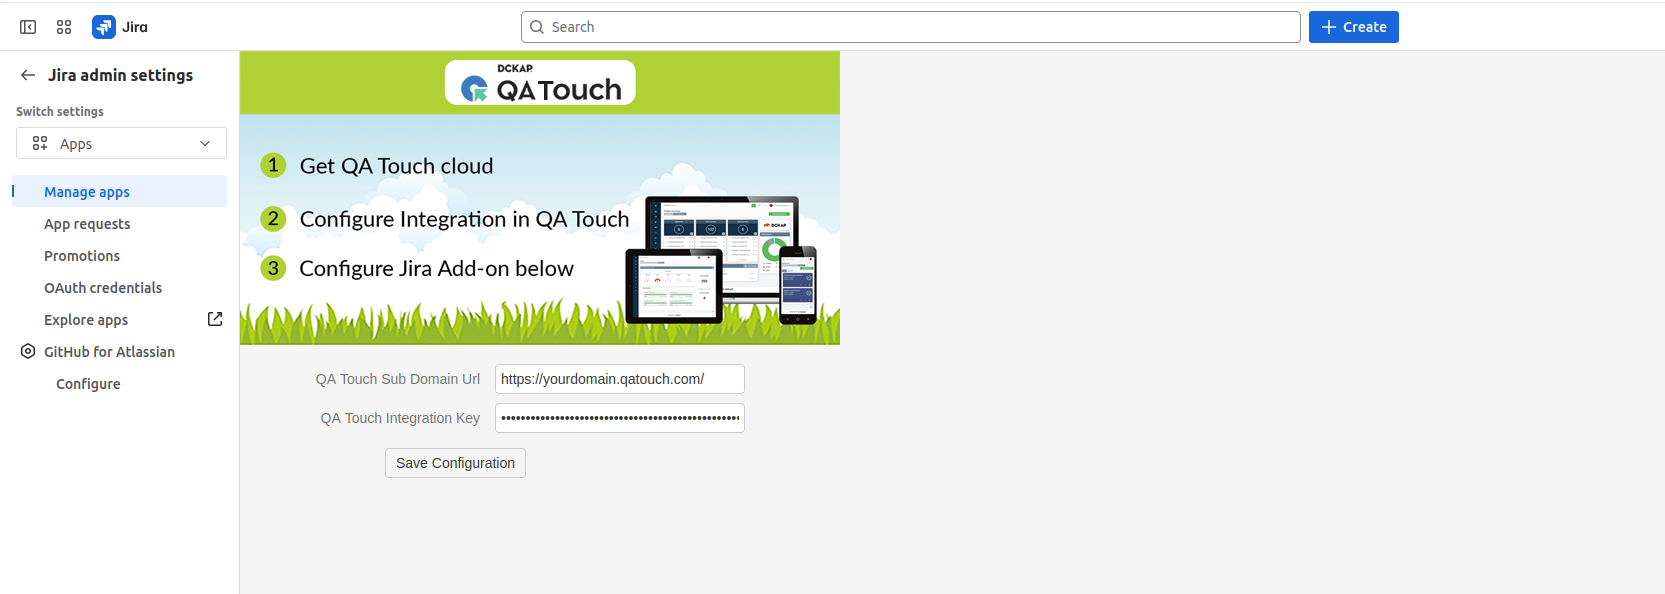
Step 3: Enter your own QA Touch URL and Integration key and click on Save Configuration.
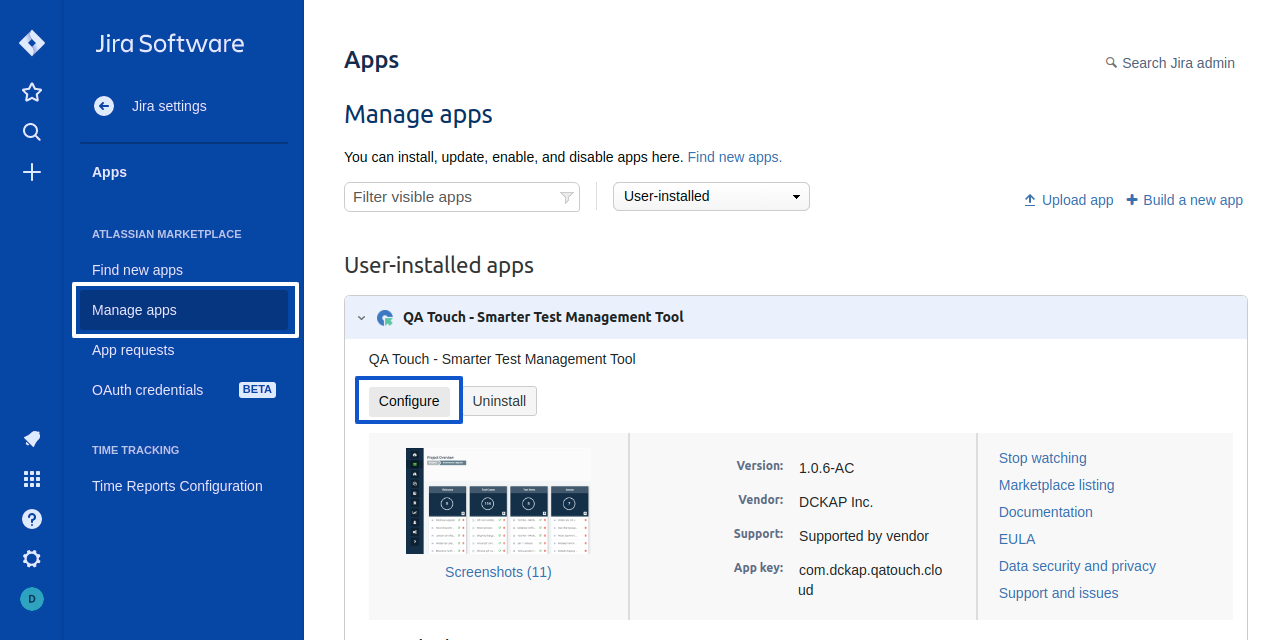
Note: Integration key can be generated from QA Touch
How to Generate Integration JIRA API Key from QA Touch
step 4: Go to Adminstration -> Integration Settings -> JIRA
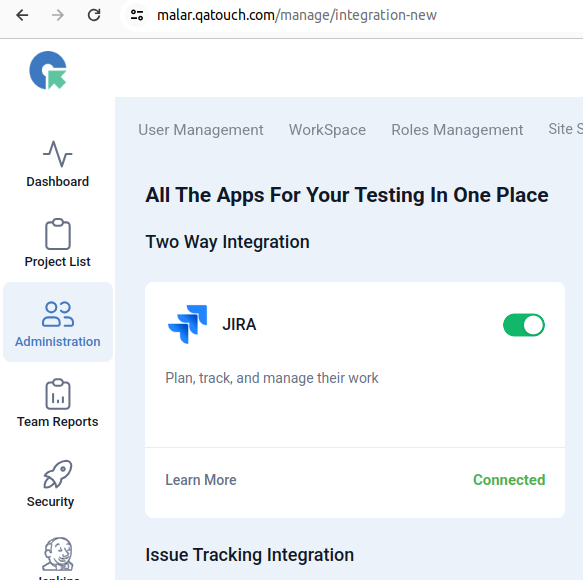
You can get Integration key there “Generate New Key”
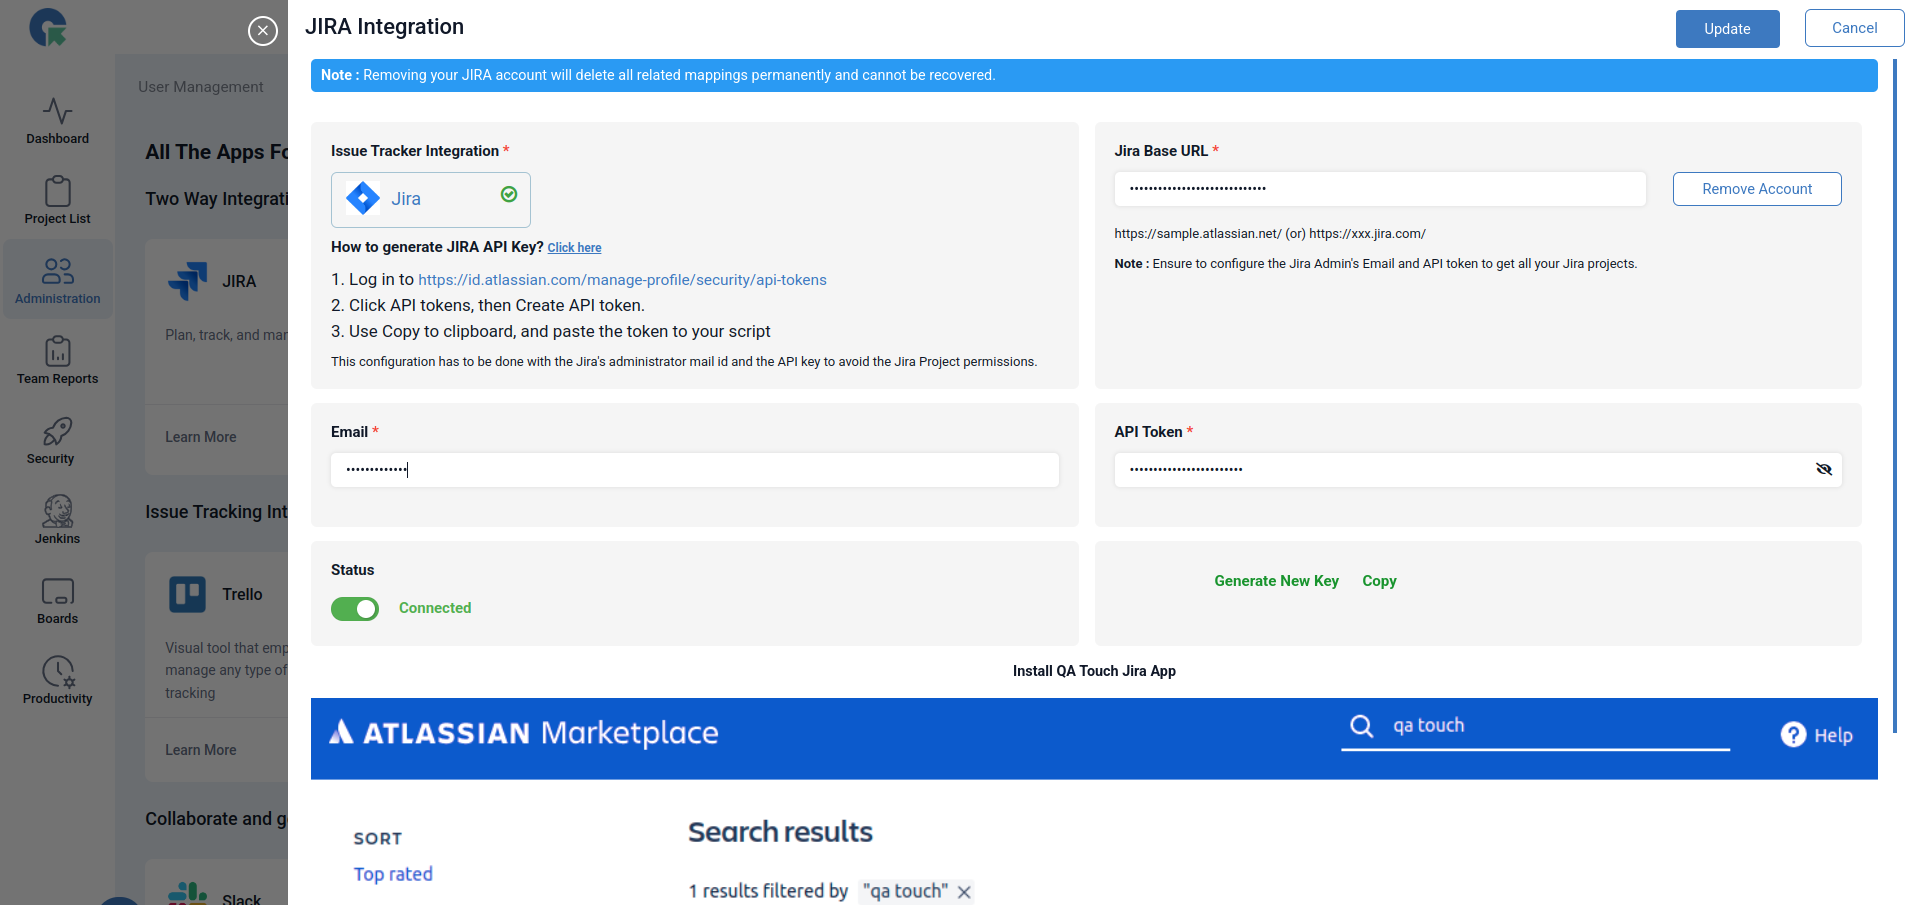

Step 5: Enter your own QA Touch URL and Integration key.
And Click Save configuration.
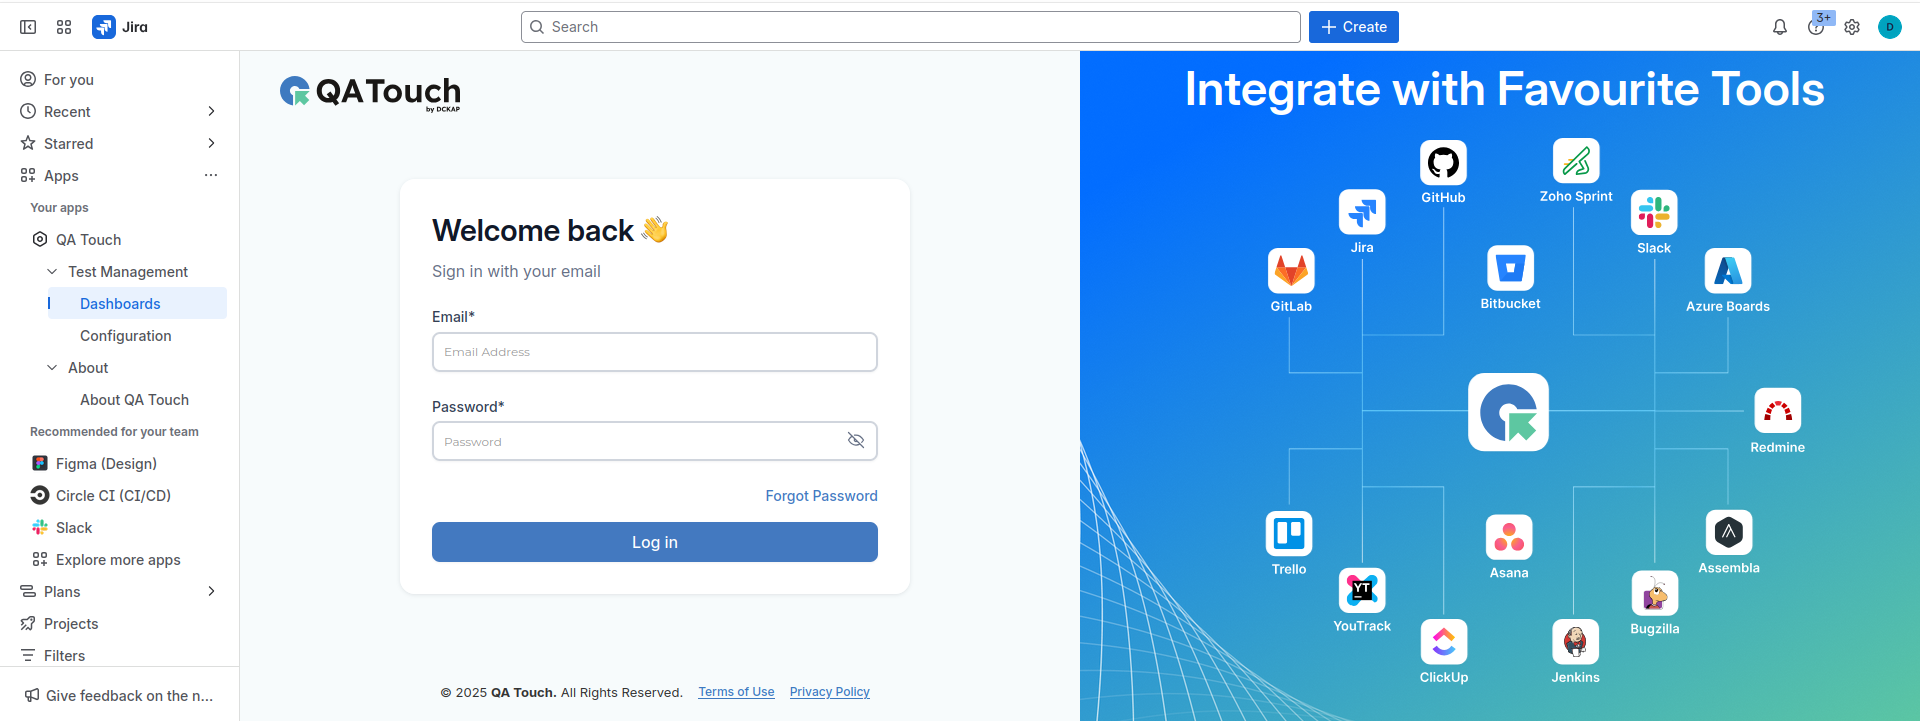
After Successfuly configured QA Touch login page
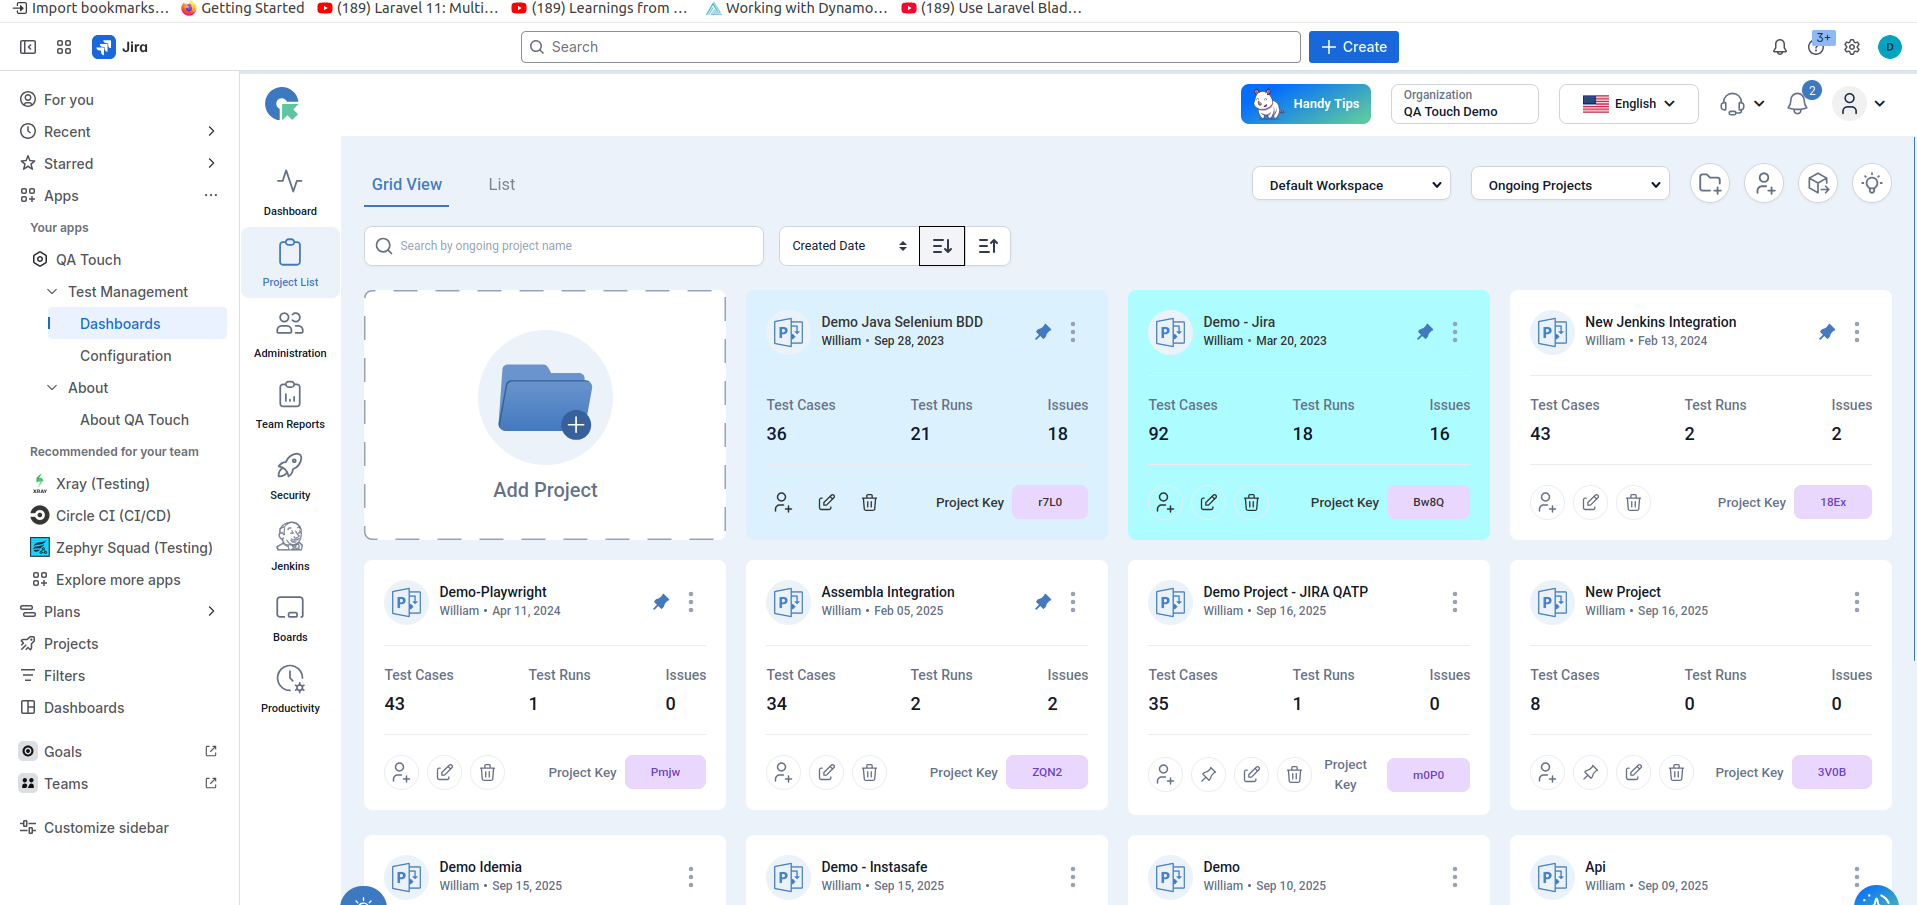
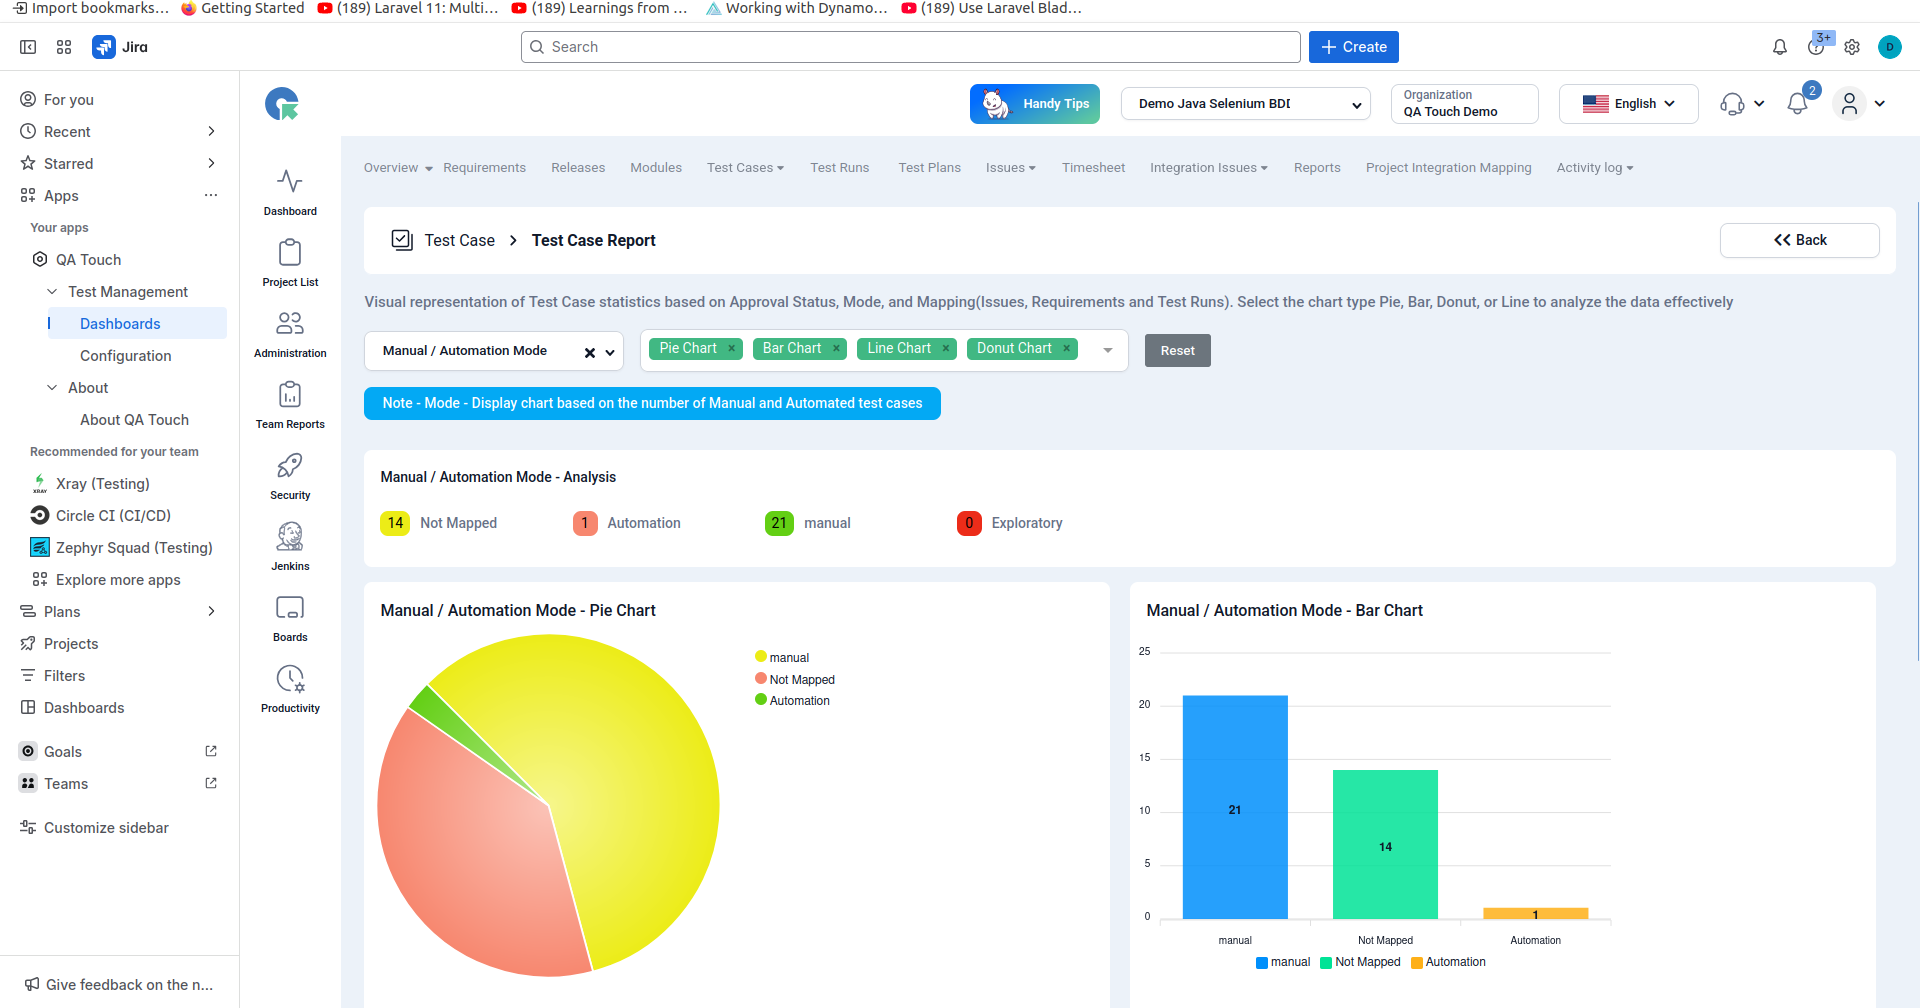
QA Touch APP - Dashboard
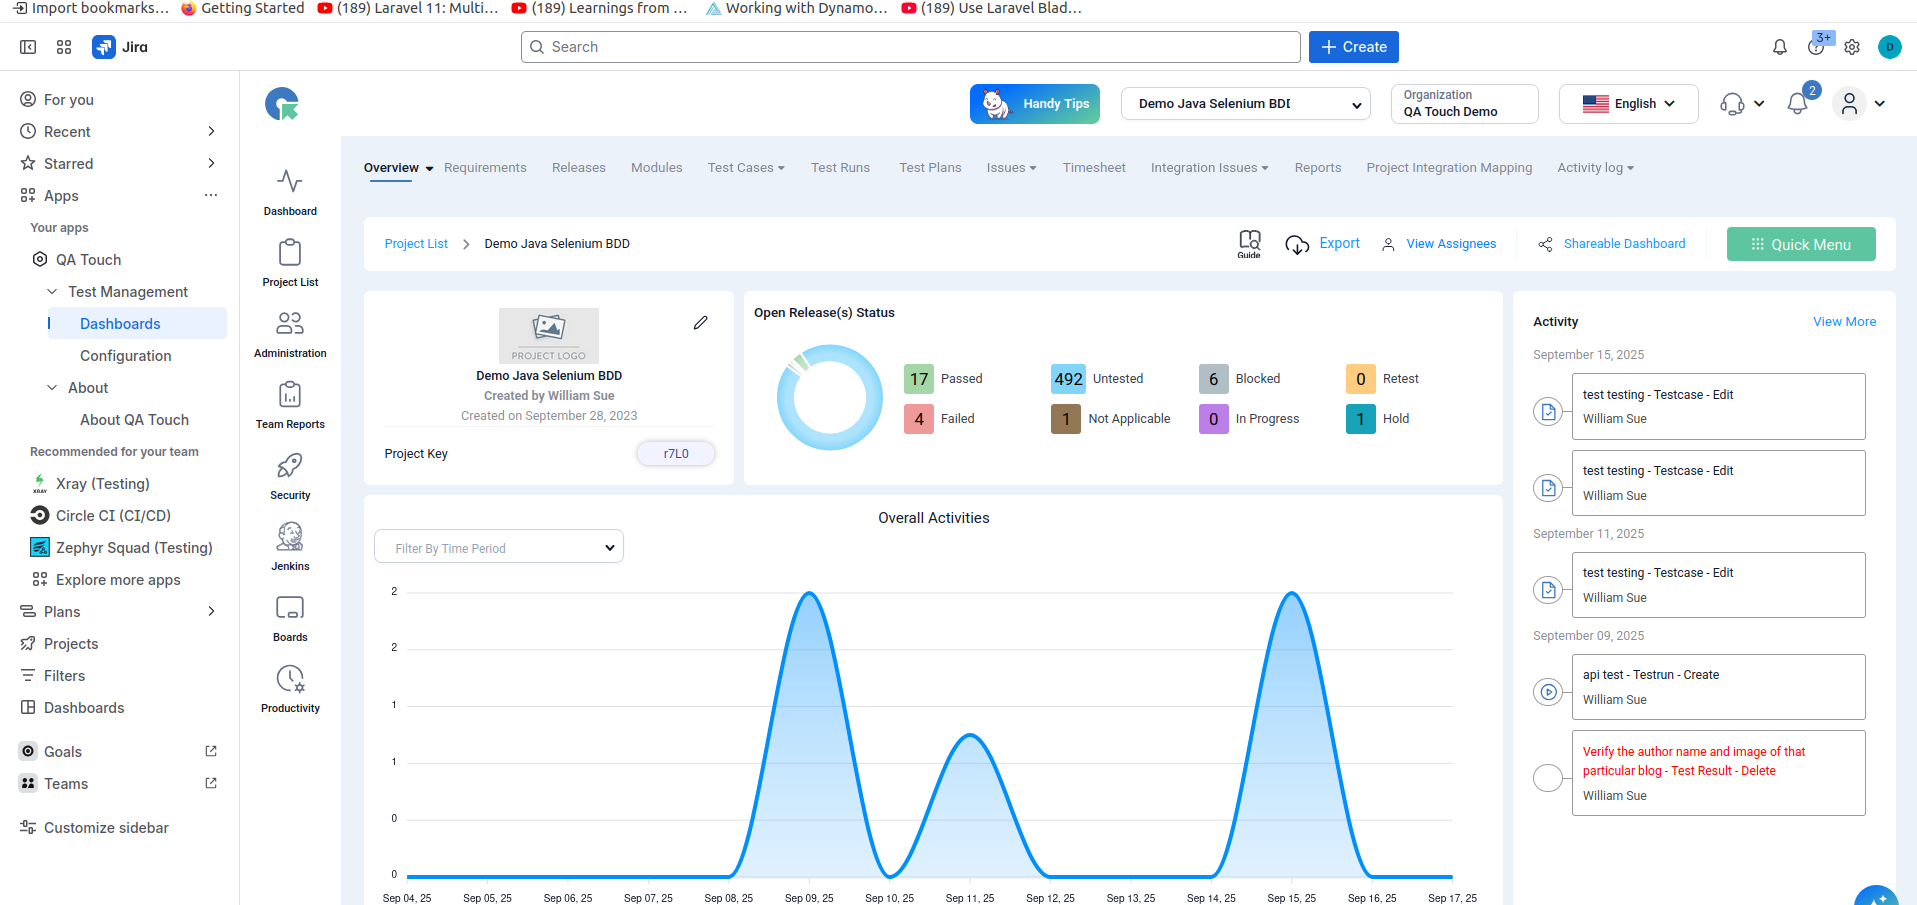
QA Touch APP - Overview page
JIRA Requirement and Test Result Mapped Information
JIRA Project - All Works
All JIRA Issues Step 1 : Please click the Issue title link, redirect to Issue detail page
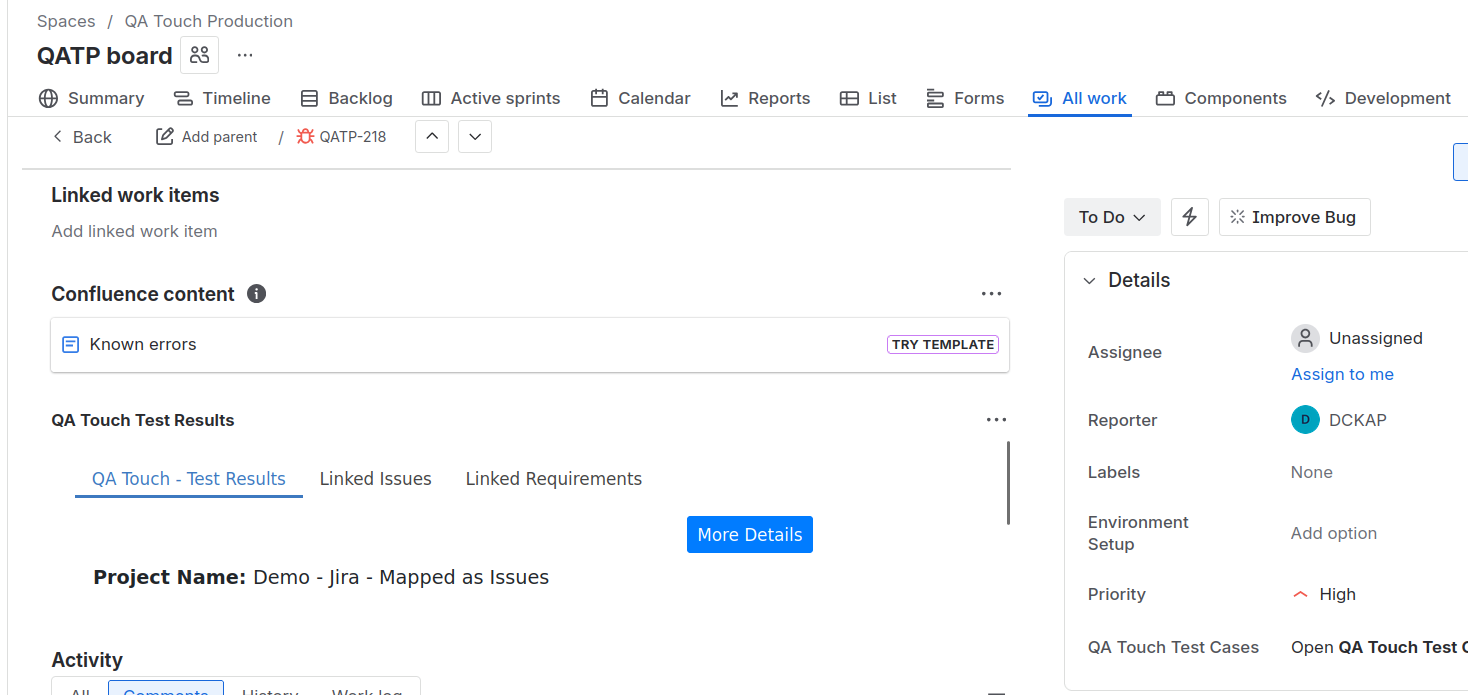
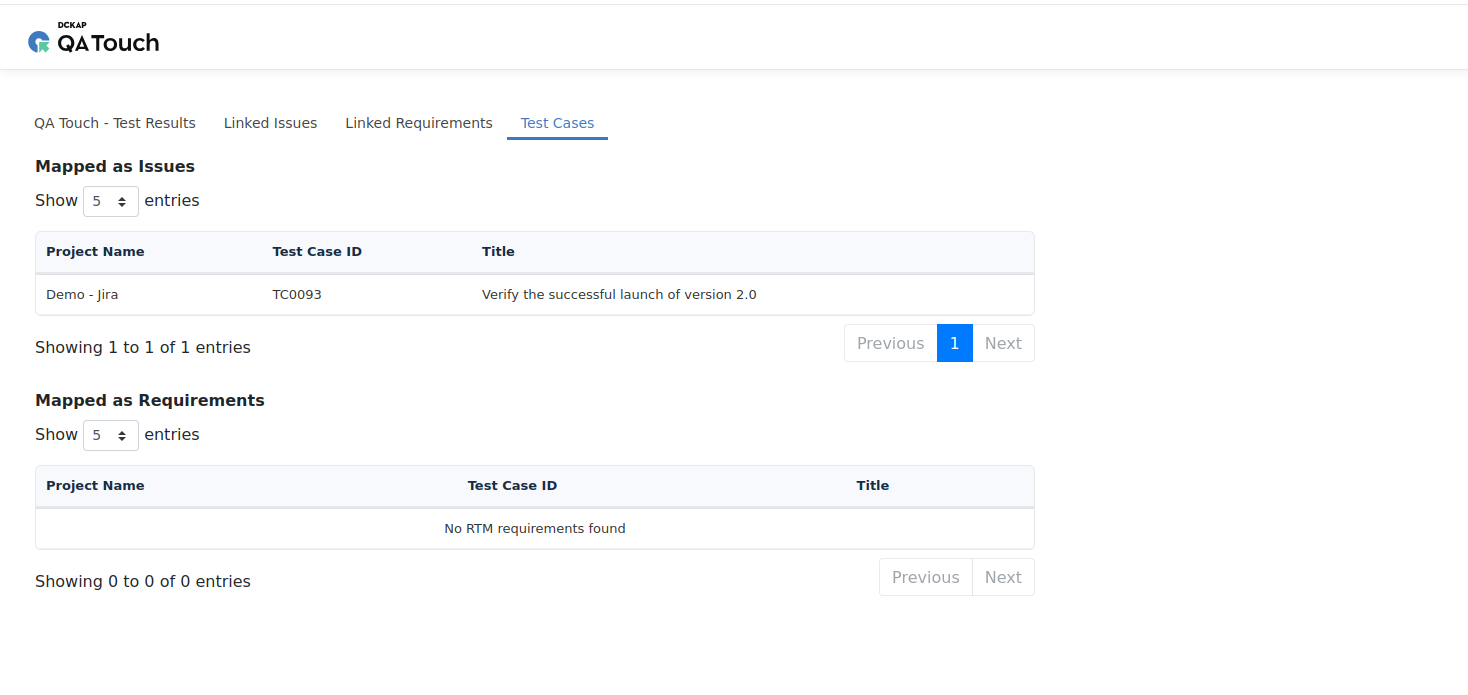
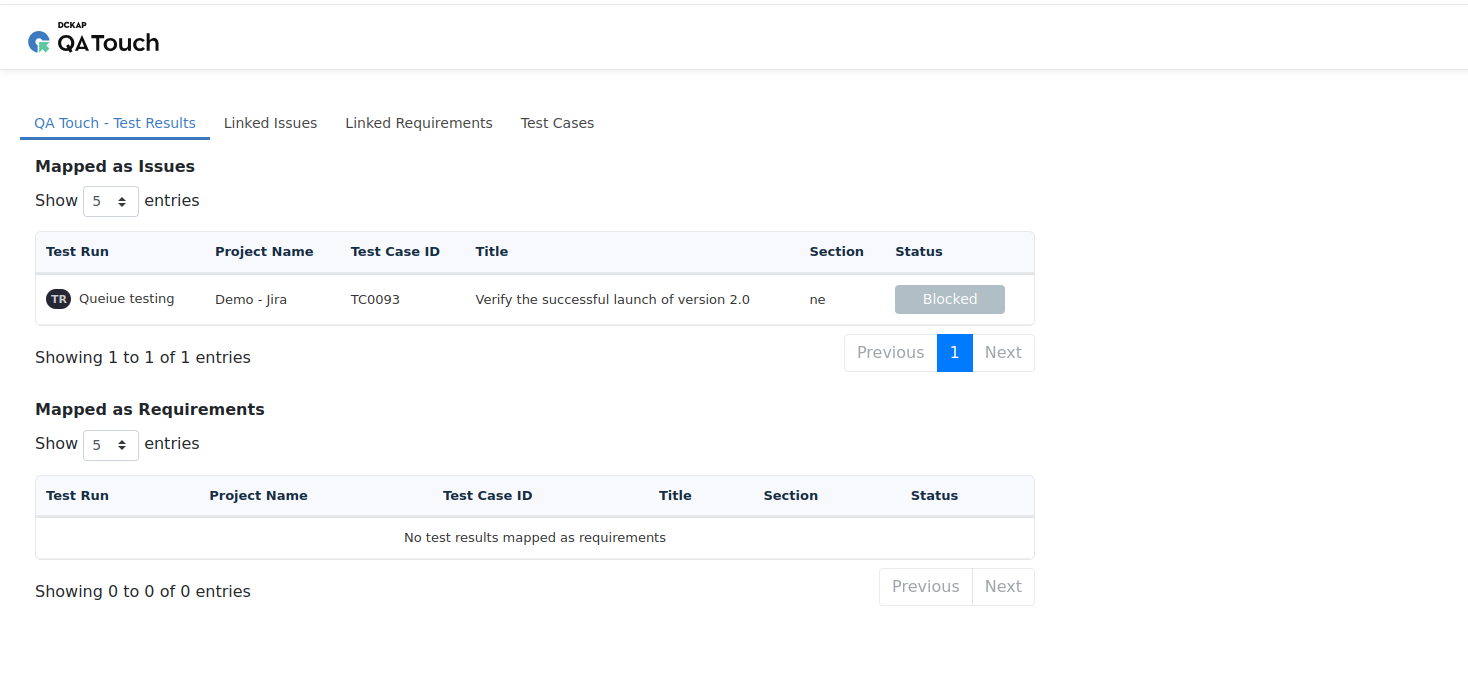
Step 2 : QA Touch Test Result : Click App Icon Step 3 : Tab (Test Results / Linked Issues / Linked Requirements) Test Results - We can display corresponding mapped test cases results
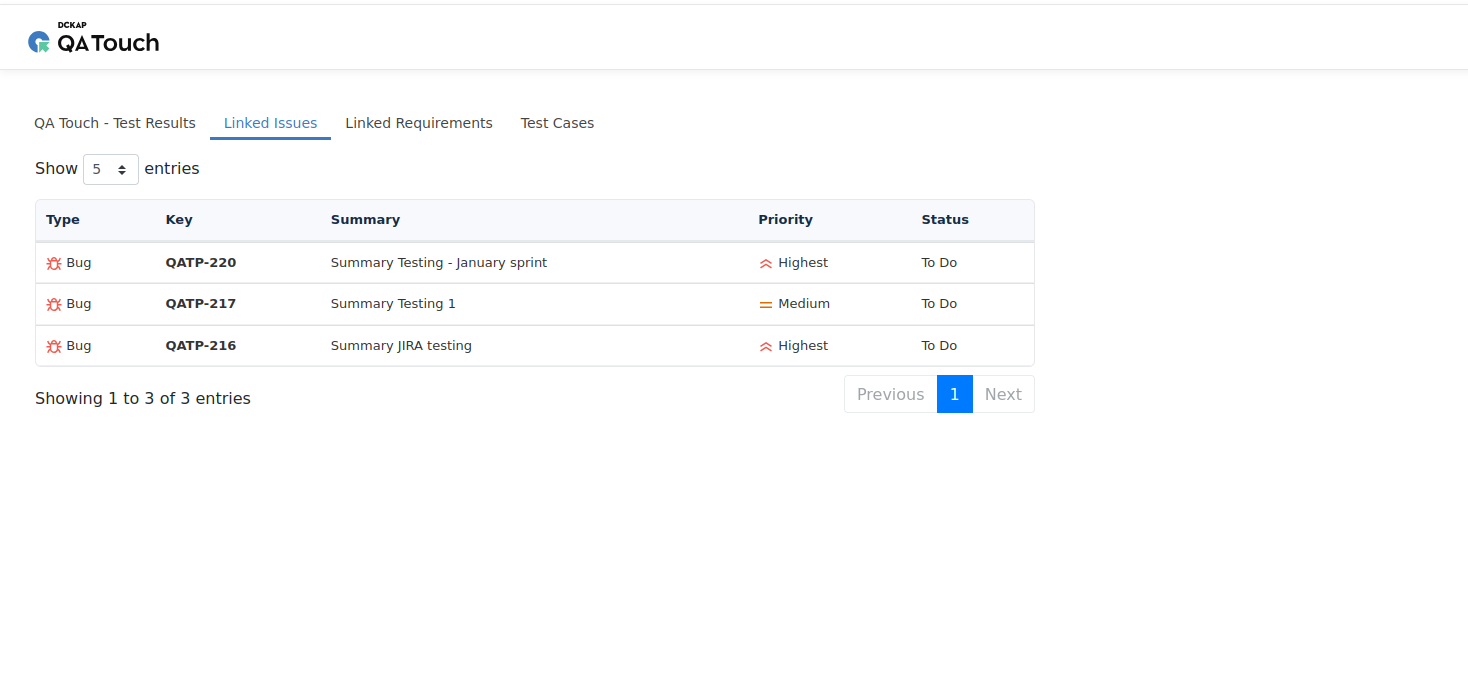
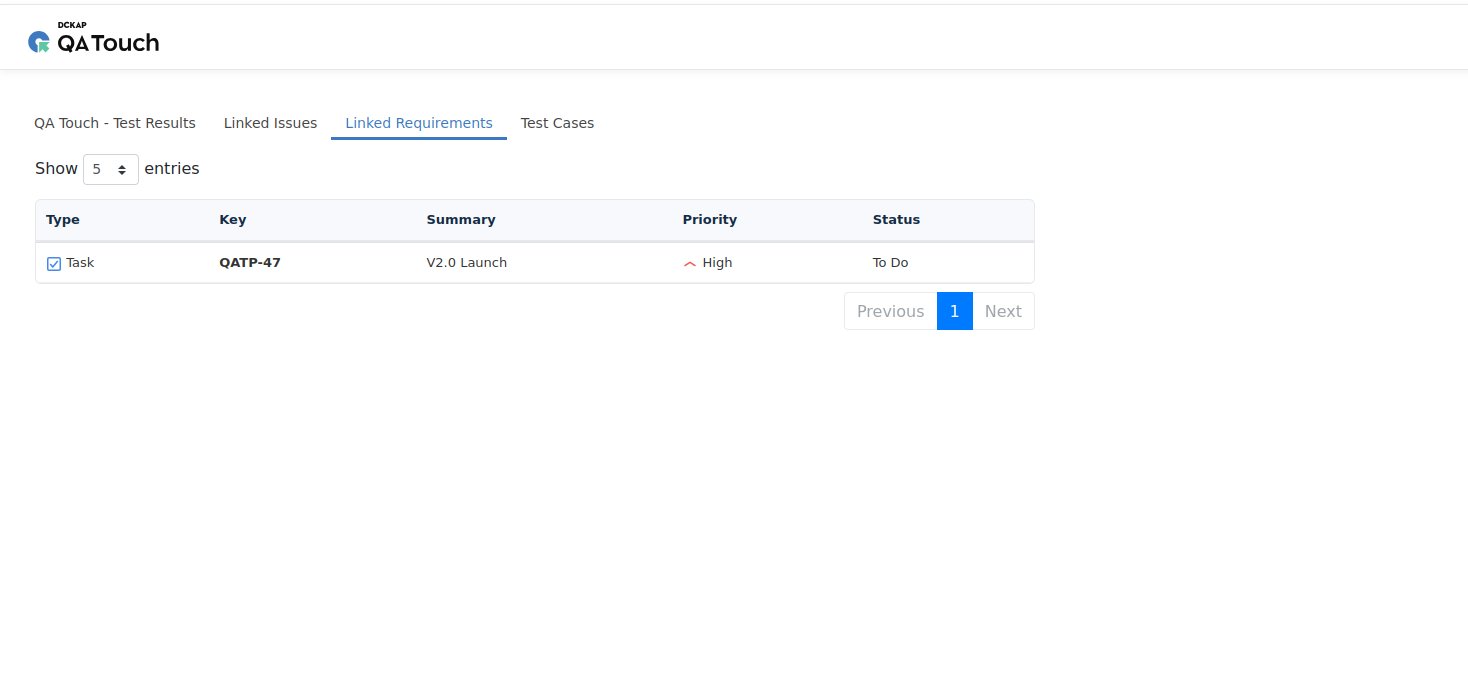
To view the test cases linked to a JIRA requirement, Please click on the Open QA Touch Test Cases option under Details on the right side
All test cases linked to this JIRA requirement will be listed there.