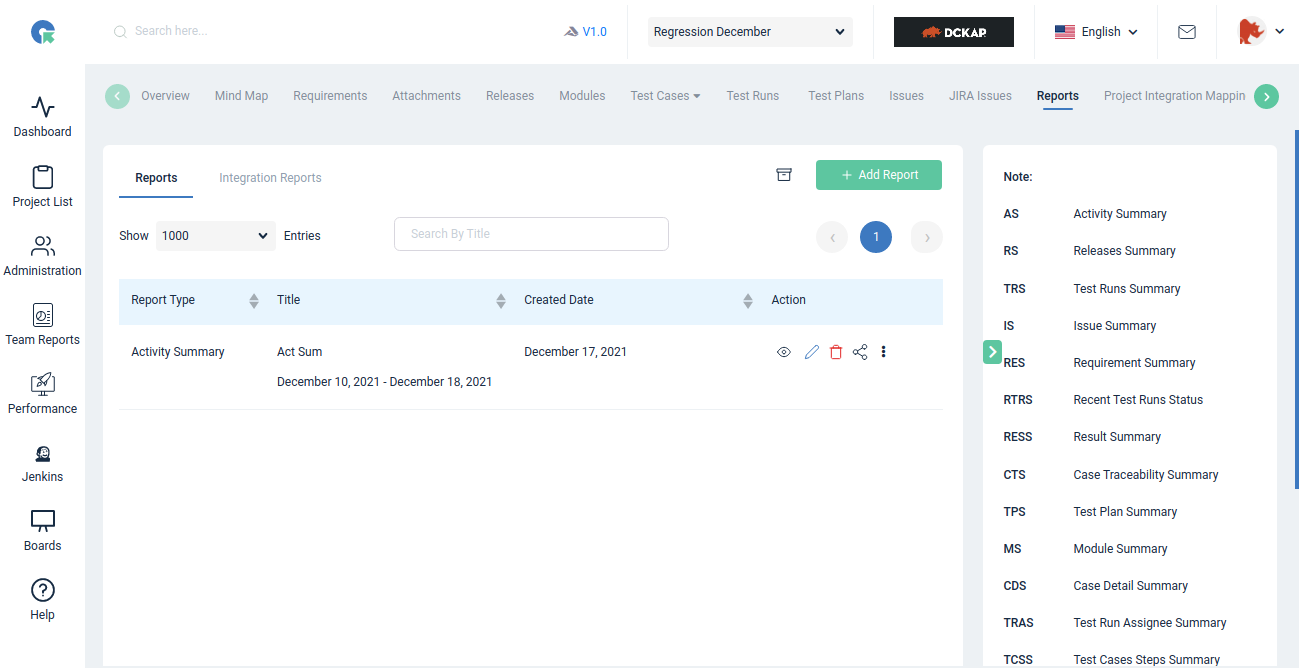
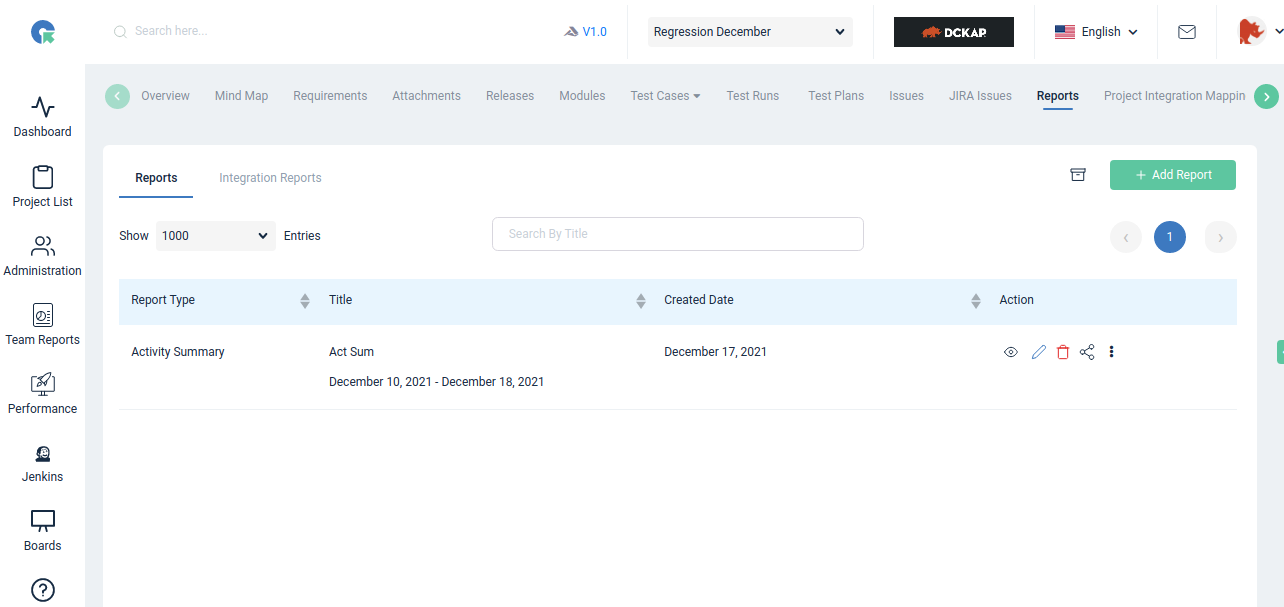
Reports
- To Goto Reports page, Click on Project->Reports
- Click on ”+ Add report” Button
- Select the Report Type
- Enter the Report Title
- Choose the details
- Click Save Button
Add Report with Selected Users
- Add Report with Multiple users
- To Goto Reports page, Click on Project->Reports
- Click on ”+ Add report” Button
- Select the Report Type
- Enter the Report Title
- Choose the details
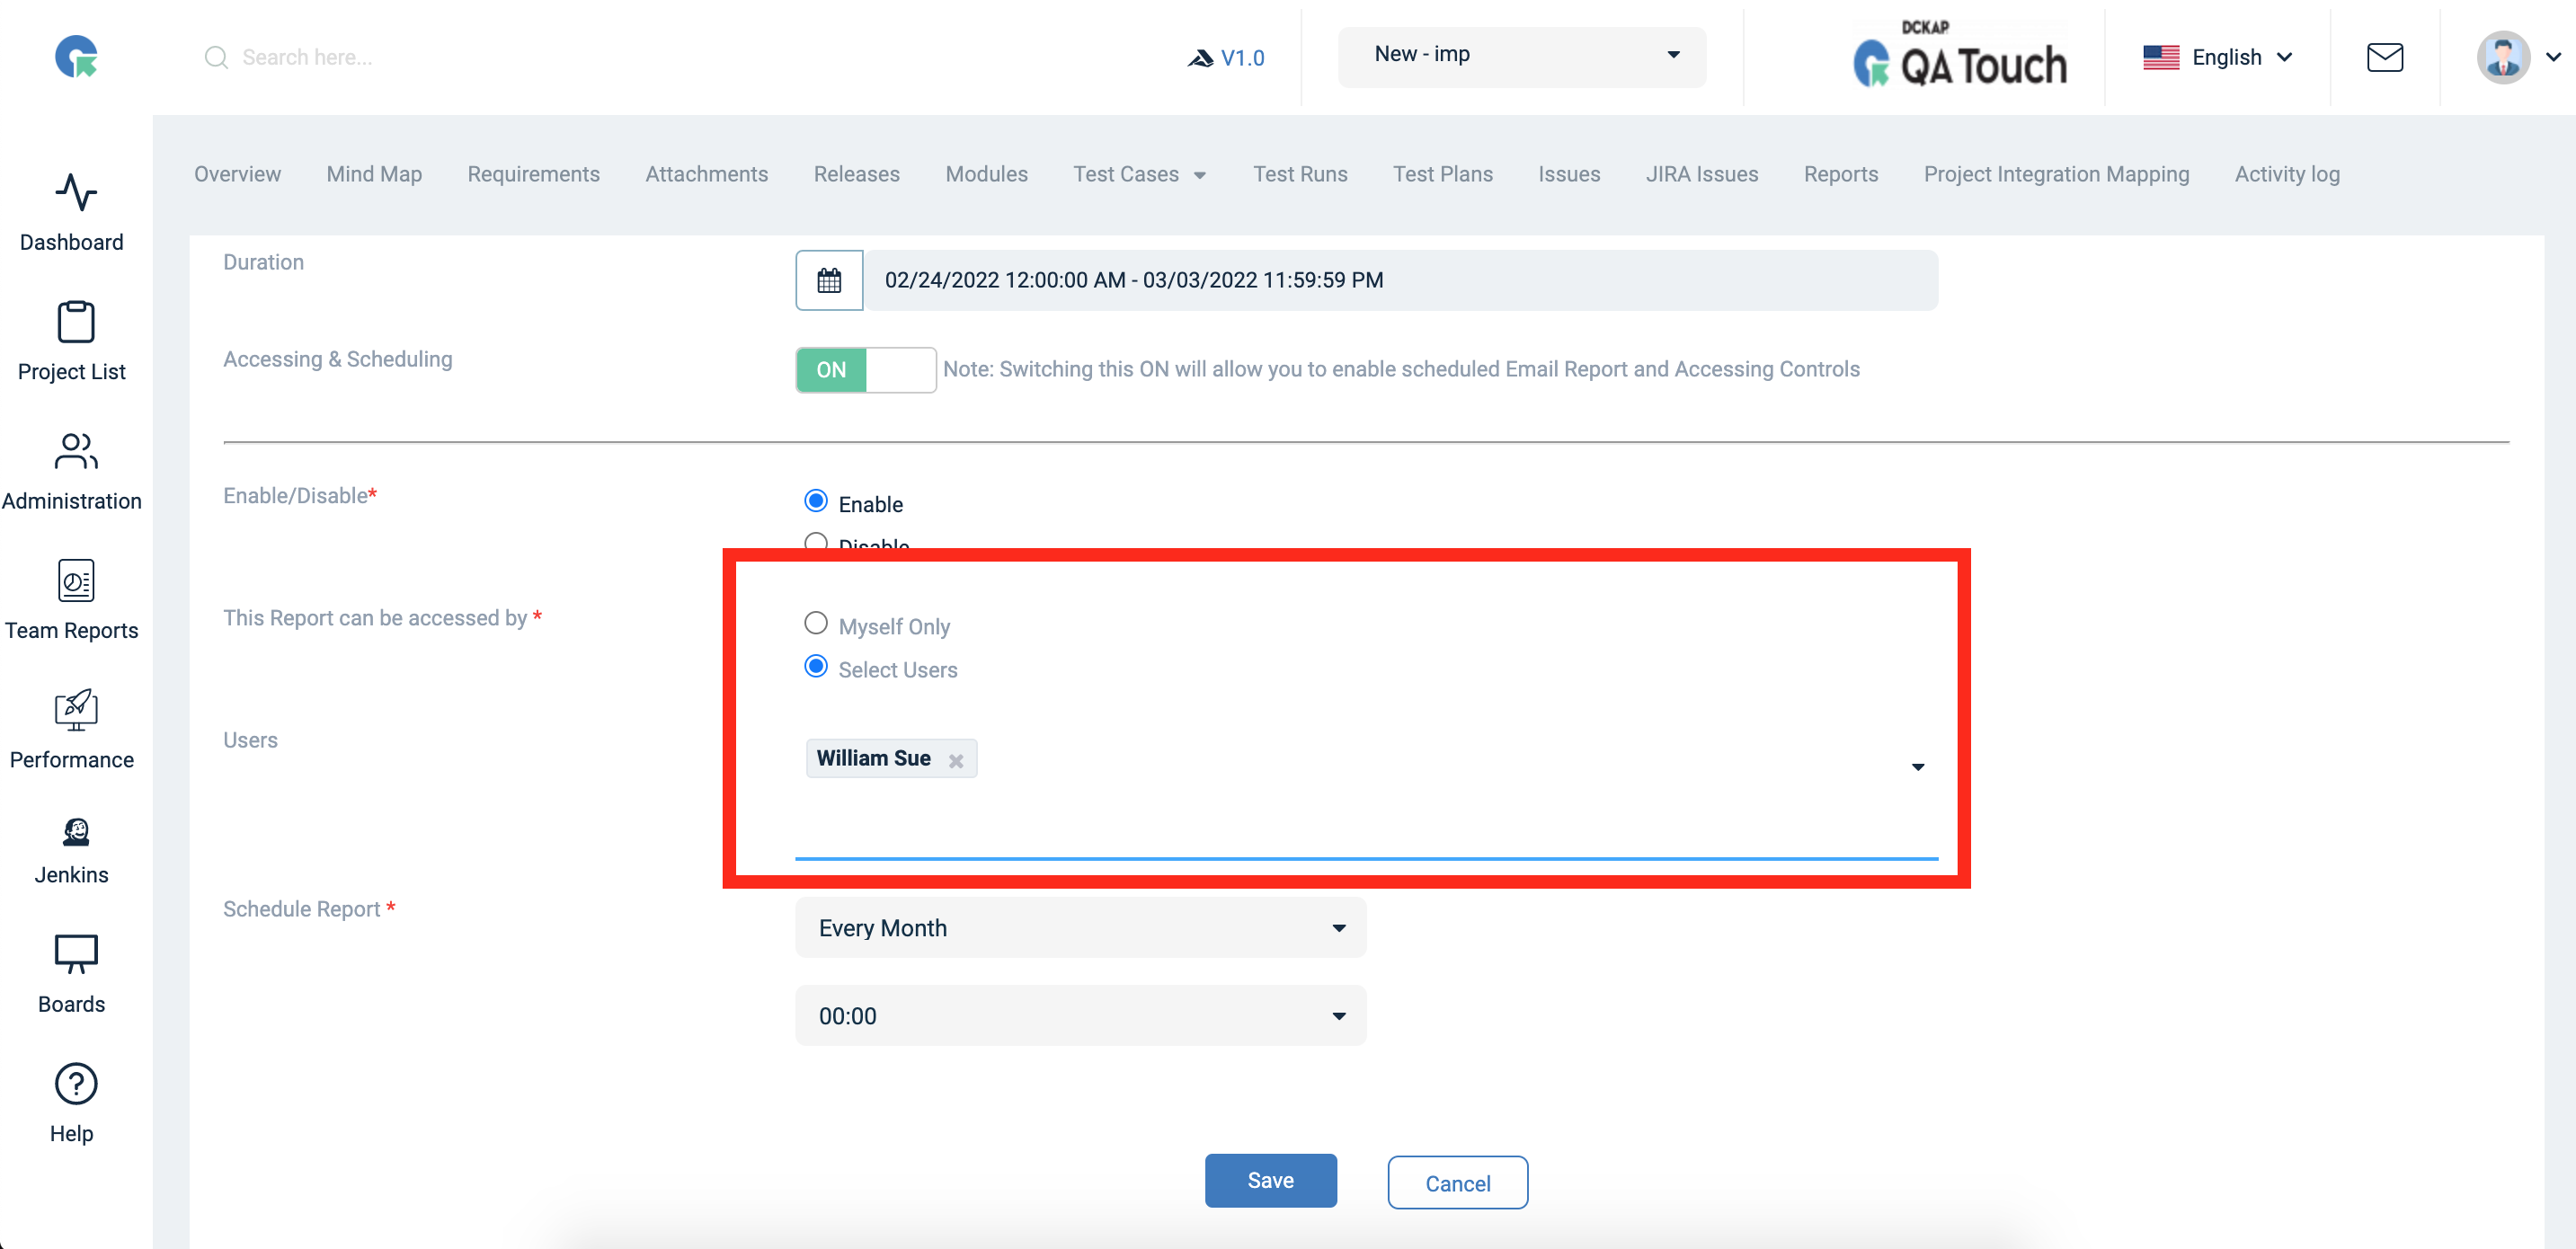
- Enable the Accessing & Scheduling
- Now we saw the ‘This Report can be accessed by *’ Field.
- In the field select the ‘selected users’ options
- Now will show the Users dropdown.
- Here we can select the users.
- Now we can save the report.
Schedule Report
- Login to QA Touch.
- Click Project which you wanted to generate & schedule the report.
- Click Add Report.
- Select the Report Type.
- Select the duration.
- Slide the option of Accessing & Scheduling to ON.
- Select the option Enable/Disable.
- Configure recipient of the reports in an email i. Myself only ii. Everyone (with project Access)
- Schedule Report (frequency and the time need to be scheduled).
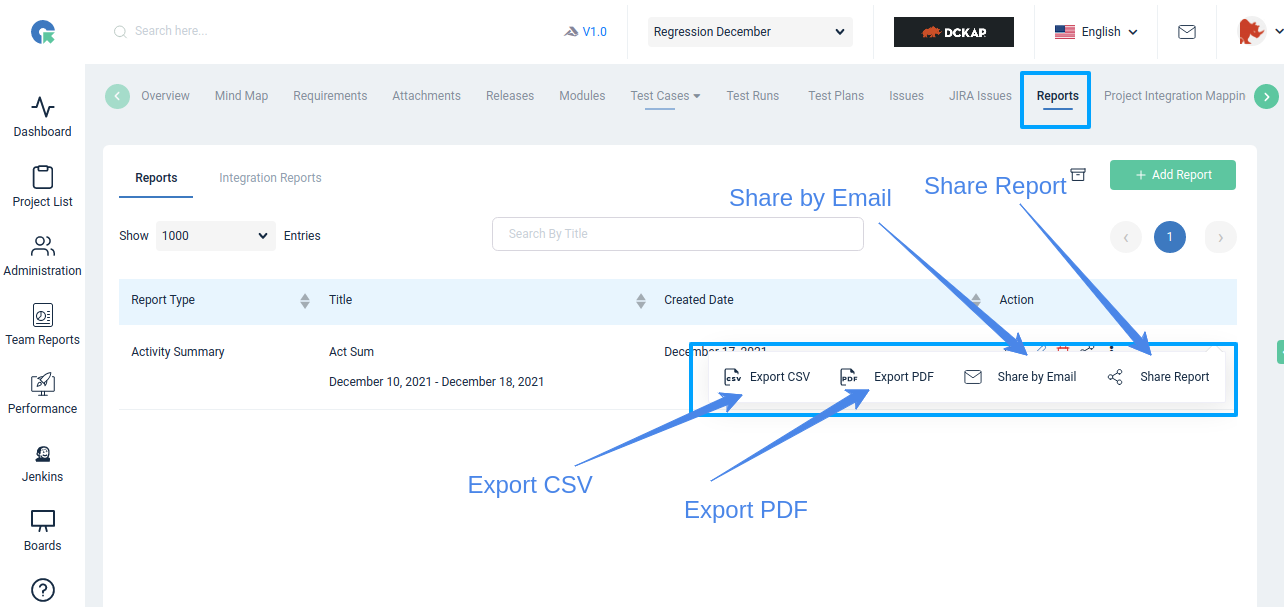
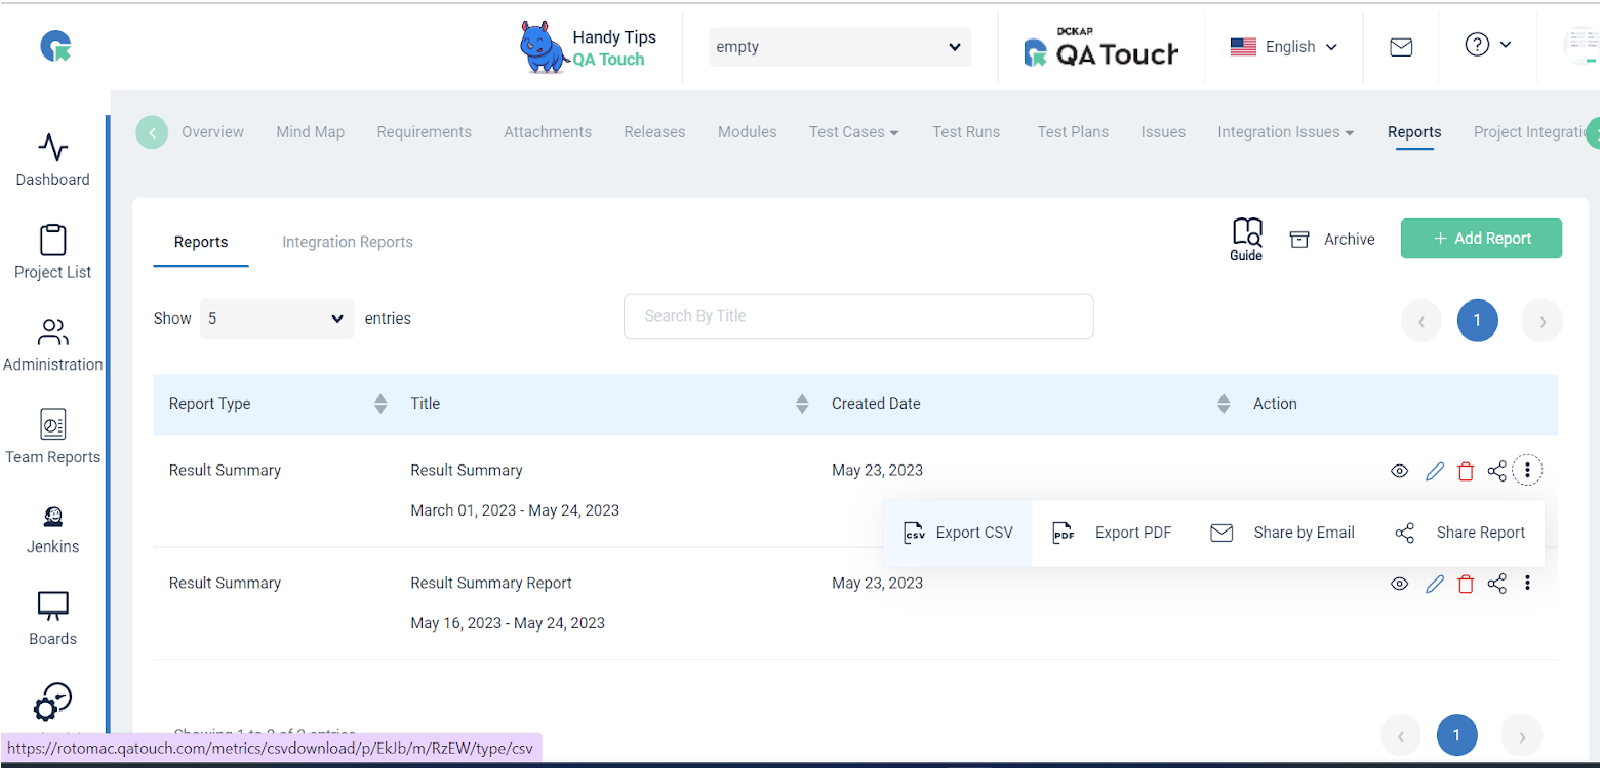
Export Report
QA Touch provides a suite of options to share test cases
- Export(CSV, PDF)
- Share by Email
- Sharable Report Links
To Export (CSV, PDF) format of the report
- Click on the “⋮” in the Action column of a report.
- Choose to click on “Export CSV” or “Export PDF”.
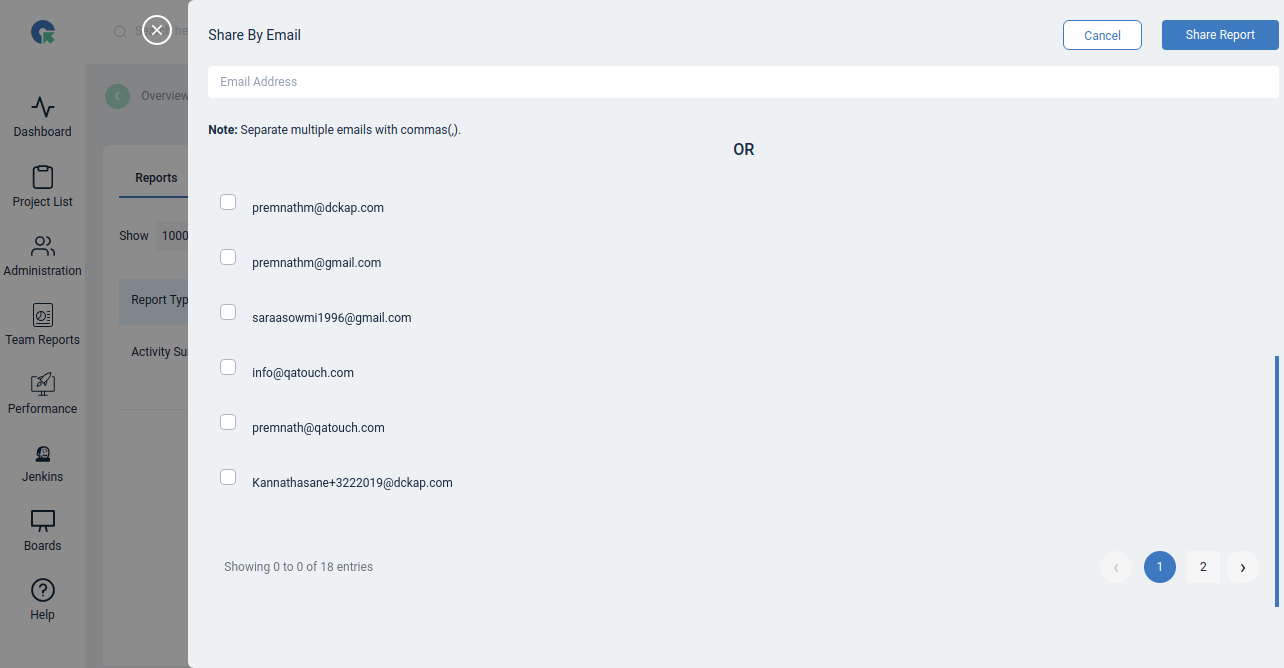
To Share by Email
- Click on “Share by Email” Option in Reports list
- To share with members of the project. Choose the member
- To Share with Other Enter their Email Ids separated by a comma
- Click Share
Sharable Report Links
-
Click on the “⋮” in the Action column of a report.
-
Click on “Share Report”, a new tab will appear, other than the current tab and the shareable report link will be automatically copied to the clipboard.
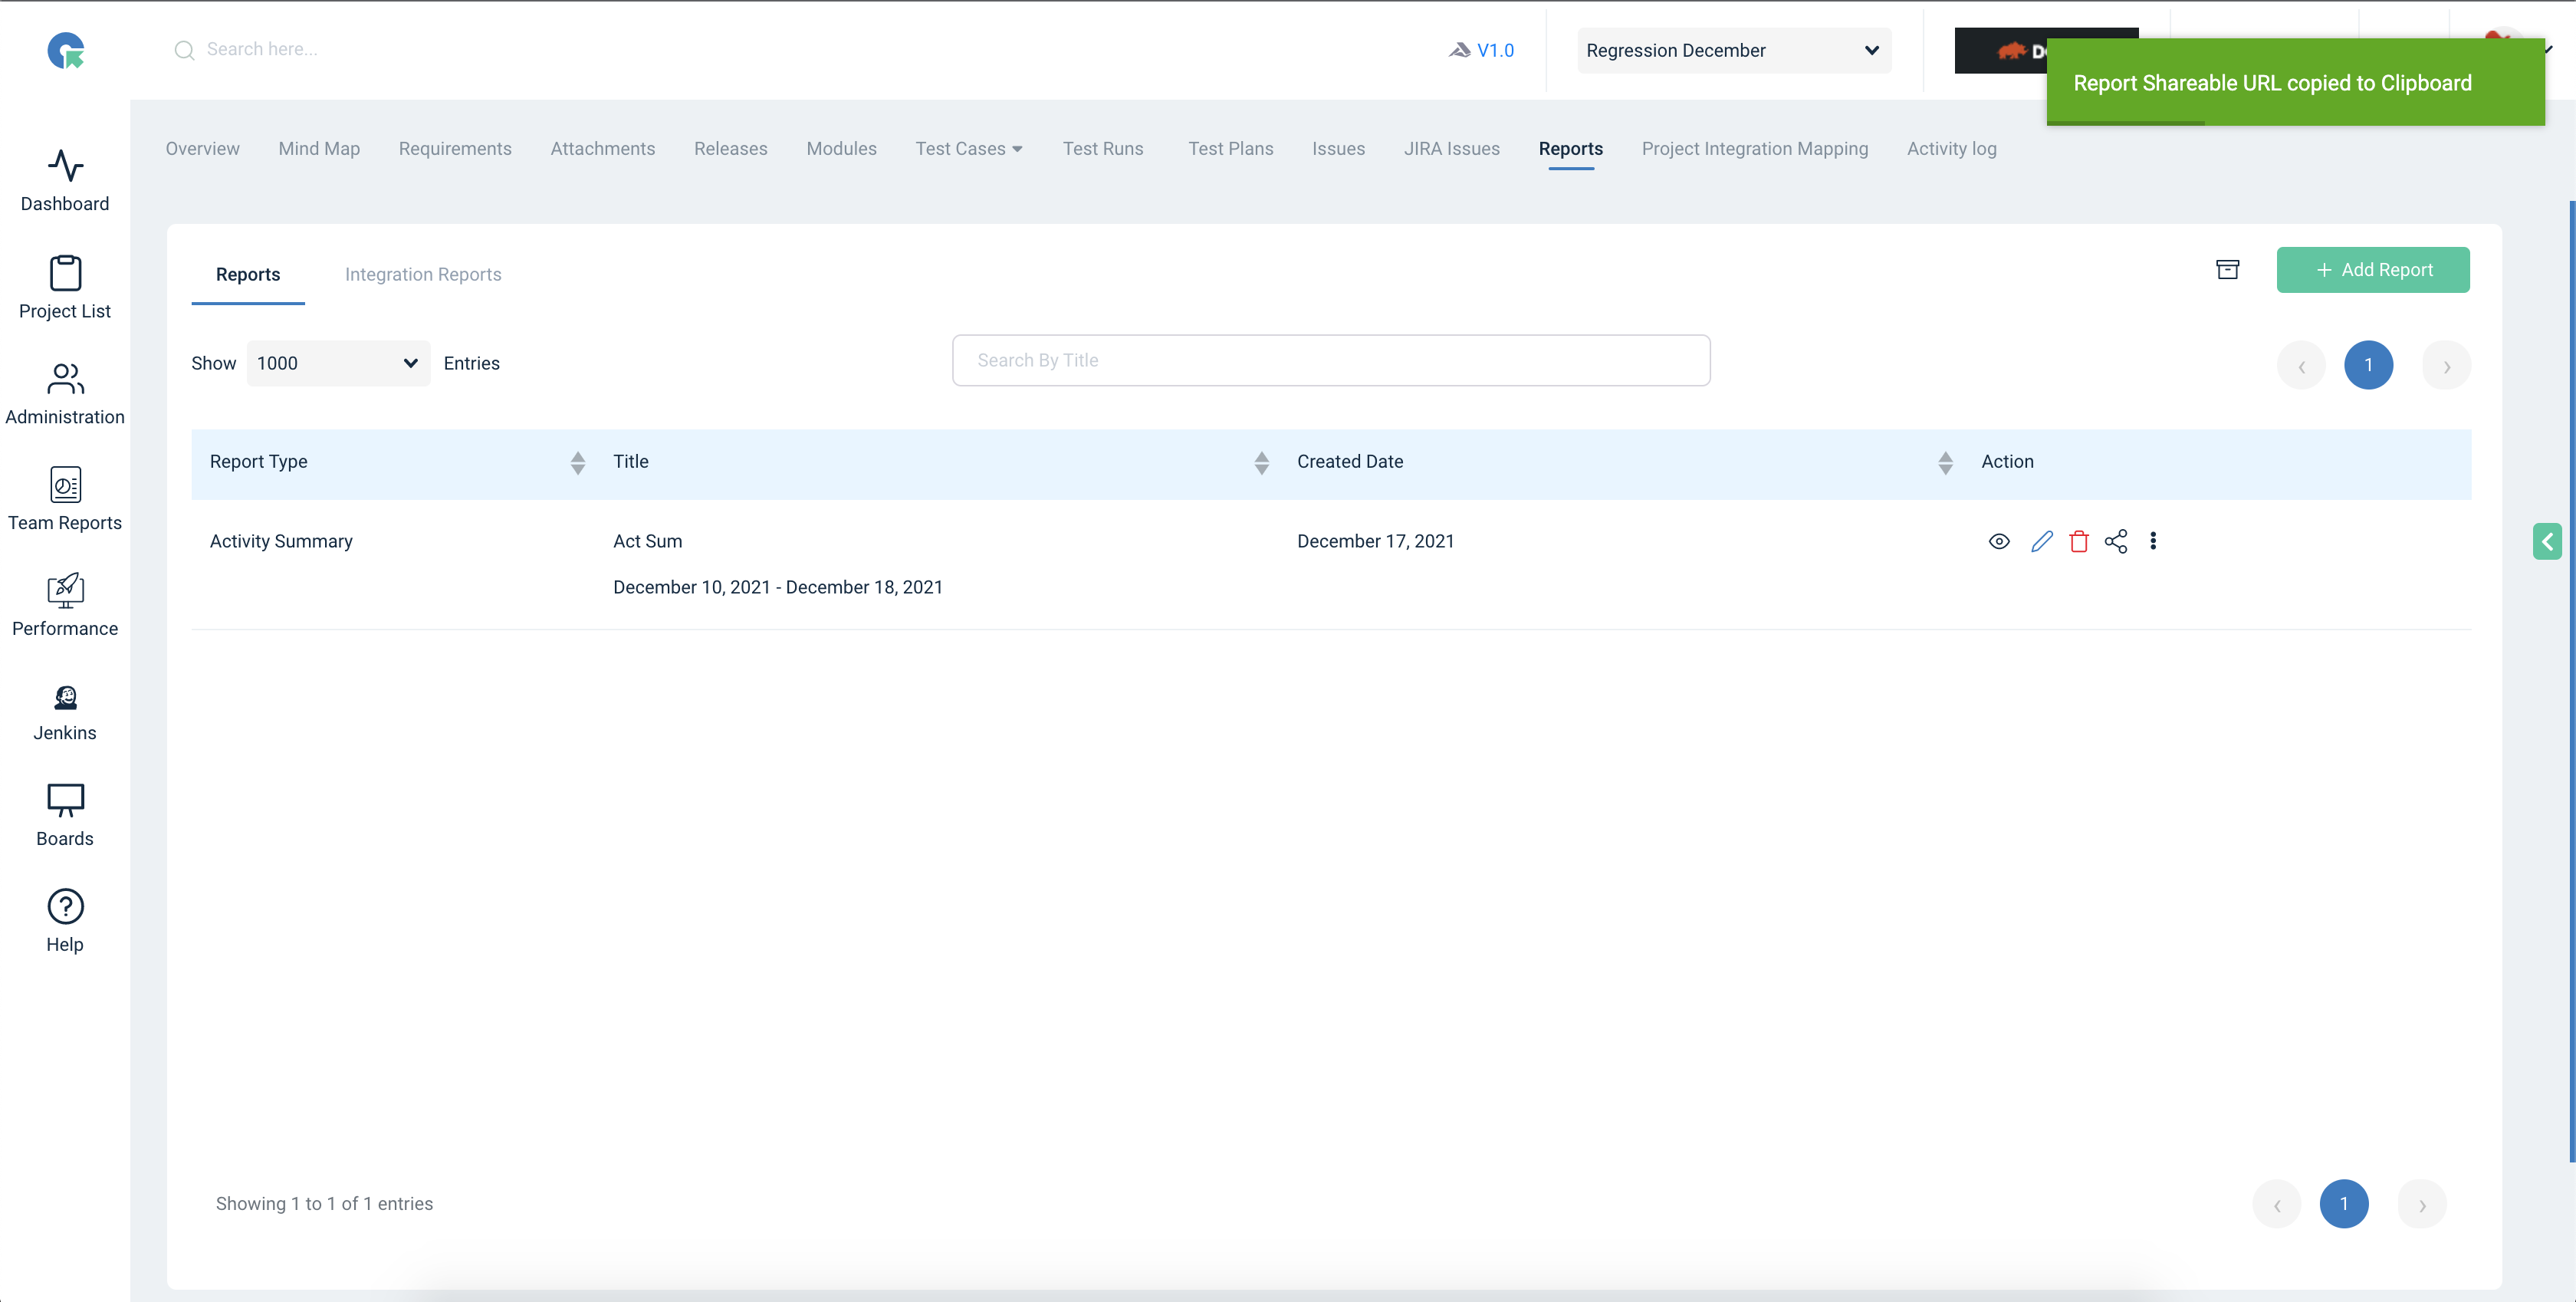
Note: Advantages of the shareable report links in QATouch, it is used for analyzing/displaying all types of reports without login into QATouch and Shareable report links can be shared publicly for ease.
How to Generate Test Run - Result Summary Report with Custom Fields
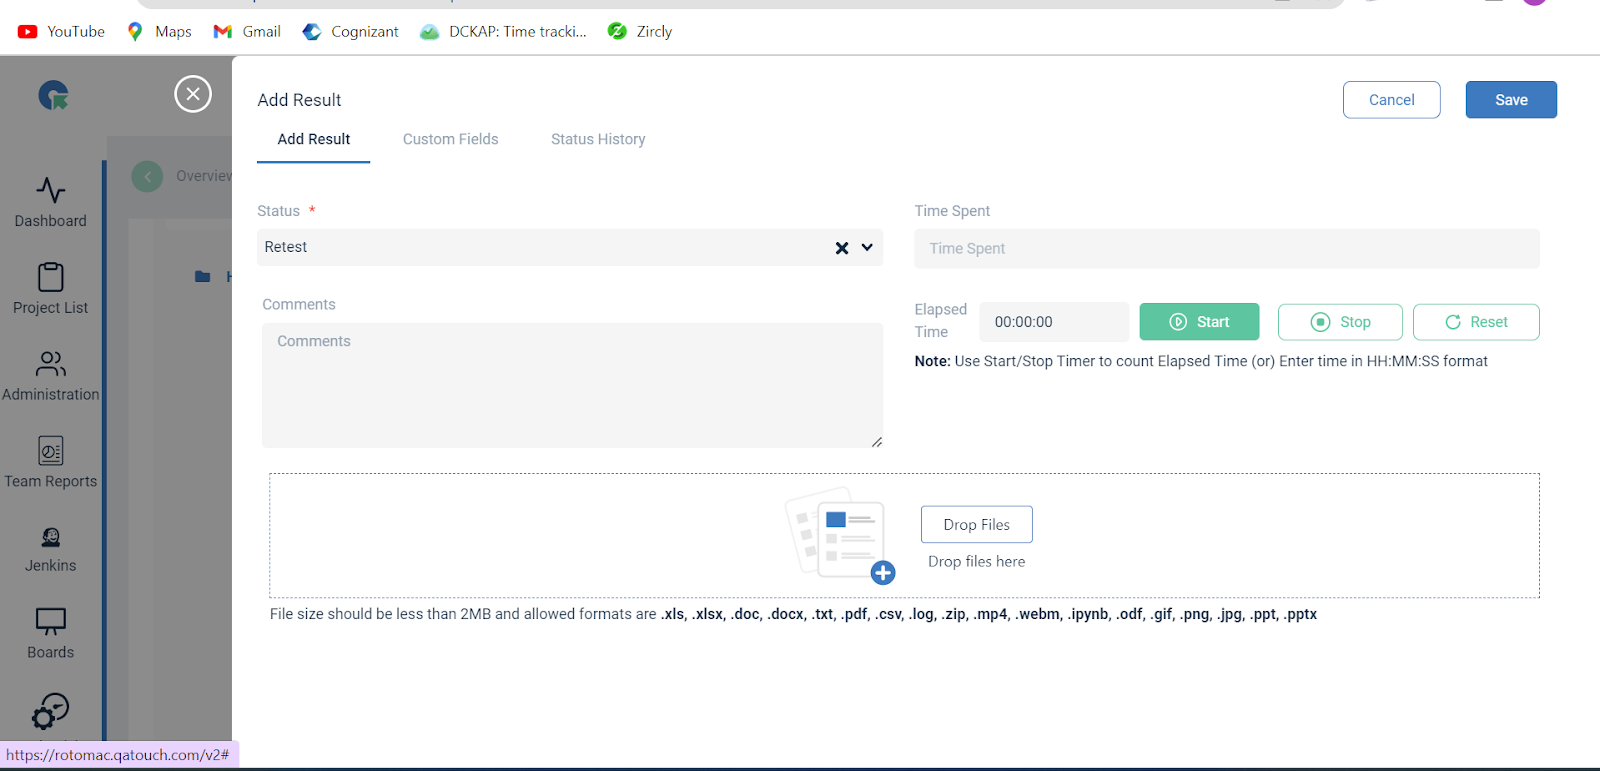
Test Run - Add Result
- Click on Add result Icon in the Test Run list page.
- Select the Test status.
- Then add each custom field status with the result in the test run.
- Enter the Comments(optional)
- Click on Save

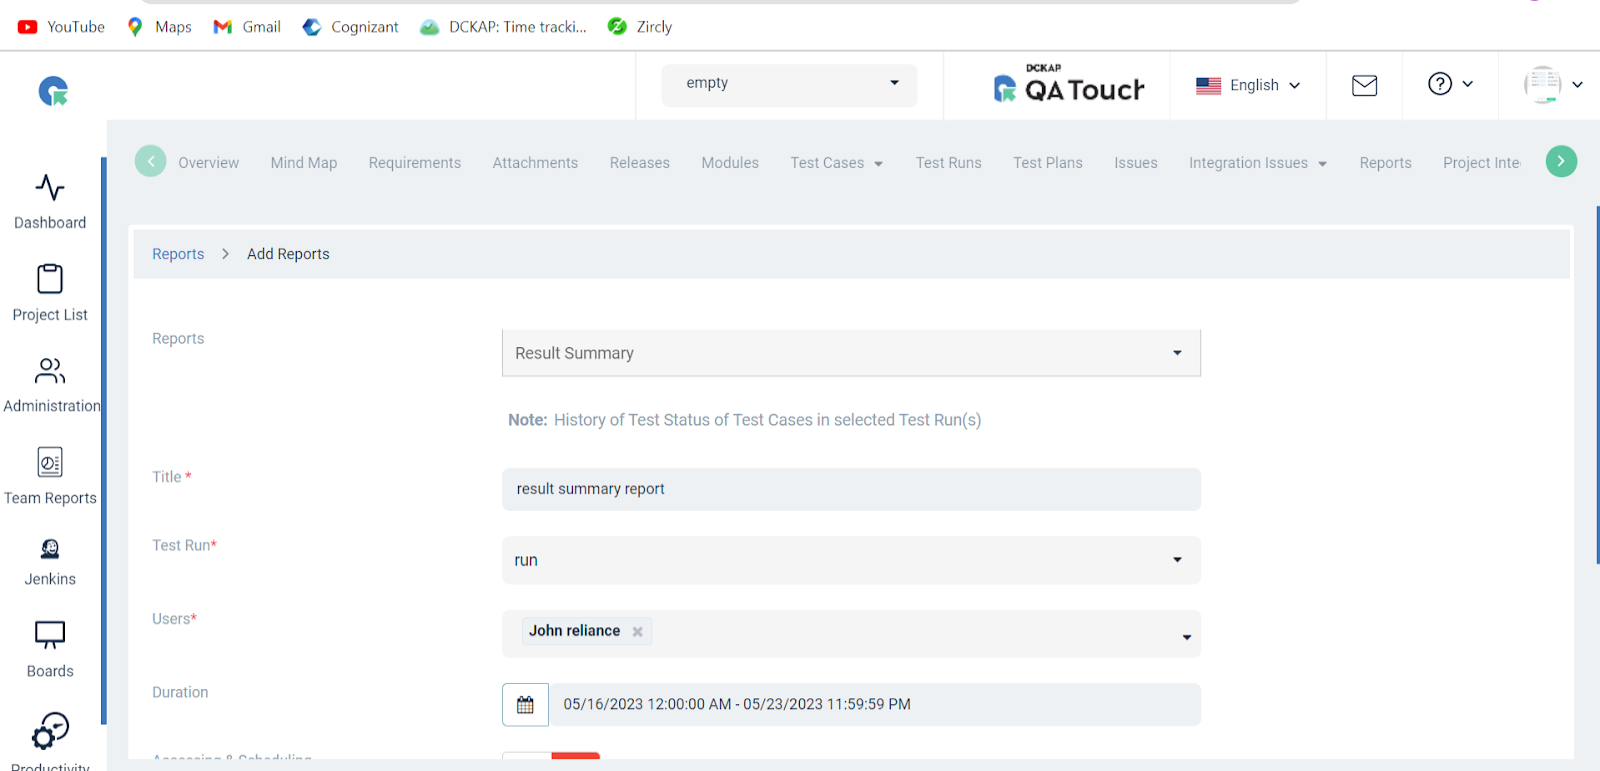
How to Generate the Result summary report with Test run custom fileds.
- Goto Reports page, Click on Project->Reports.
- Click on ”+ Add report” Button.
- Select the Report Type as Result summary.
- Enter the Report Title and Choose the details.
- Click on Save.
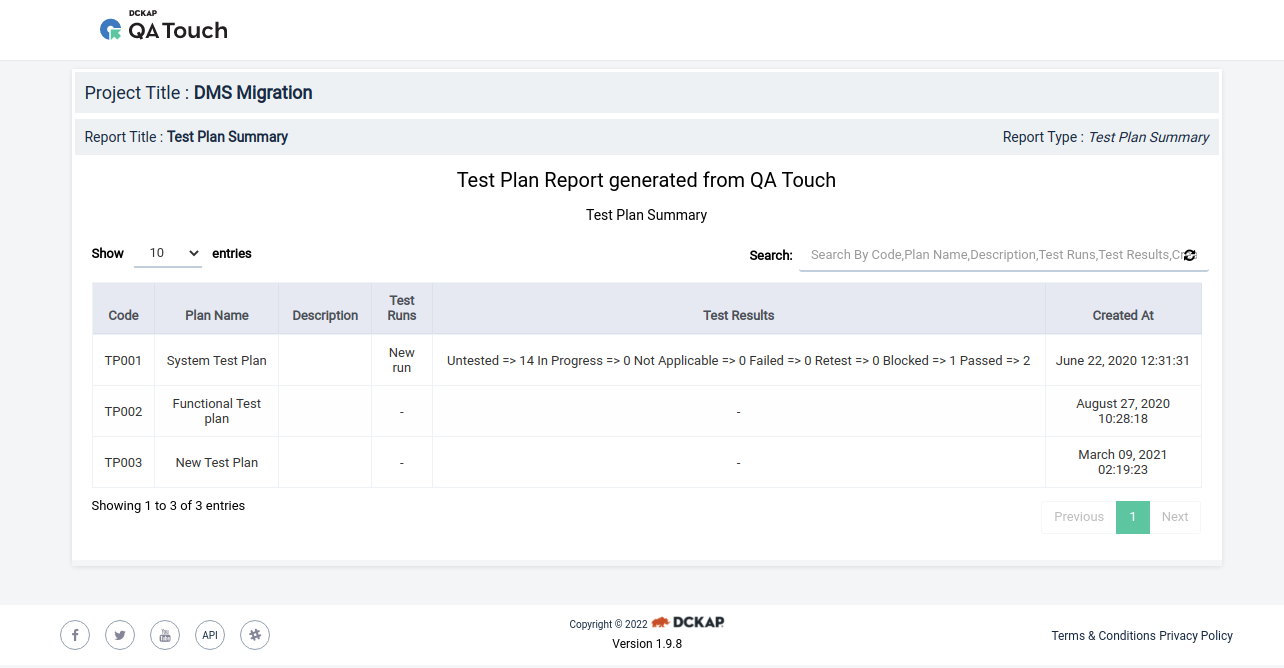
- Result summary report generated successfully.
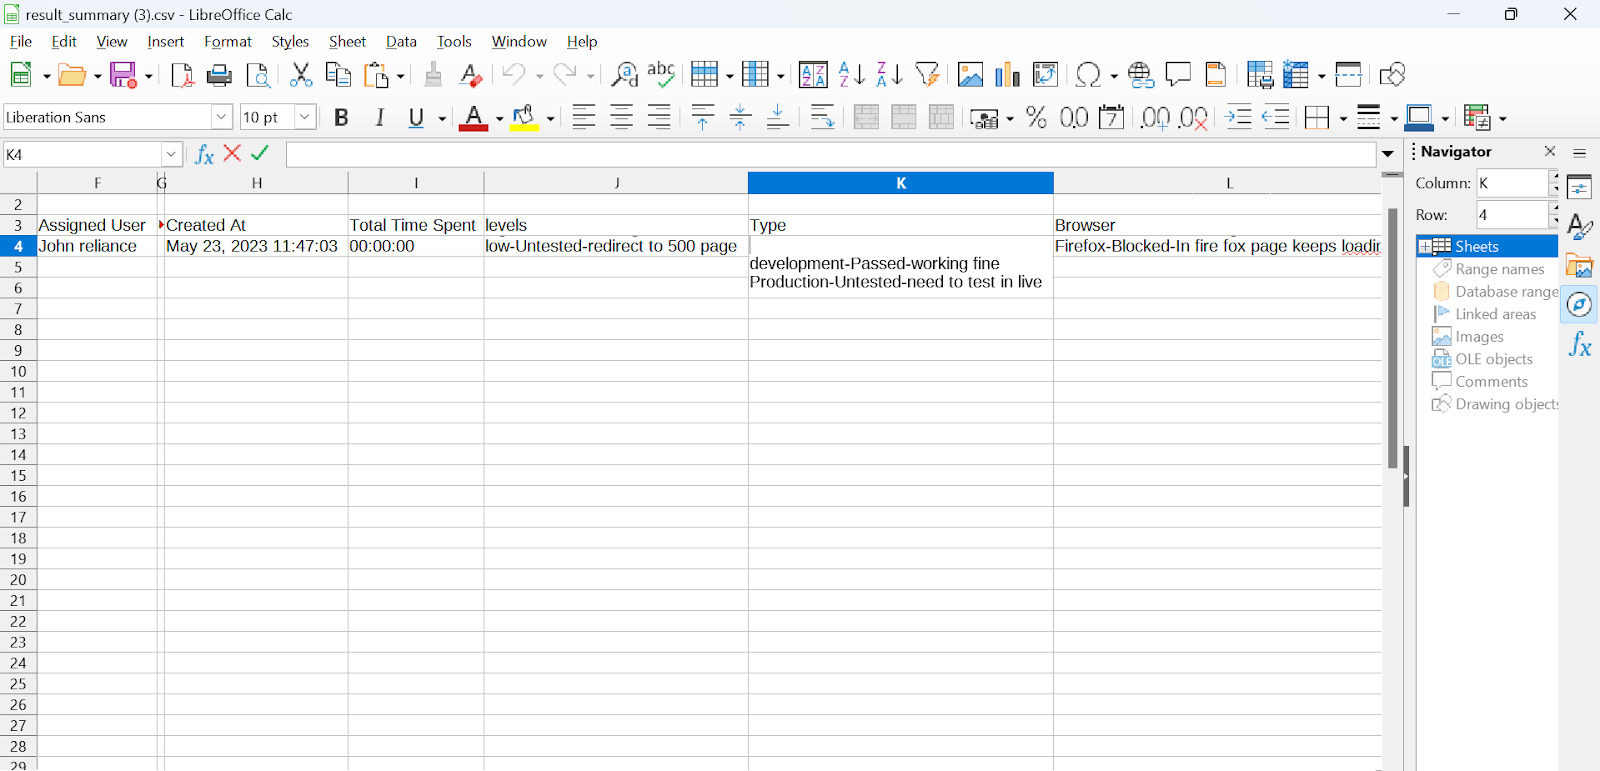
Export Report
To Export CSV format of the report:
- Click on the “⋮” in the Action column of a report.
- Choose to click on “Export CSV”.
- In the generated report, the test run custom fields and the statuses are shown.